In this tutorial we will add a custom locomotion for a specific weapon, the same principle can be used to replace the entire AnimBP, it uses a very similar framework to FPS Game Starter Kit, essentially:
- Add new entries into the weapon anim category enum
- In the AnimBP use the switch to change to that locomotion
- In the weapon child class set it to be in that category.
So let’s go over that process. This tutorial uses animations that have been retargeted onto the default Unreal skeleton.
1. Add new entries into the E_WeaponAnimCategory ENUM

2. Create a new BlendSpace, add your animations like in the included example for left, right, forward, backwards. If your animations don’t have a direction (for example diagonal), you can use the included ones.

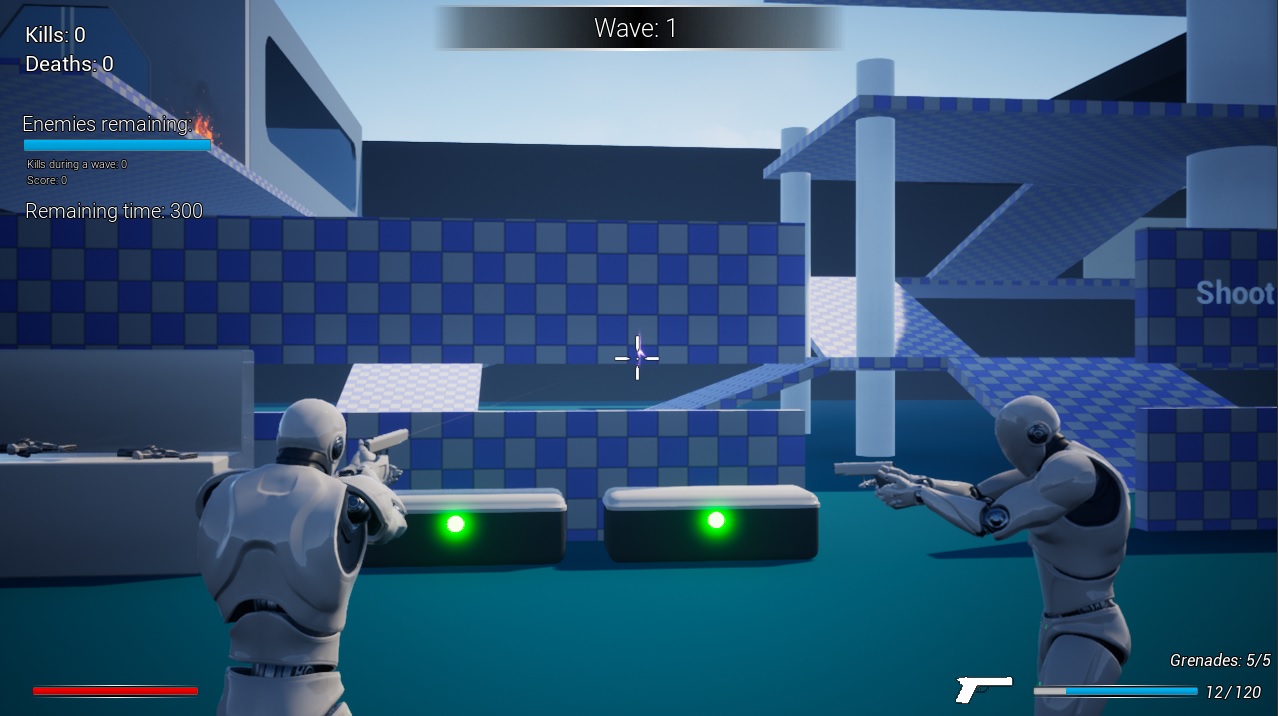
3. Open the AnimBP and create a new state machine, in this example we will use a straightforward locomotion
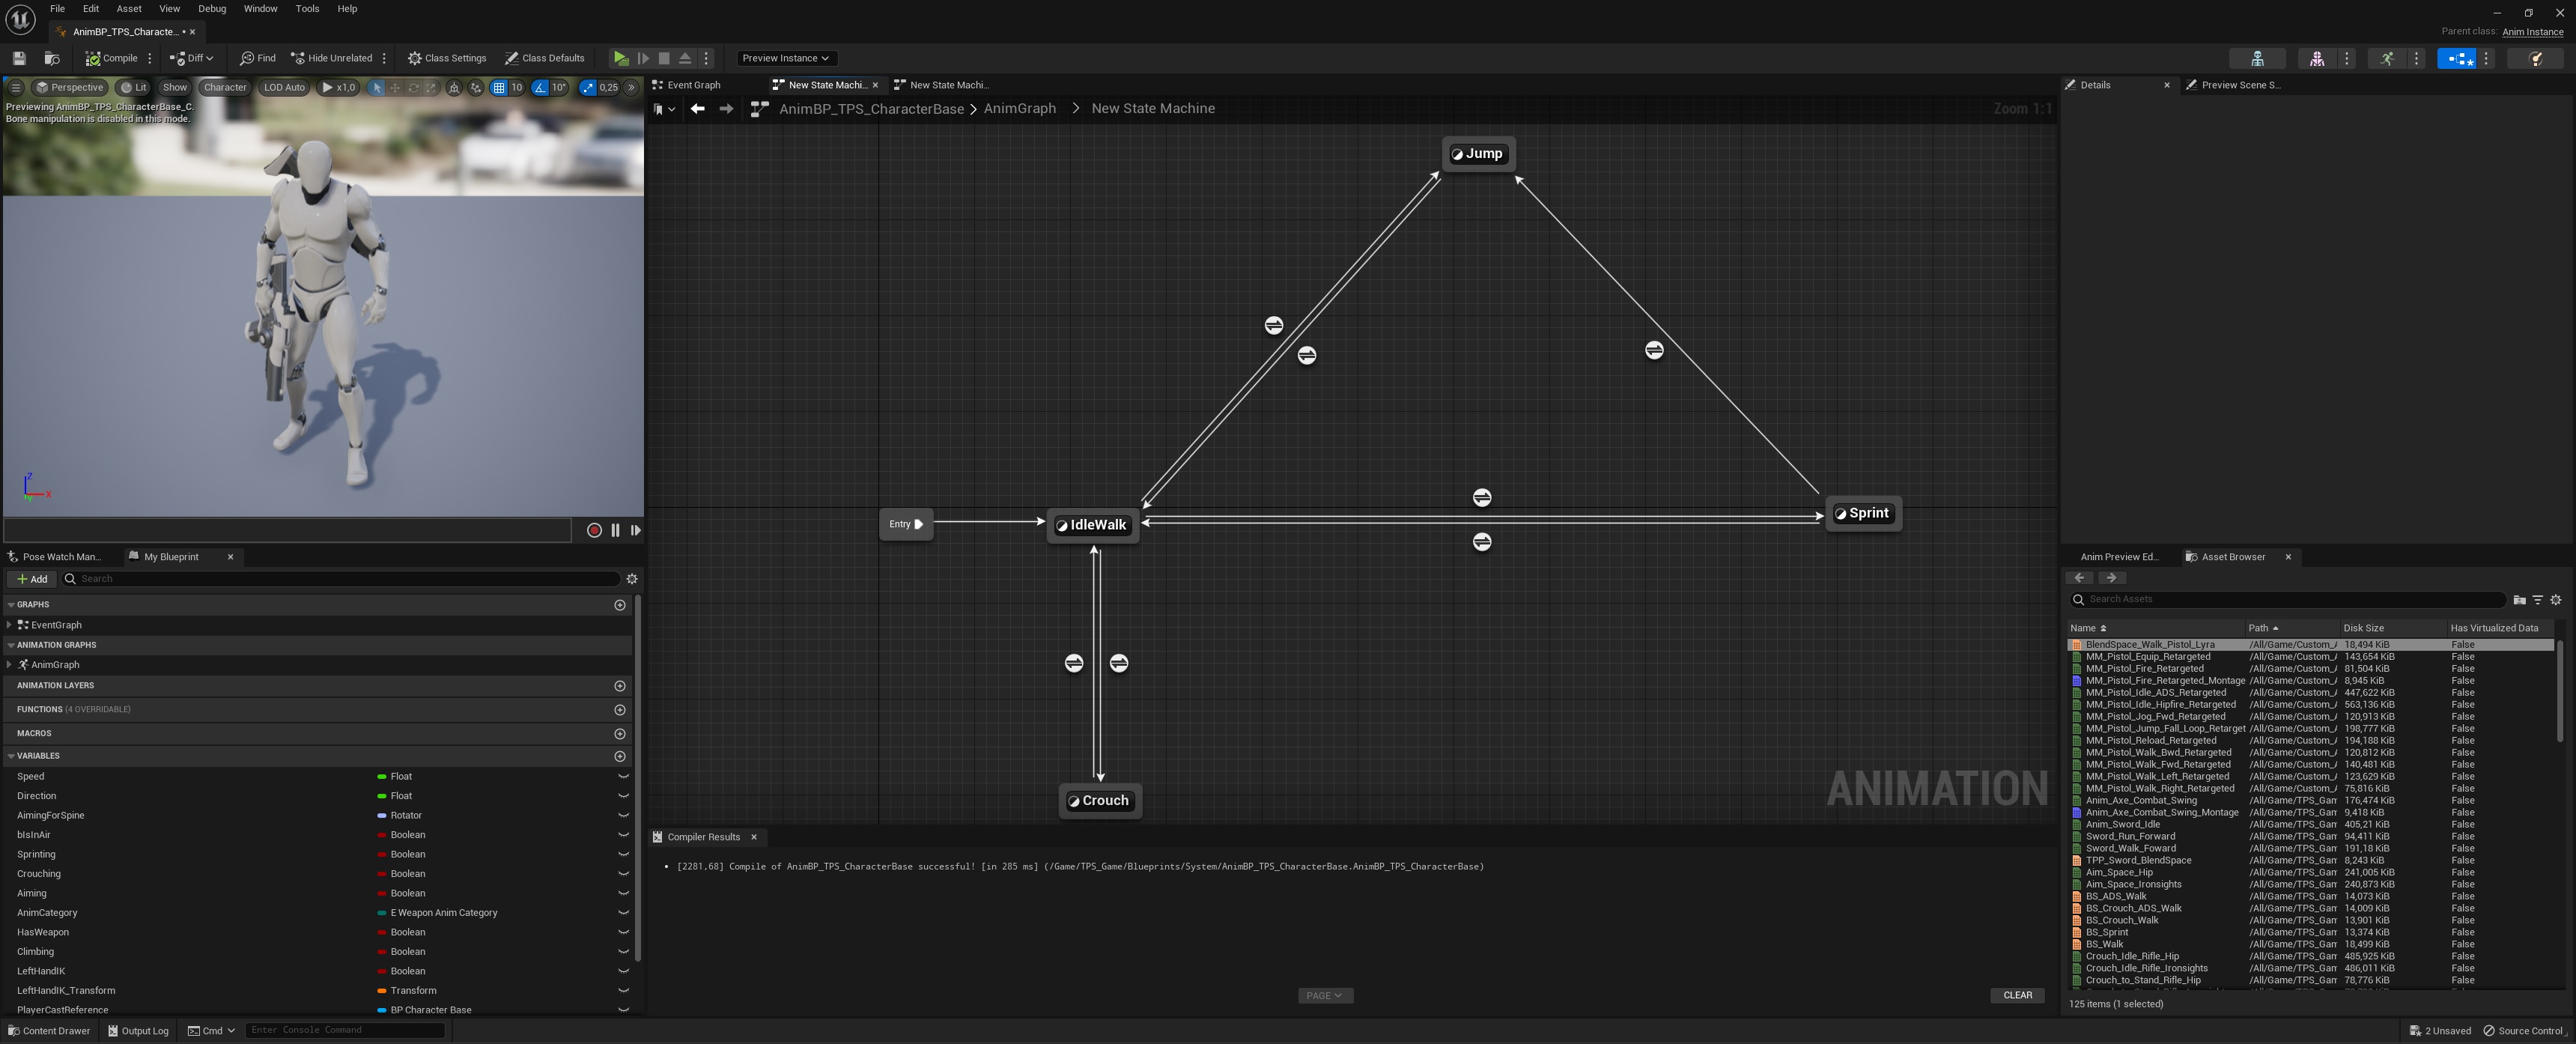
If you need a cheat-sheet what goes where:
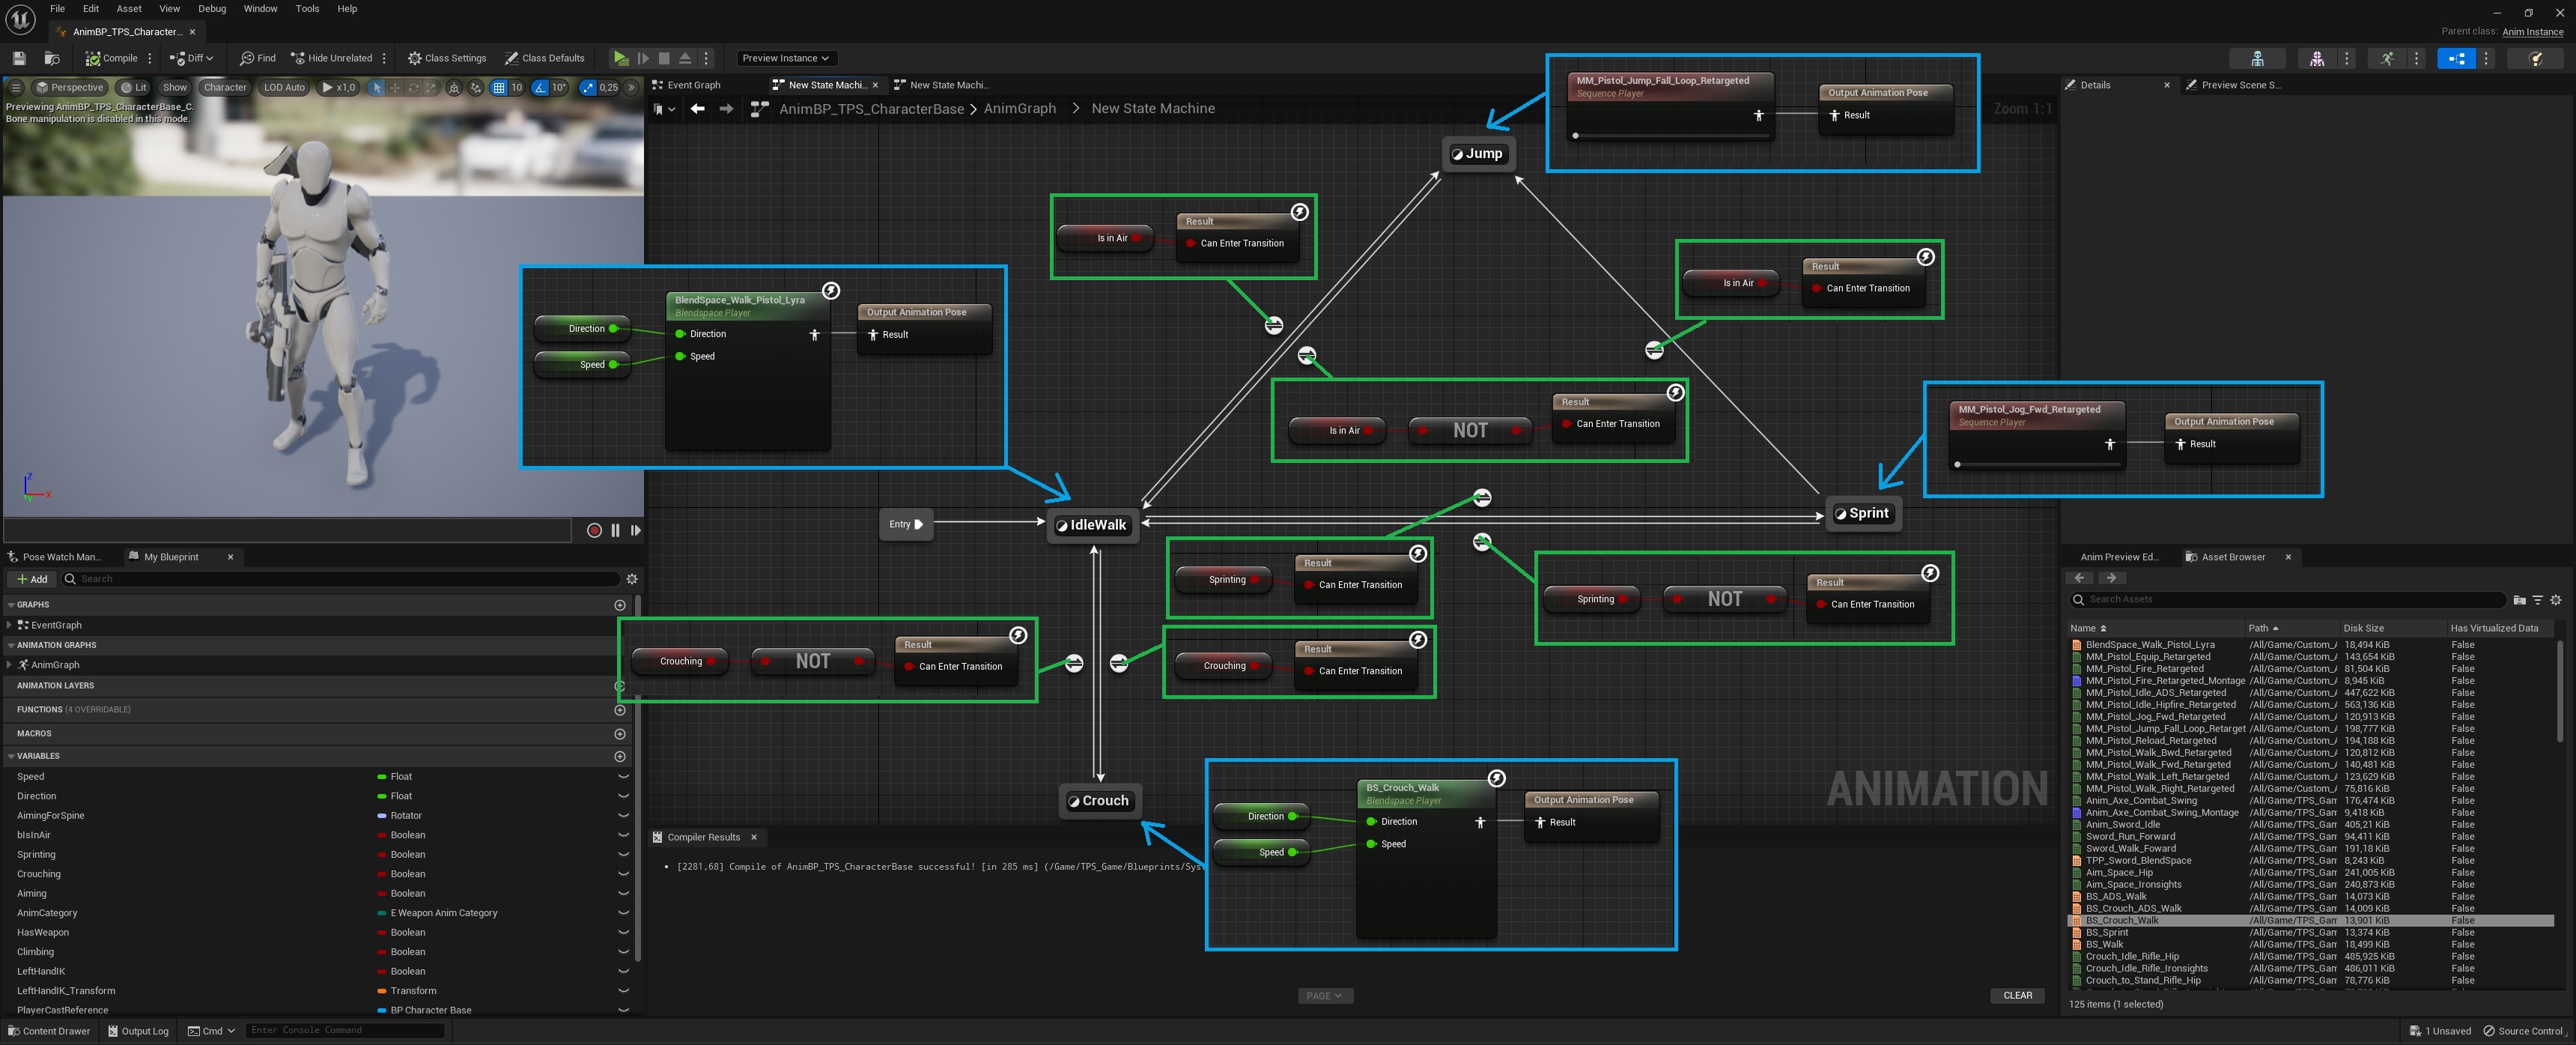
4. In the animation graph, right click on the blend pose node and list your new category there, then simply connect the new locomotion into it.

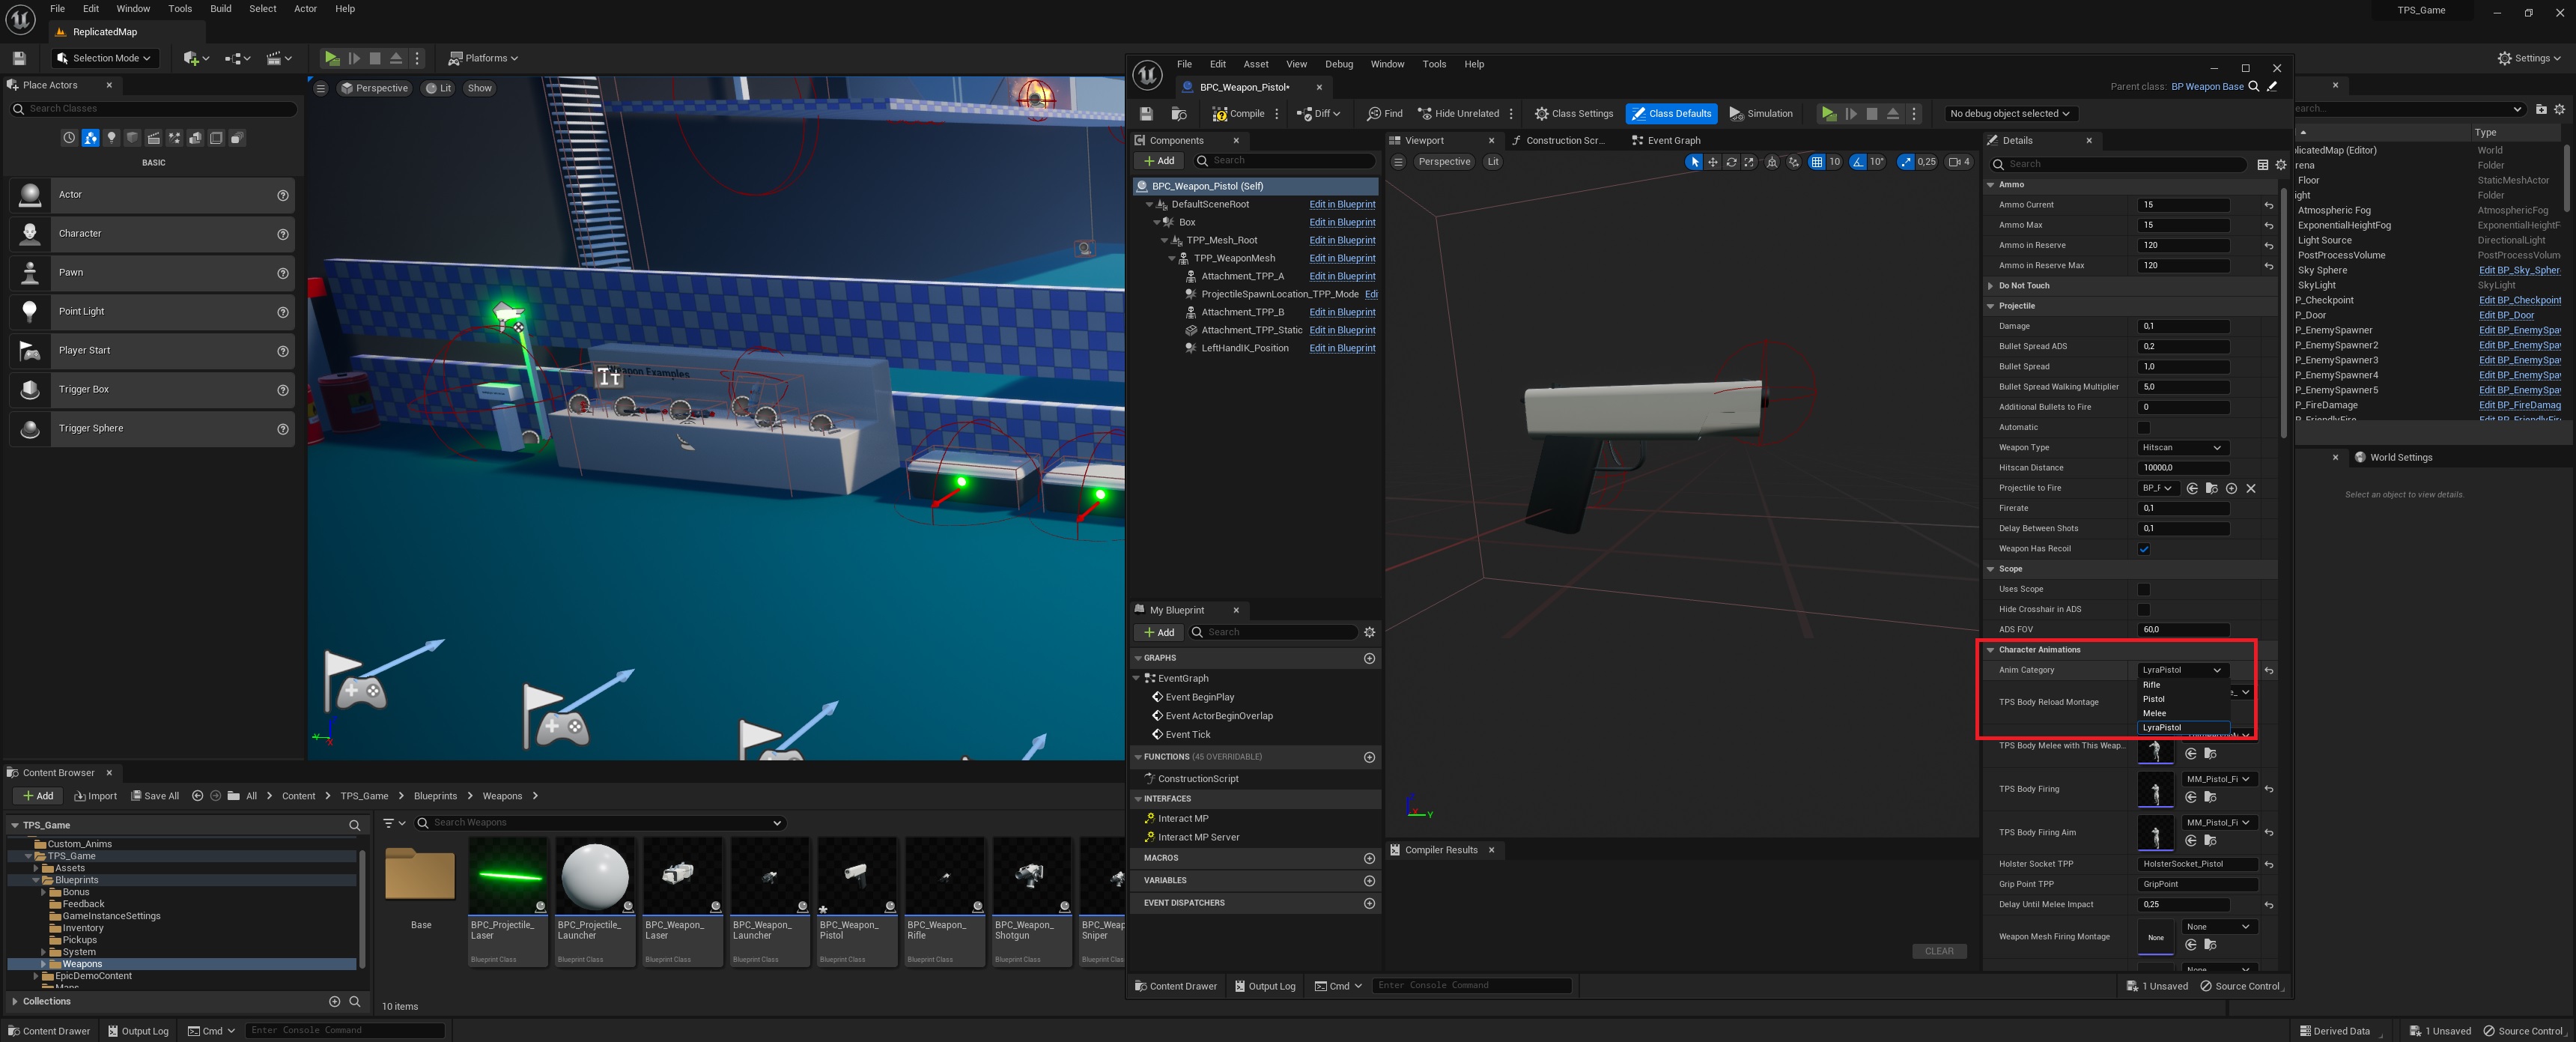
5. In your weapon child class, in the animations category, set the ENUM to be that category
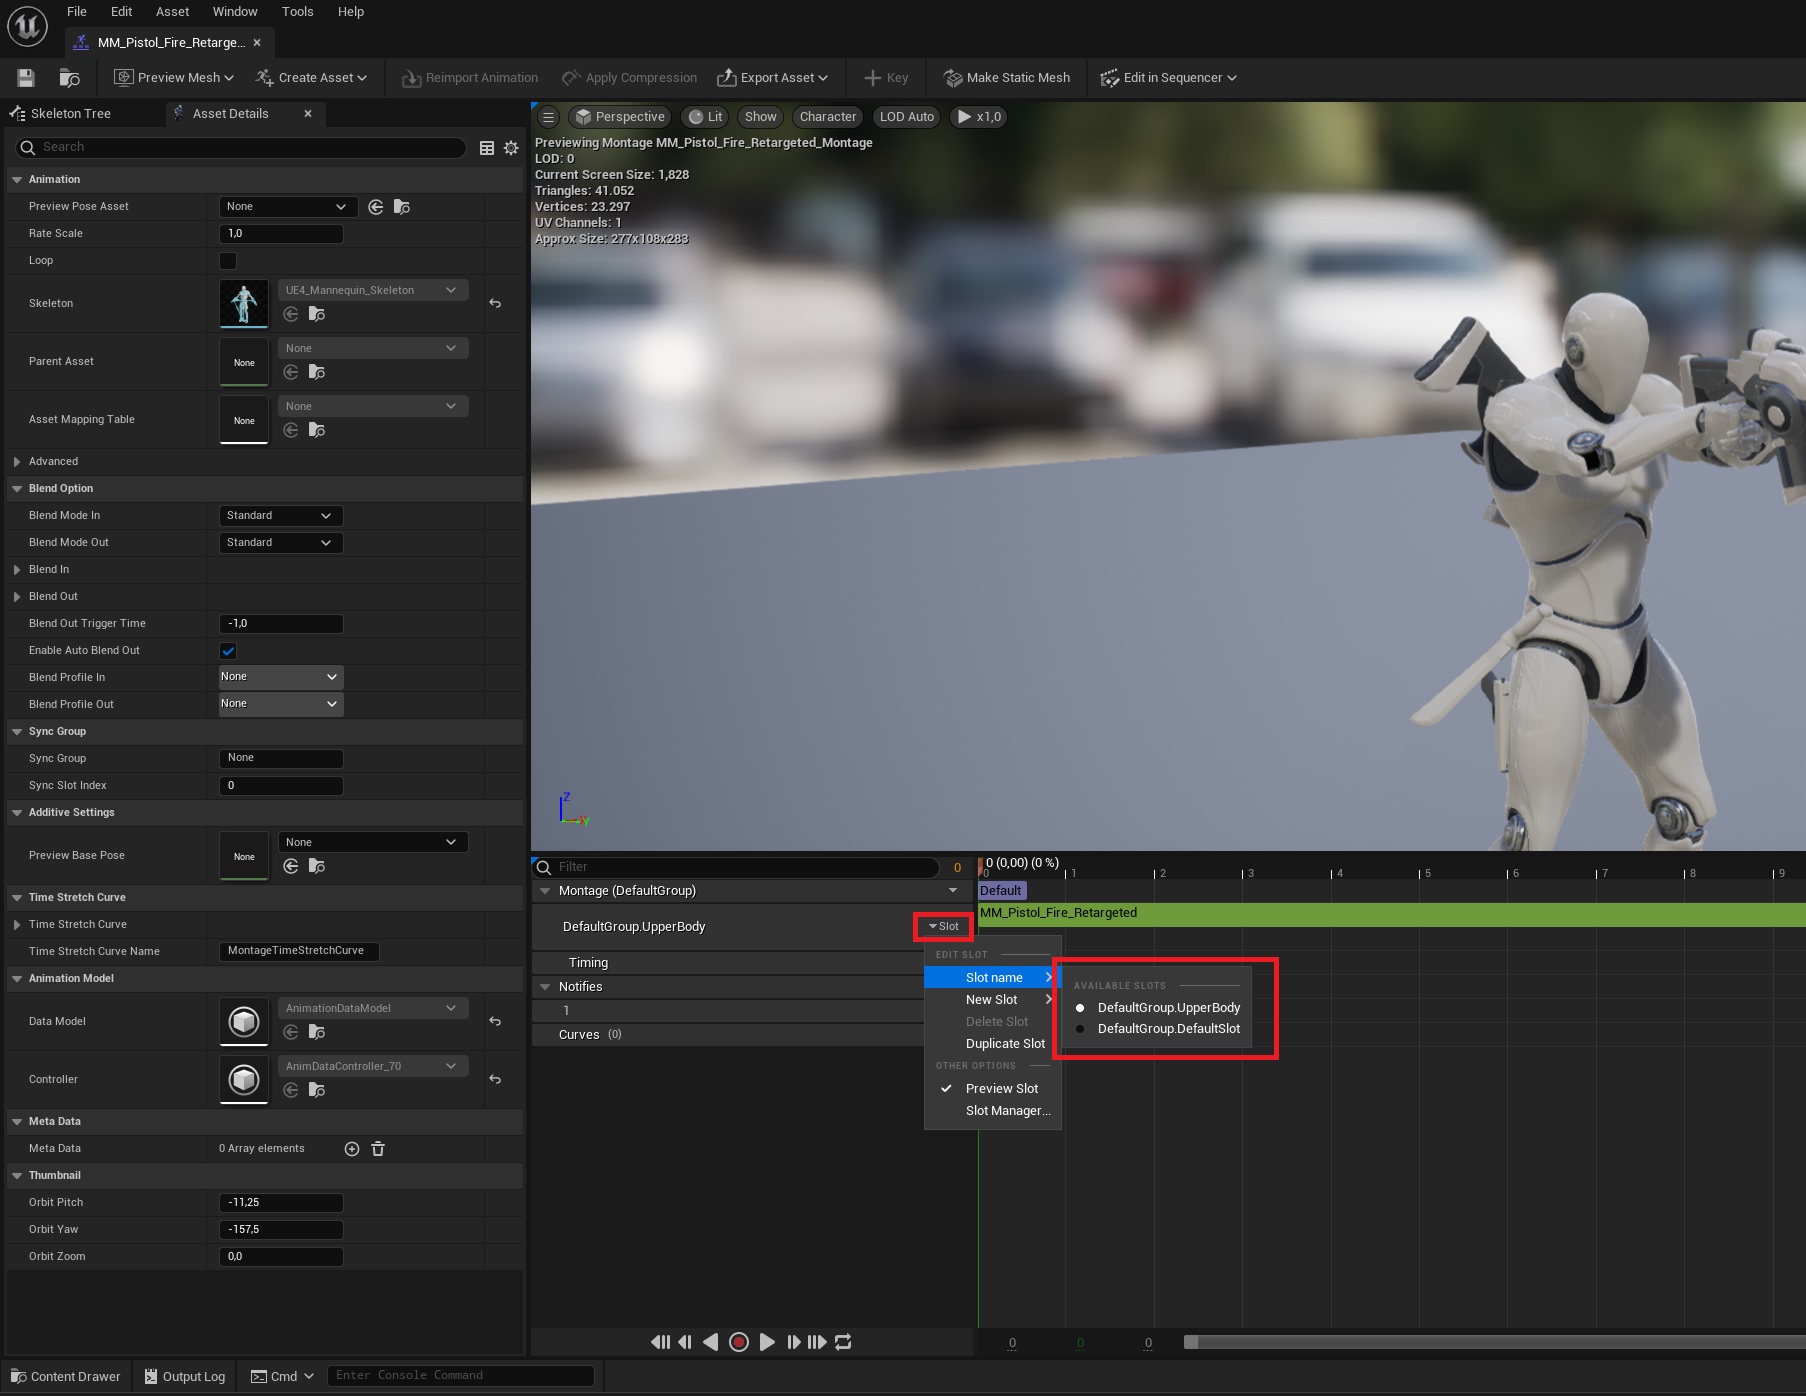
6. For reload montages you can change the slot to upper-body (keeping it as default will play it on the entire character mesh)
That’s it!