
This tutorial was made in an agreement between me and Ironbelly. It would be beneficial to customers of our assets to have a page that shows how to integrate Ironbelly weapons and animations into FPS Game Starter Kit.
Click here to visit the Ironbelly store page.
Click here to visit my store page (FPS Game Starter Kit)
1. Create a new FPS Game Starter Kit project
2. Add ironbelly anims to it
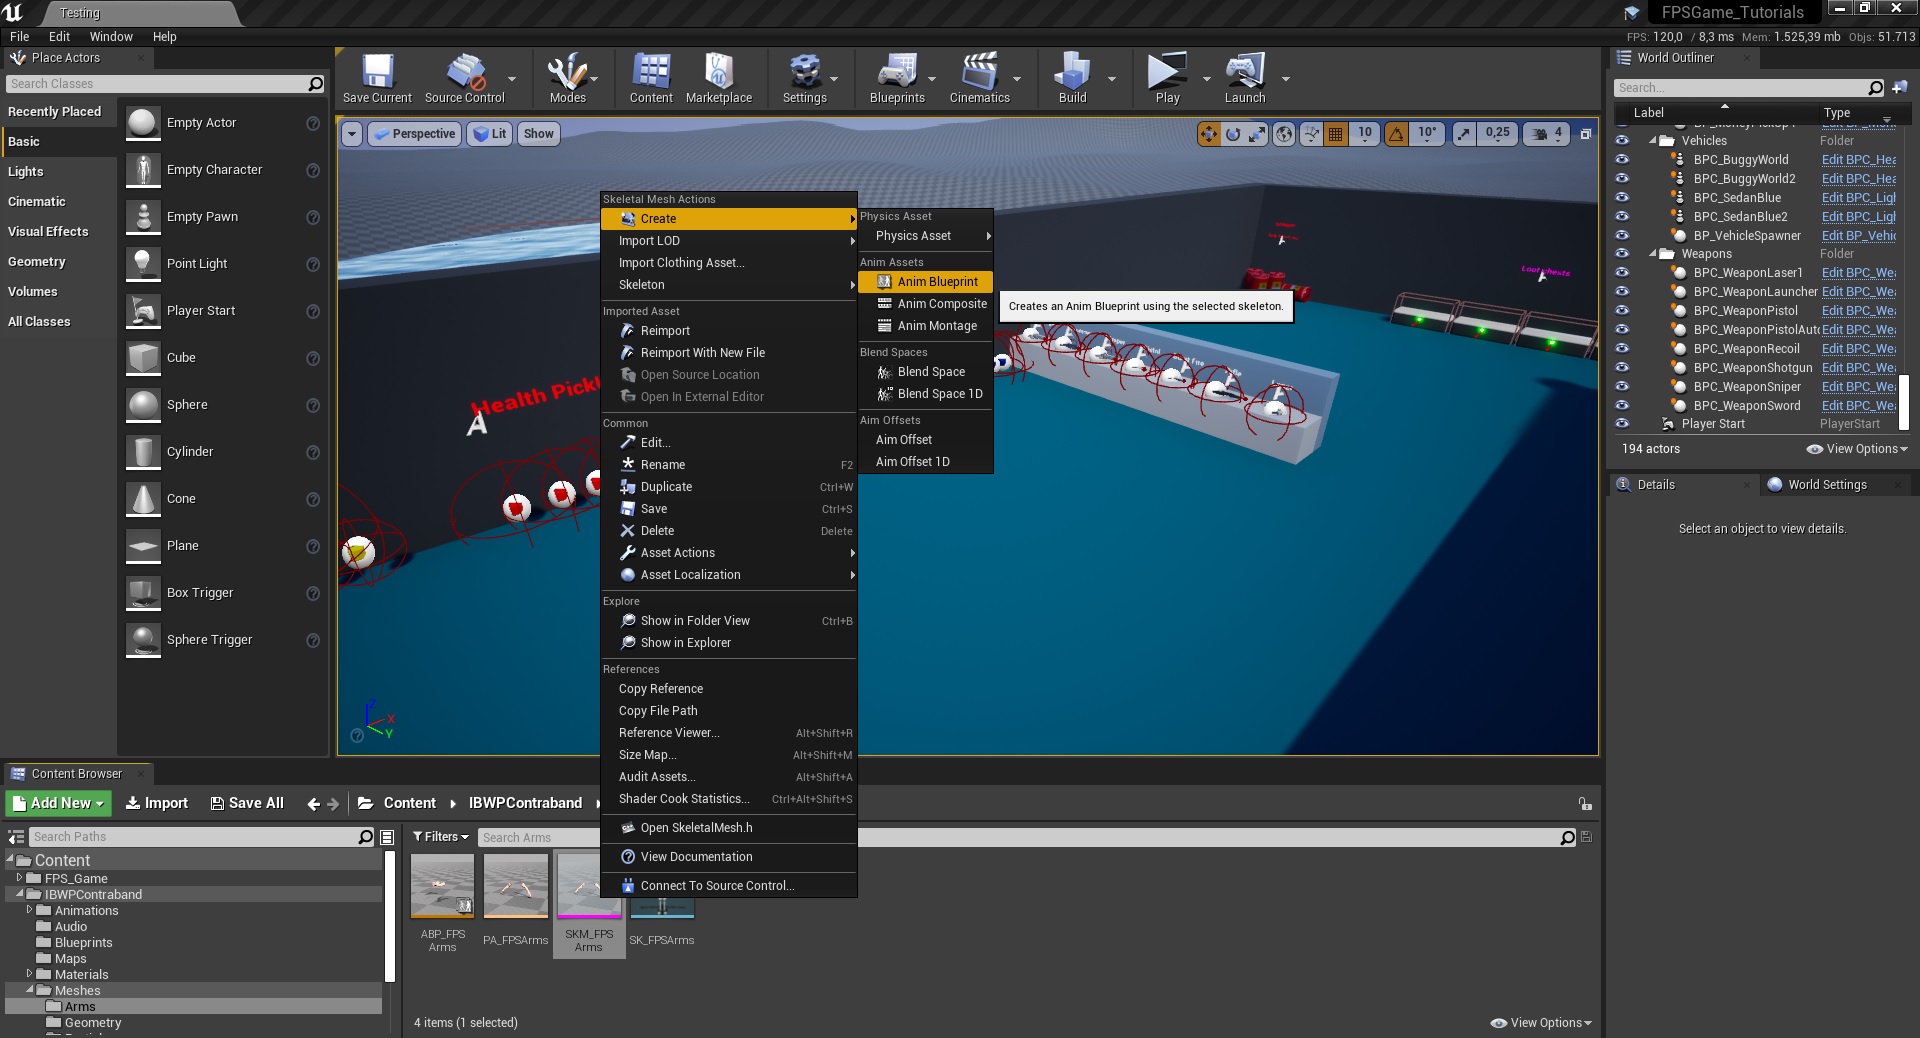
3. Right click on the ironbelly arms mesh and create a new animbp
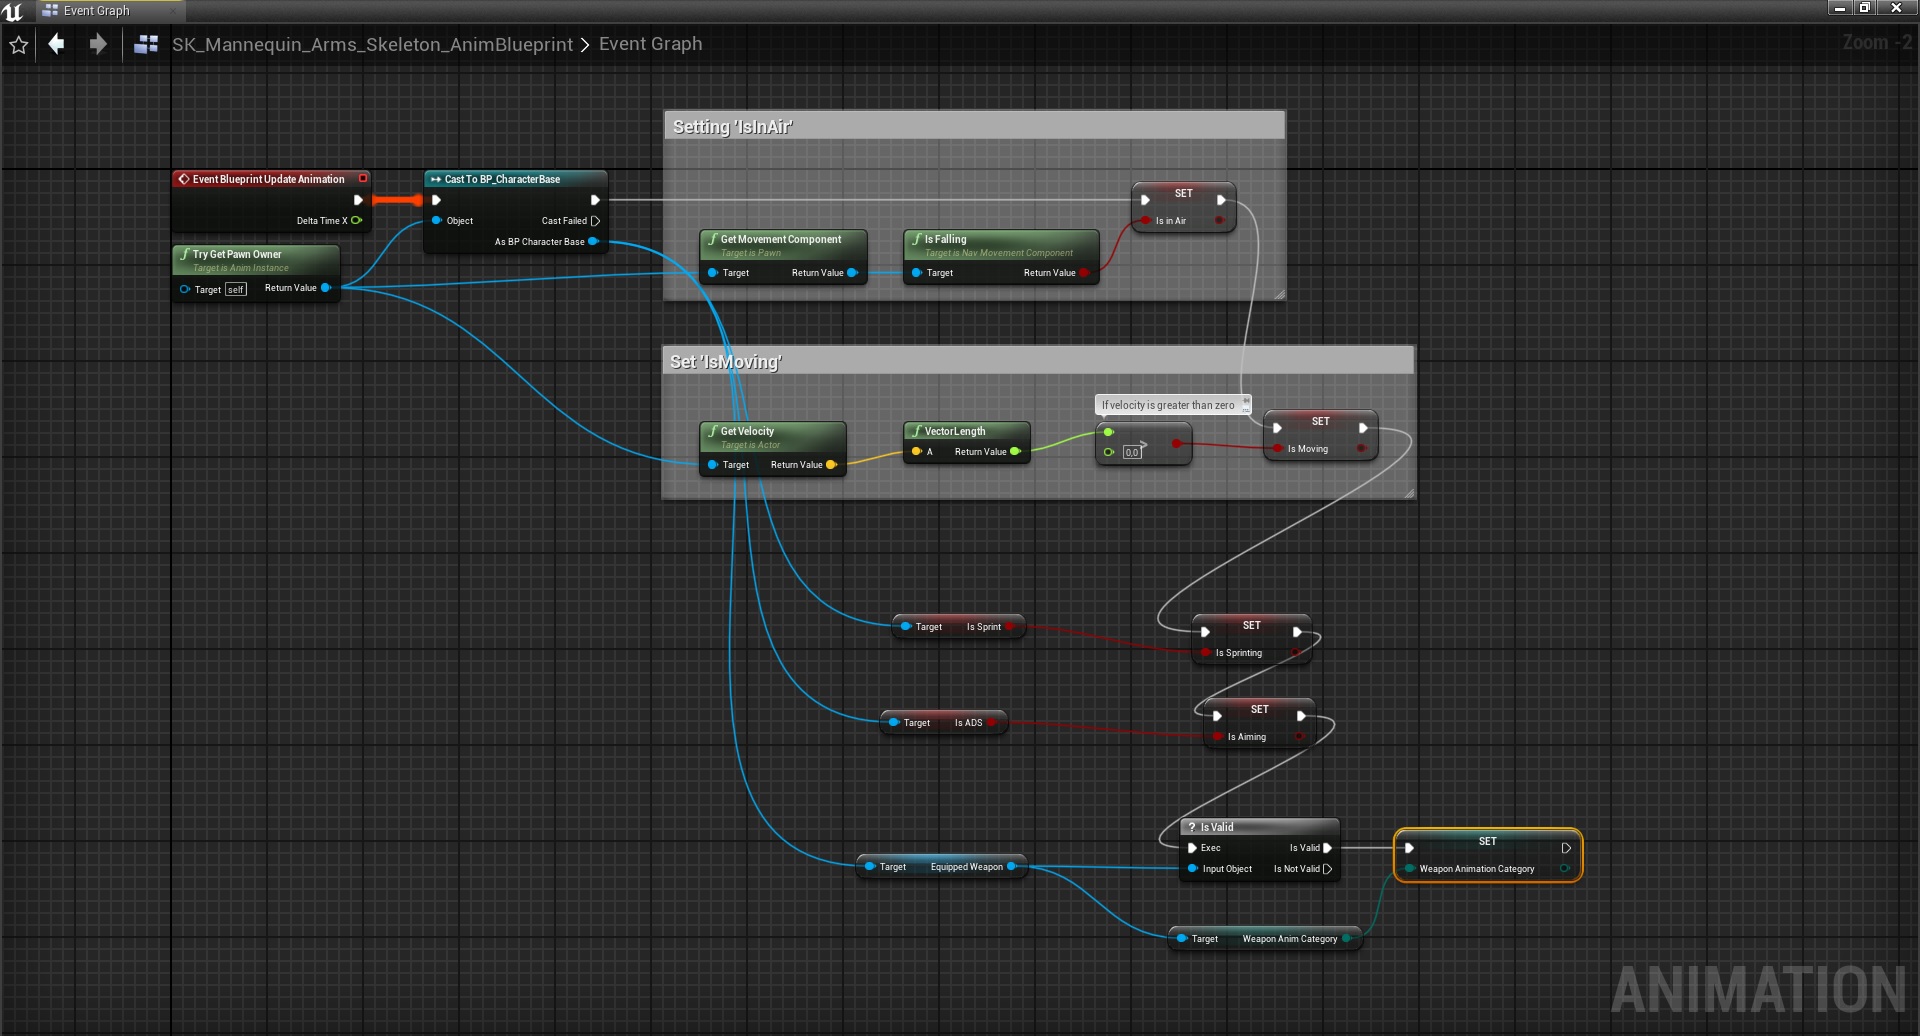
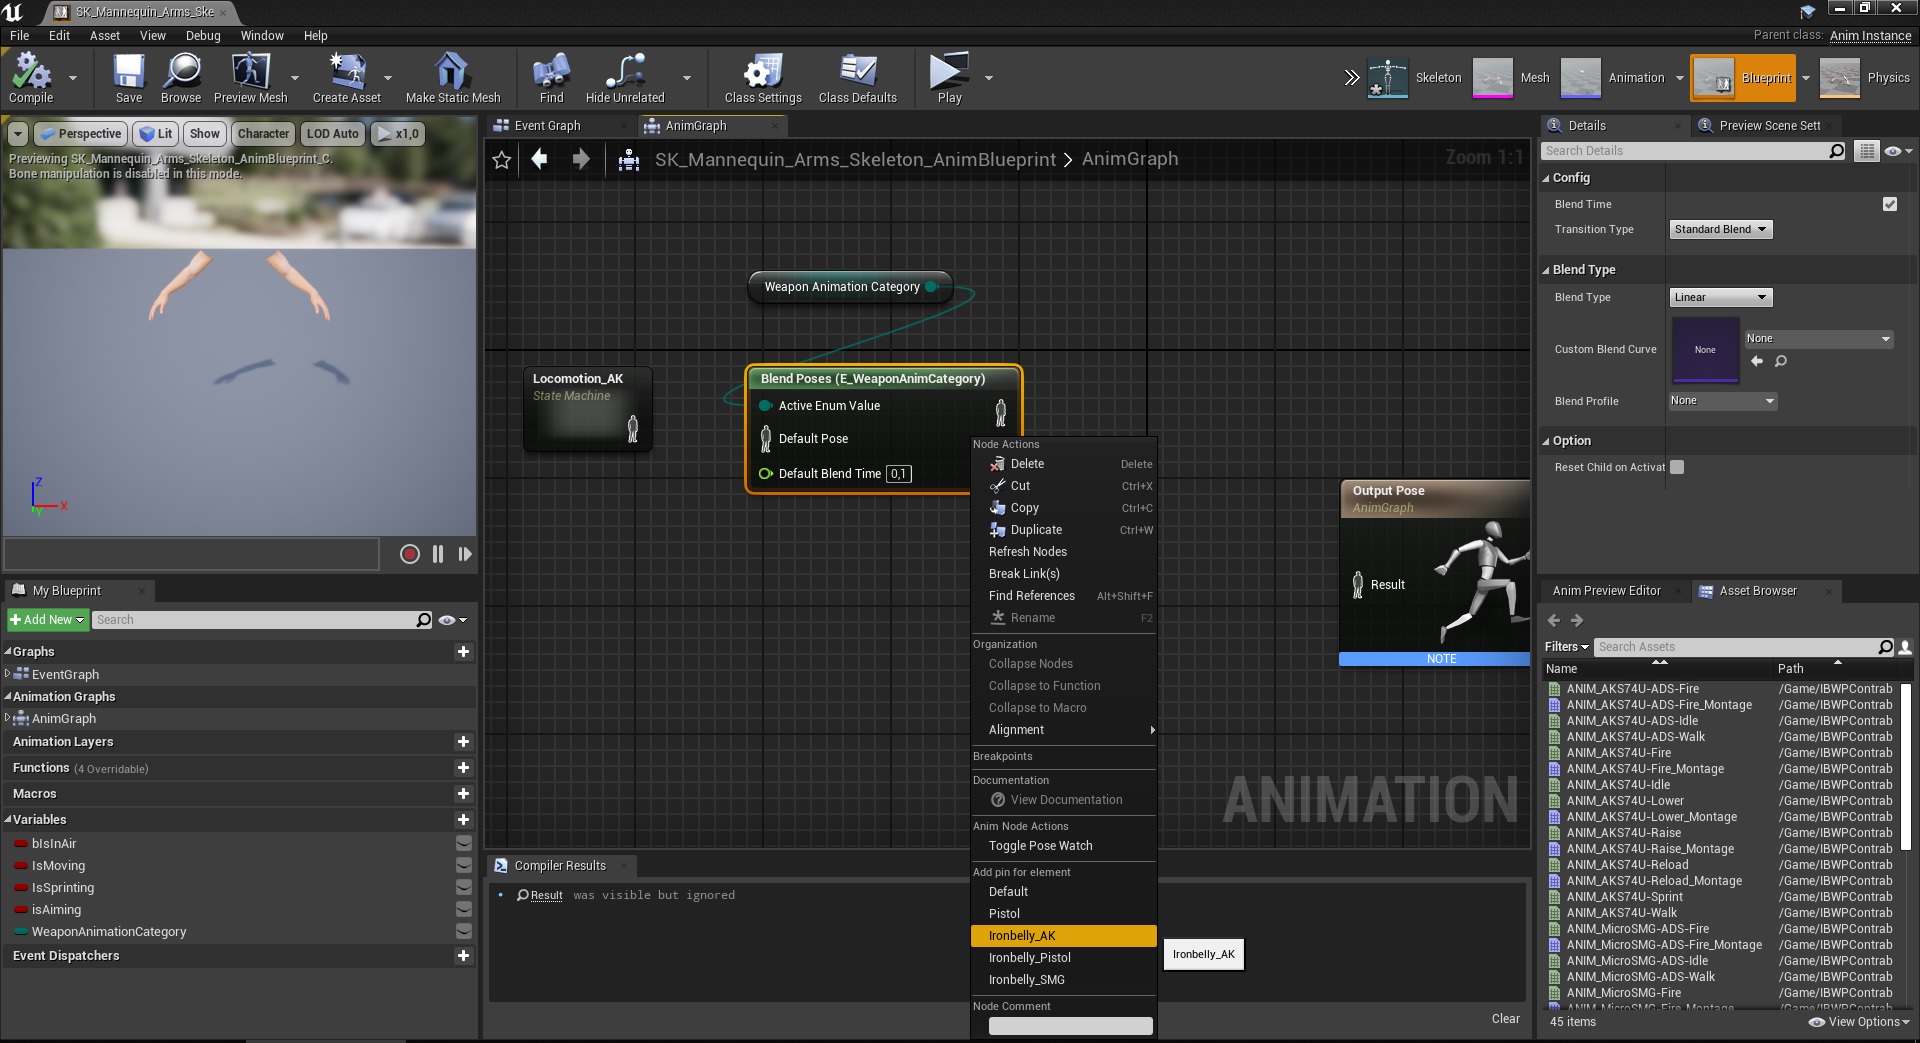
4. Create this inside the new animbp – edit: ok so after a shocking amount of times I got asked how to make this…. get the weapon, get the enum from it, promote it to a variable… (no video sorry)
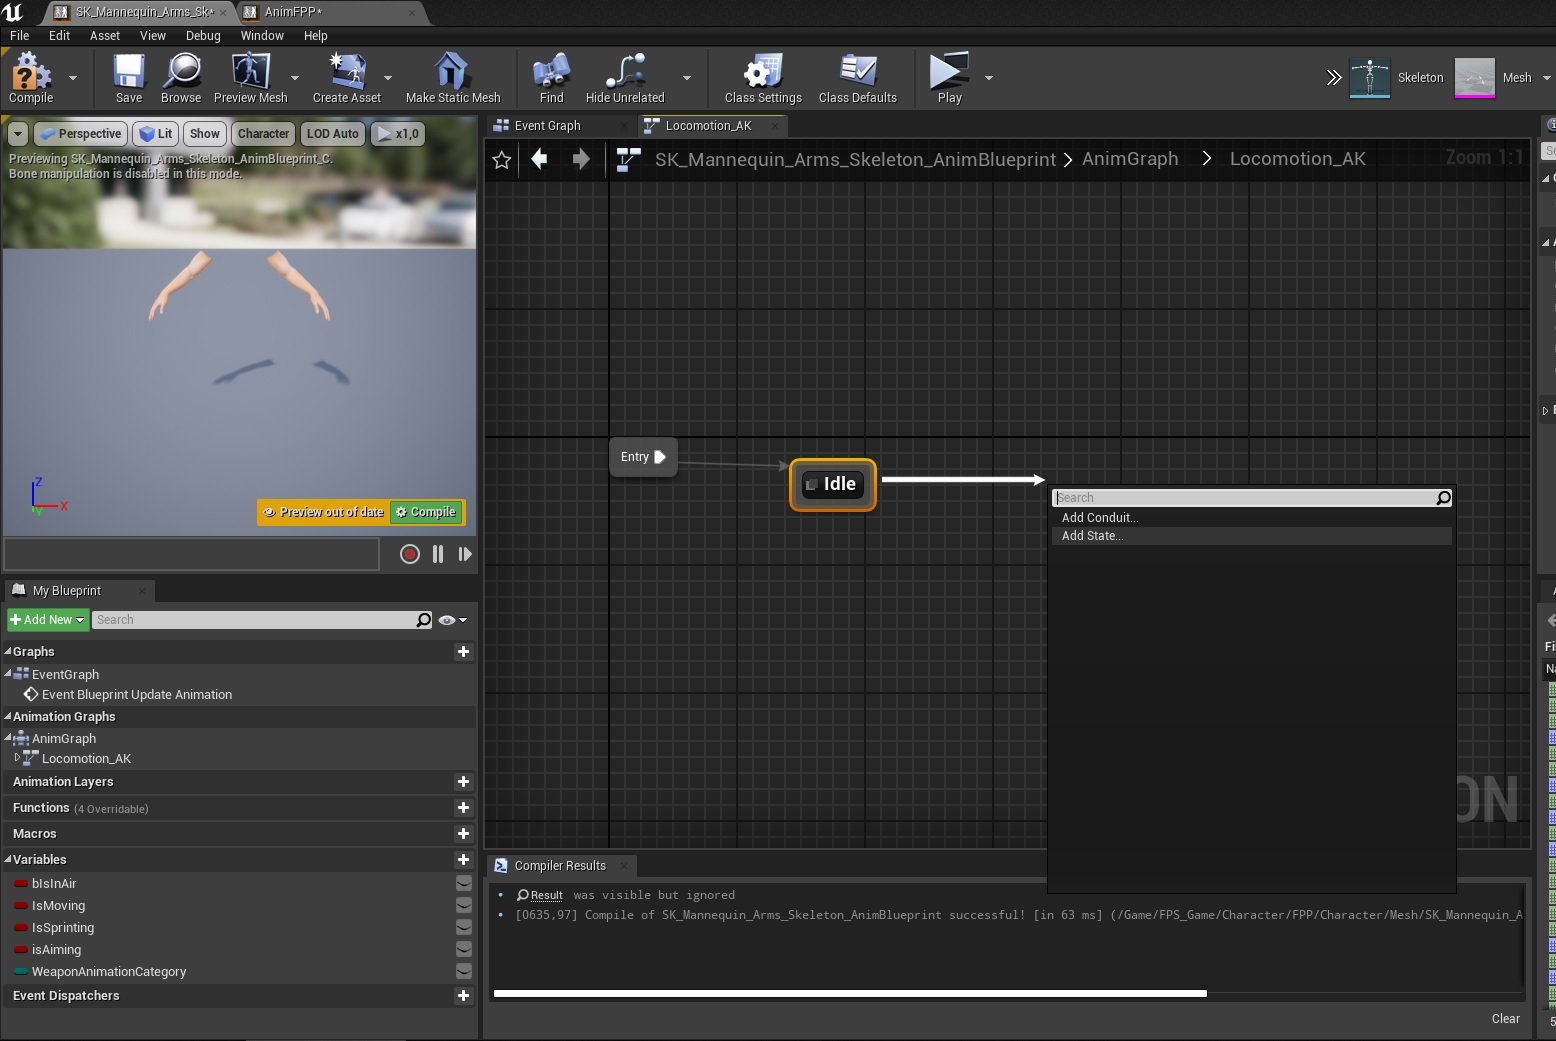
5. Create a new state machine locomotion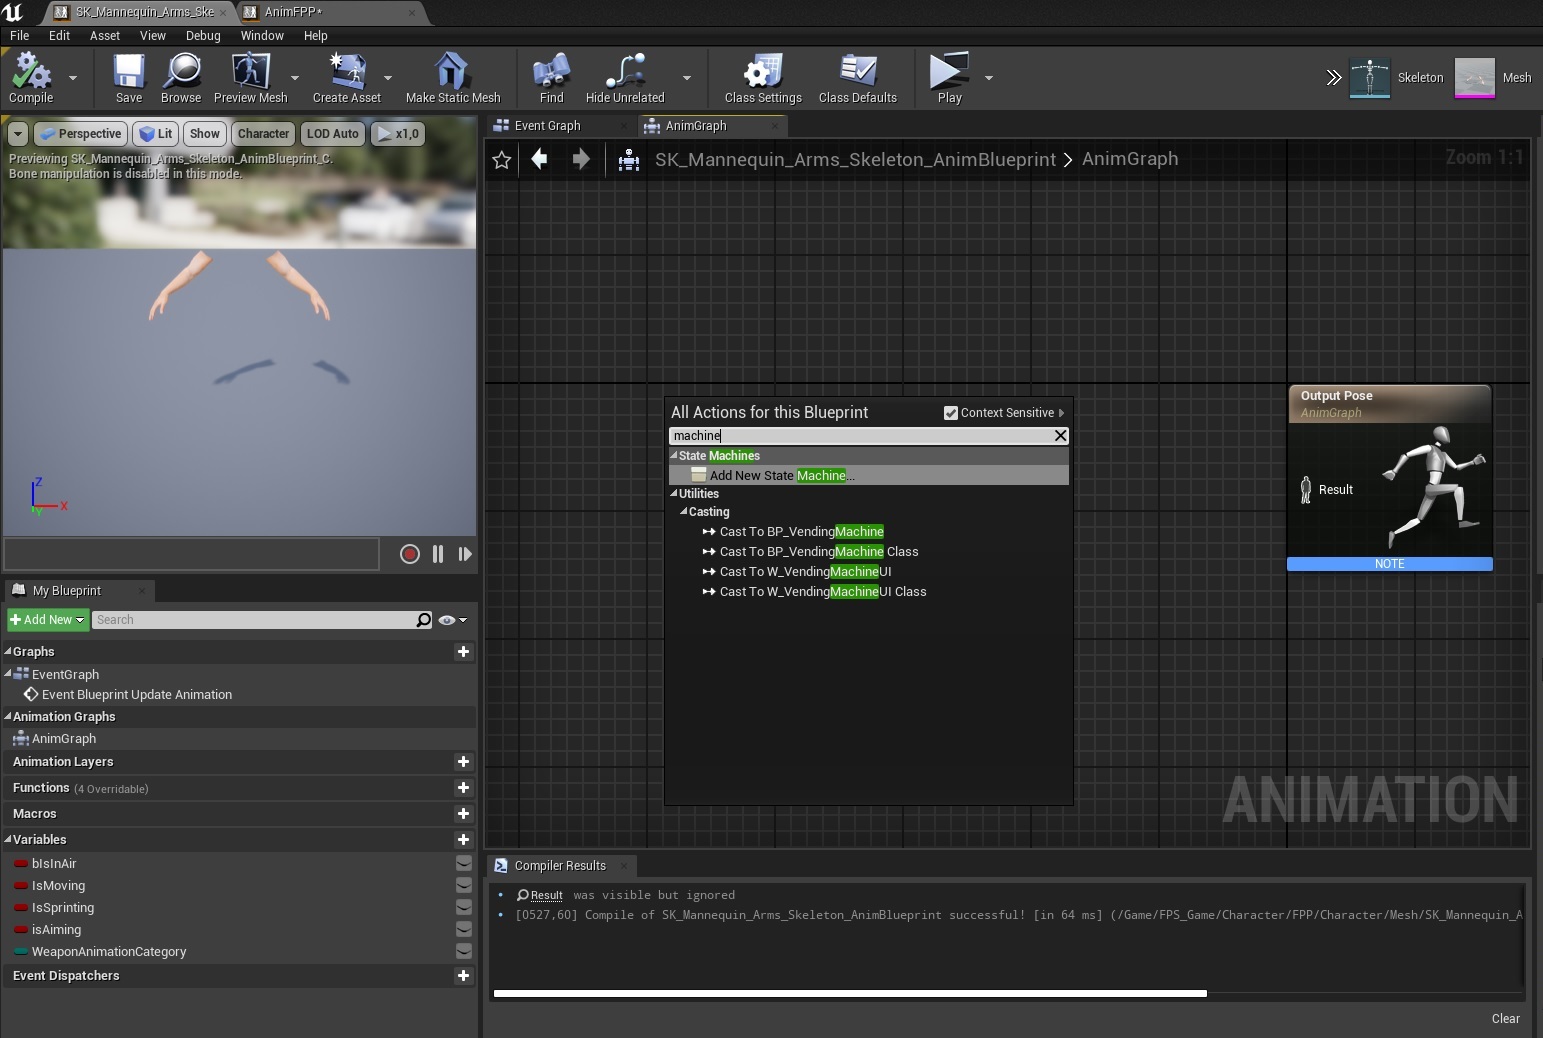
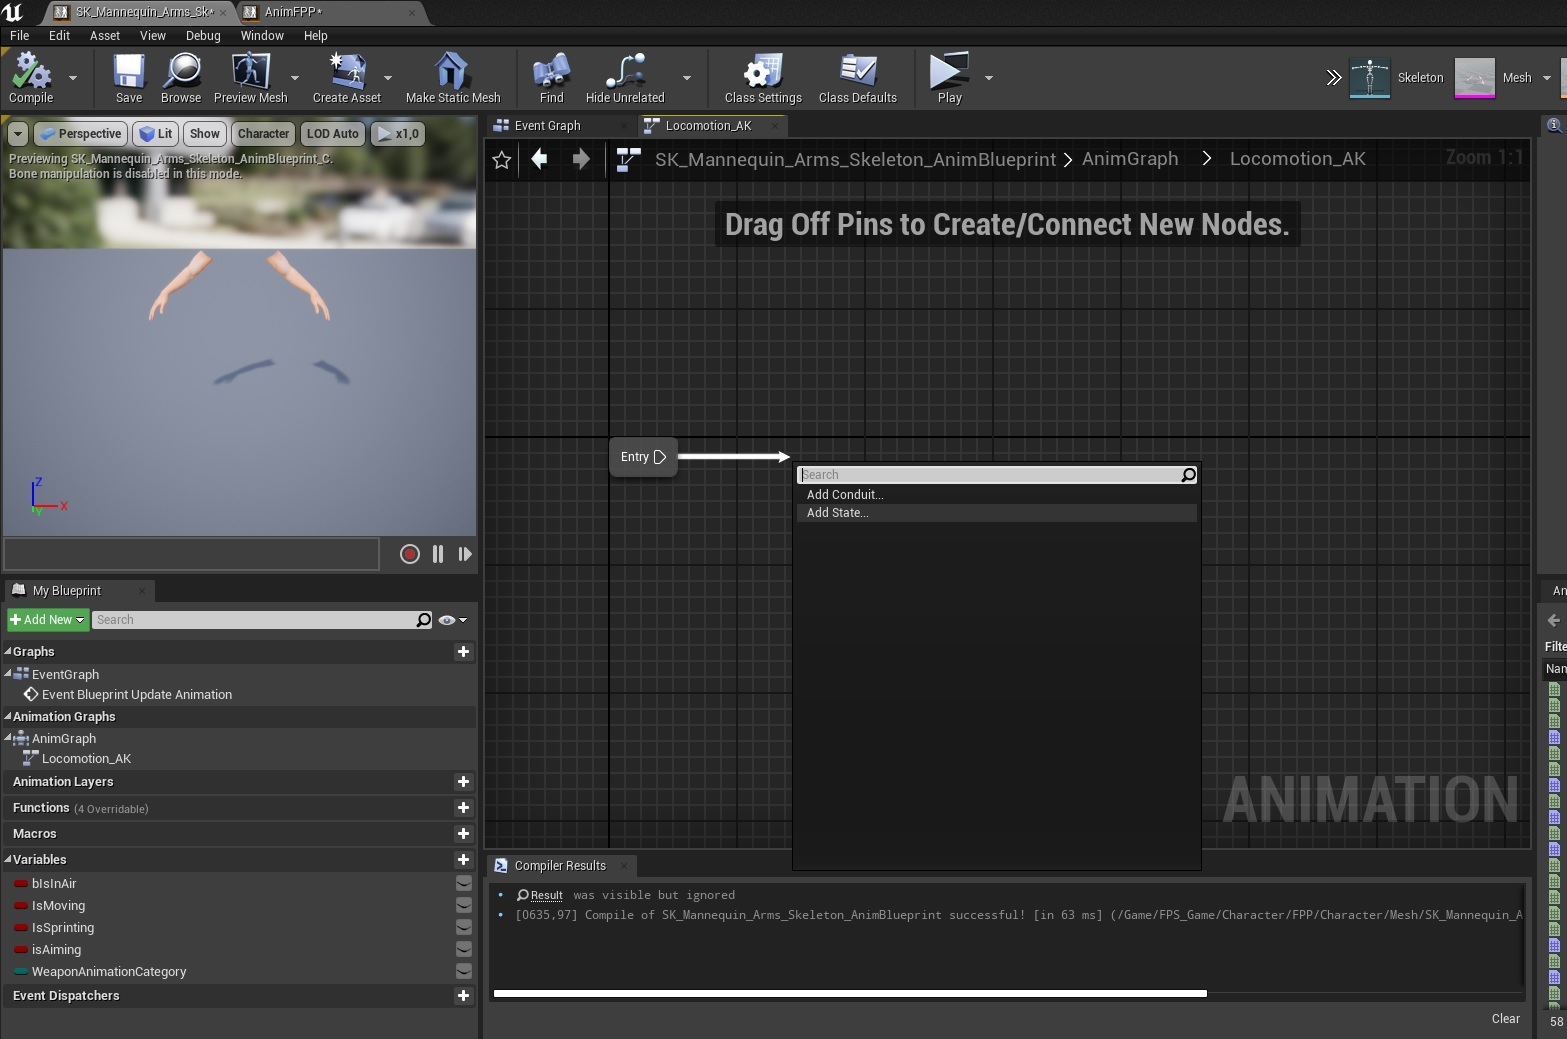
6. Inside it, drag off from the entry and create a new state, this will be idle
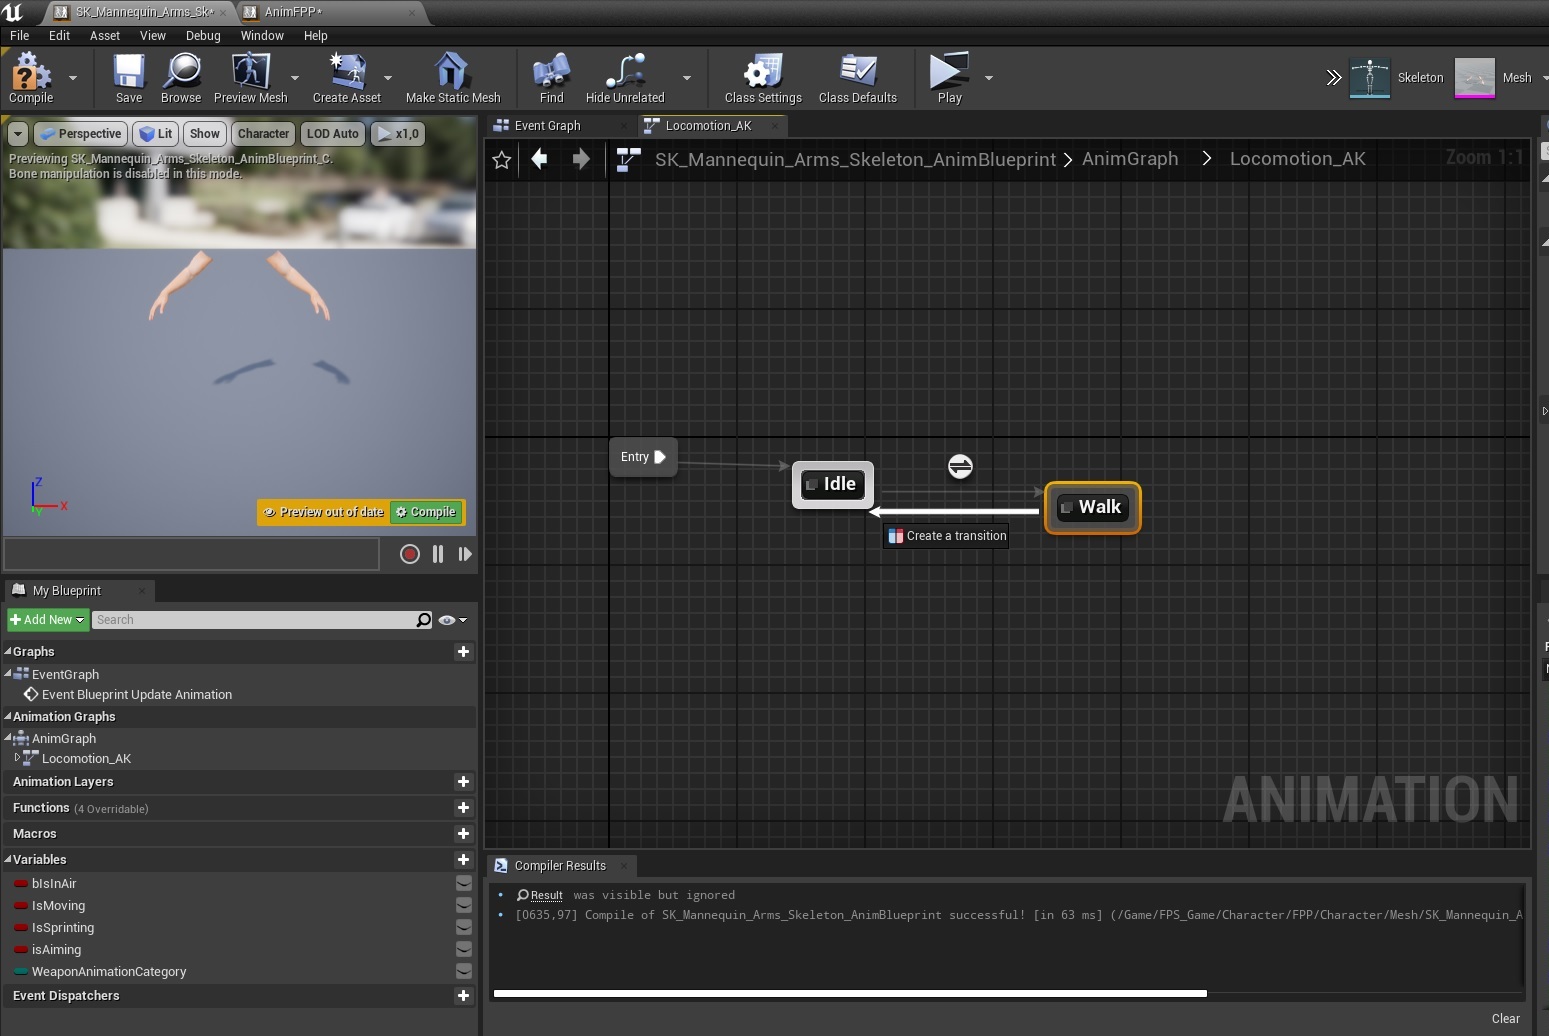
7. Now drag off from it and create another one.. this time for walking
8. Now drag walking back into idle, so that it can swap between them
9. Inside the transition nodes use IsMoving (Idle to Walk) and IsMoving=NOT (Walk to Idle)
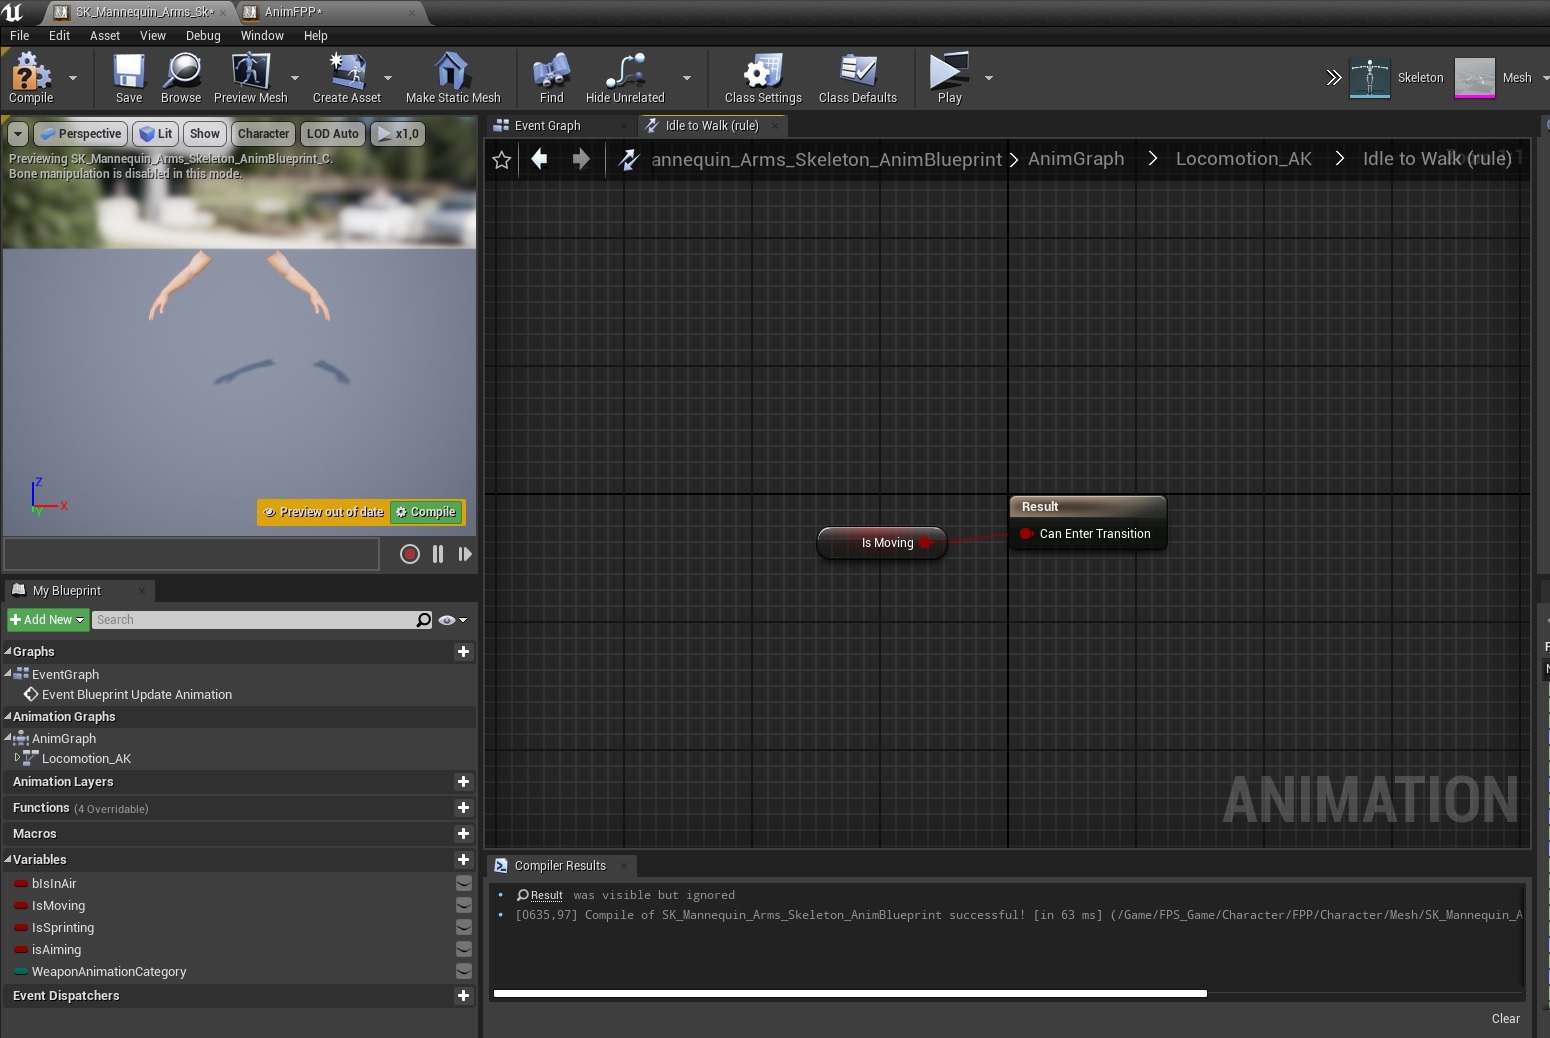

Using the same process add sprint too

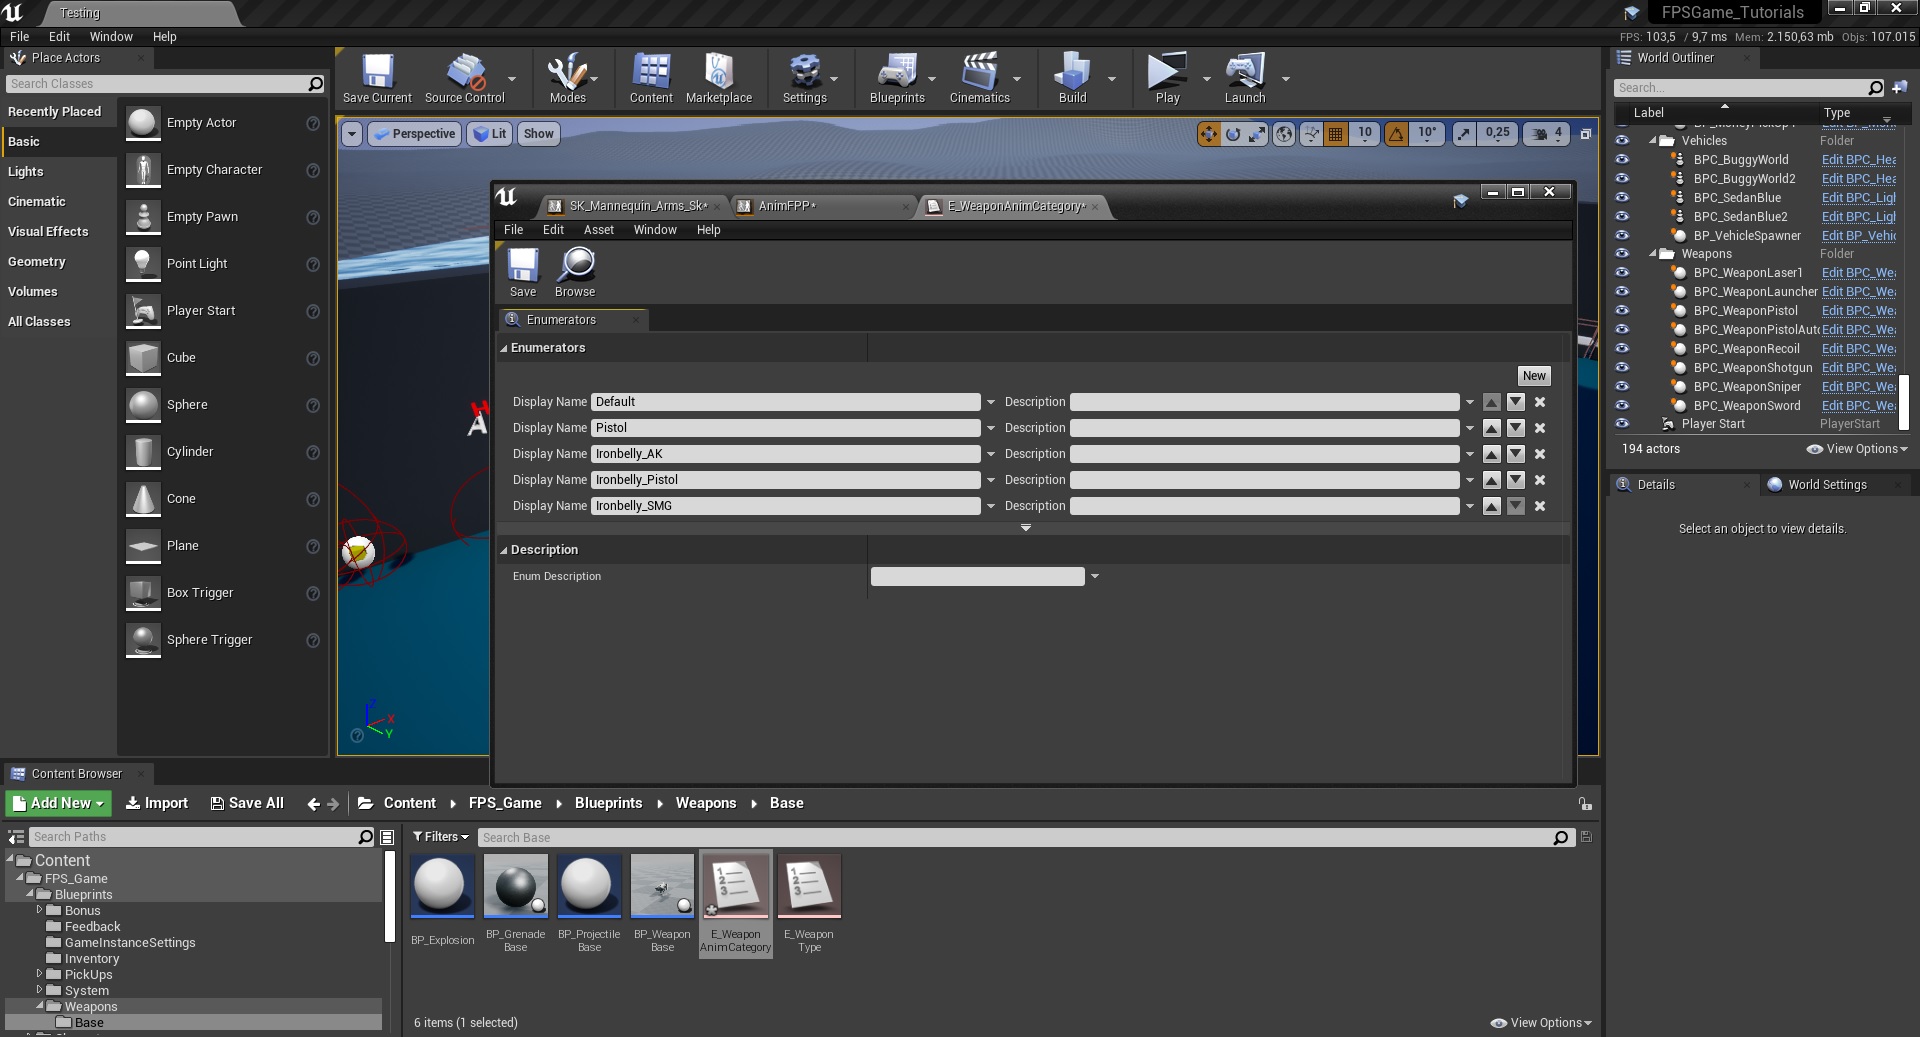
10. Open the weapon anim category enum and add few new entries, those will be set inside your weapon child classes and used to tell the animbp to switch locomotions
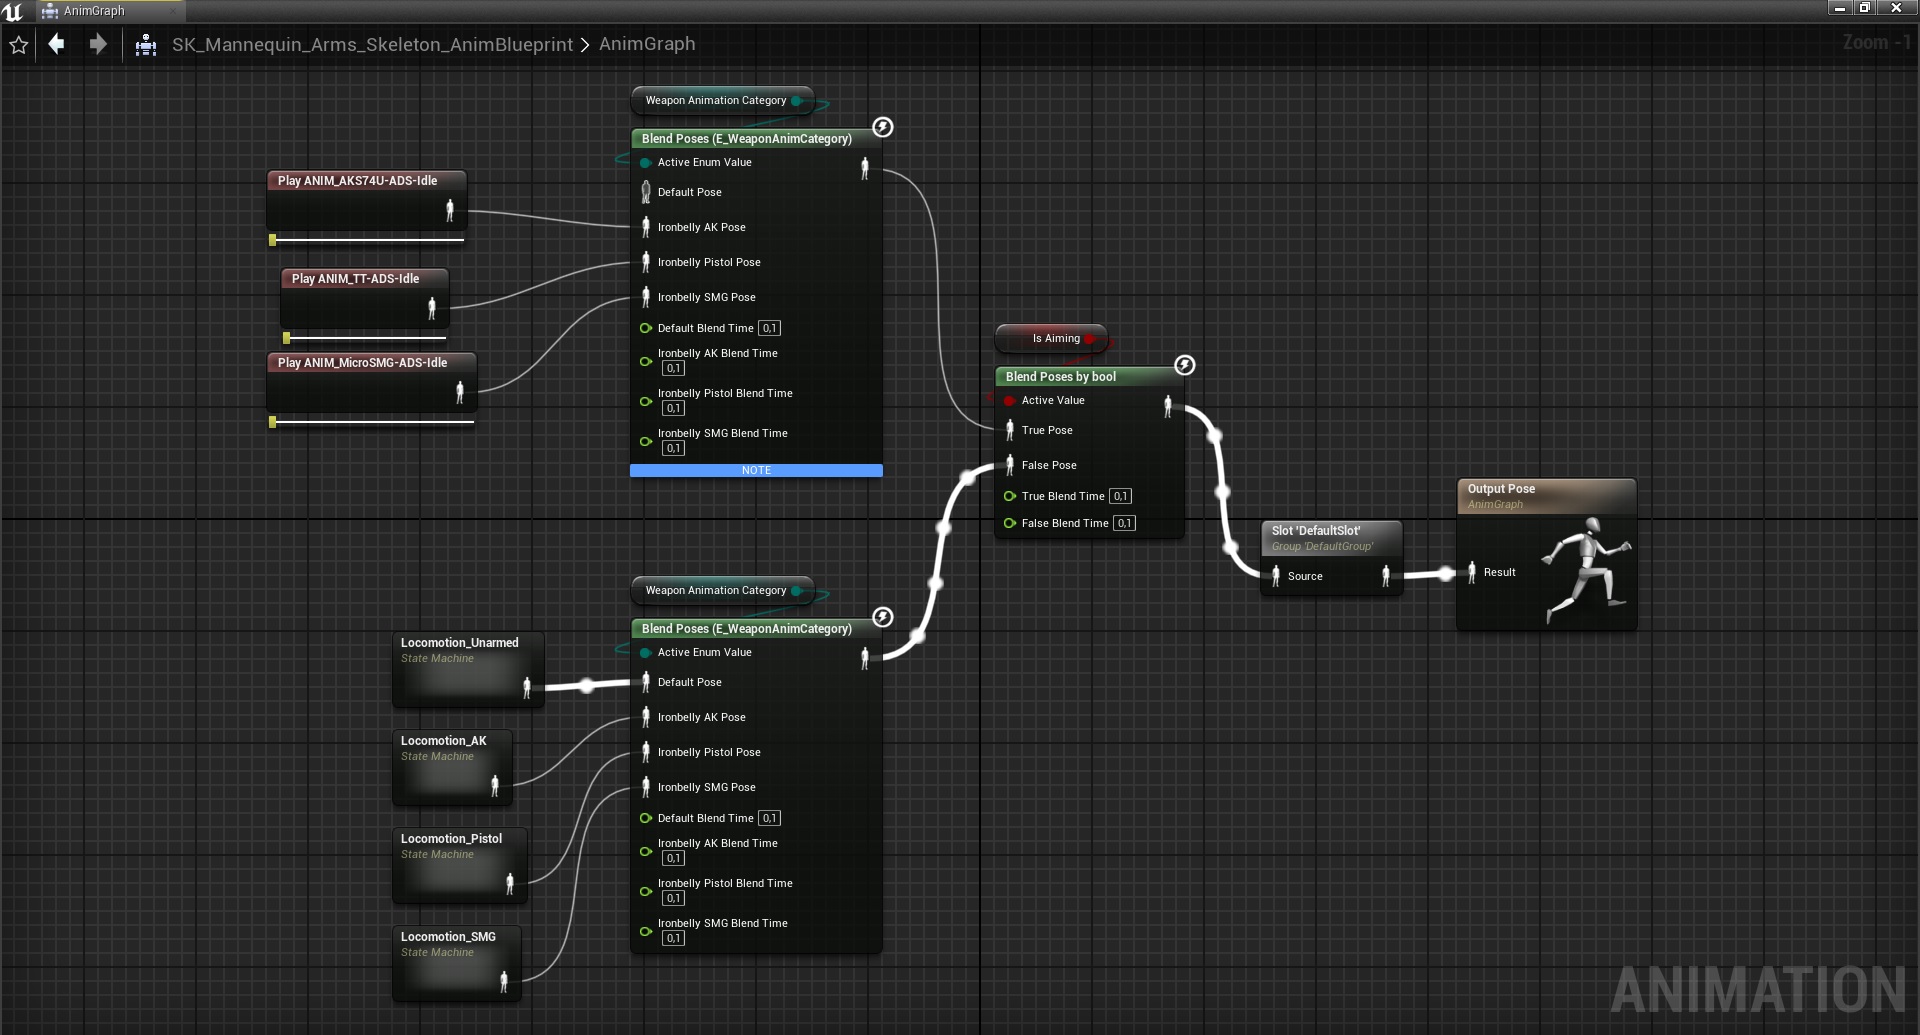
11. Back inside the animbp, use this node as a blend
12. Create locomotions for all of your ironbelly weapons and connect them in the animbp like this
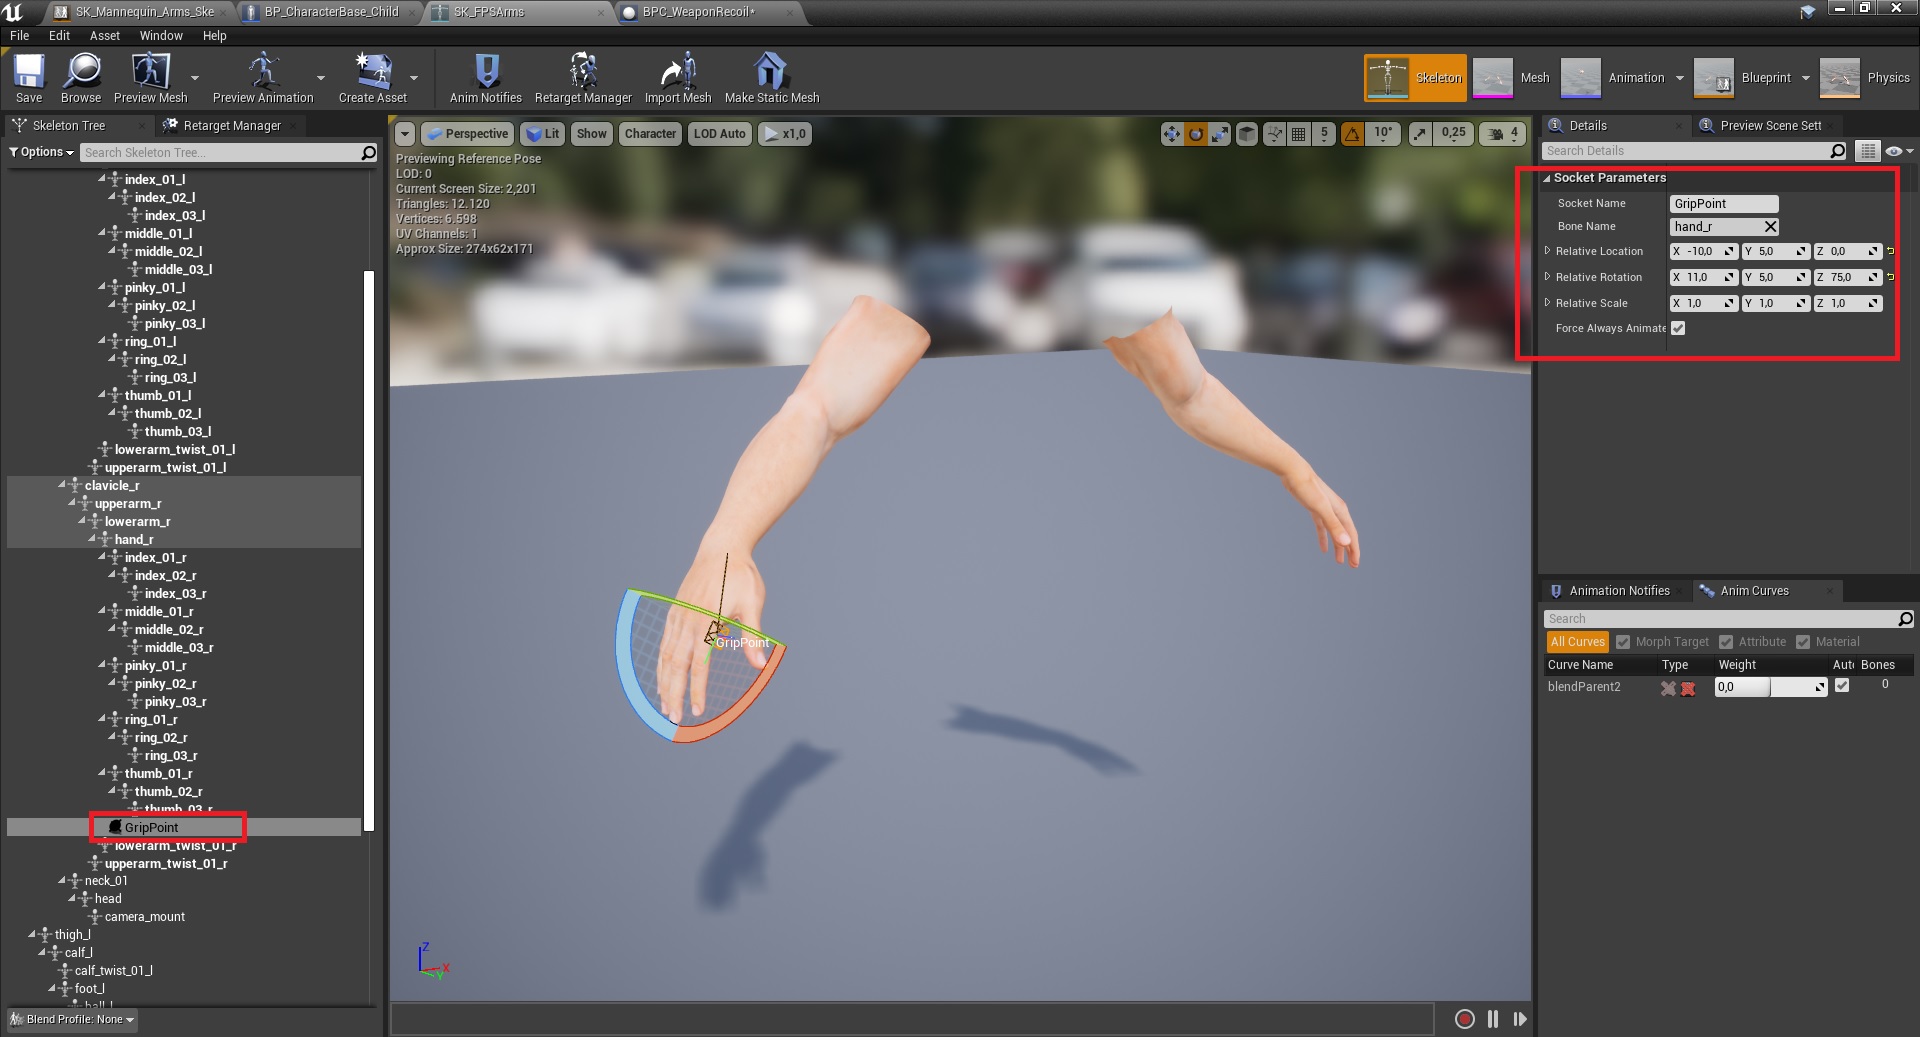
13. Open the ironbelly arms skeleton and add a new GripPoint socket, this is where the weapon will be attached. NOTE: if you plan to mix the ironbelly animations with the default ones, I recommend that you name the socket differently, leave GripPoint as it is, but add GripPoint_Ironbelly or something along those lines, then in the weapon child class you can just tell which socket it should use.
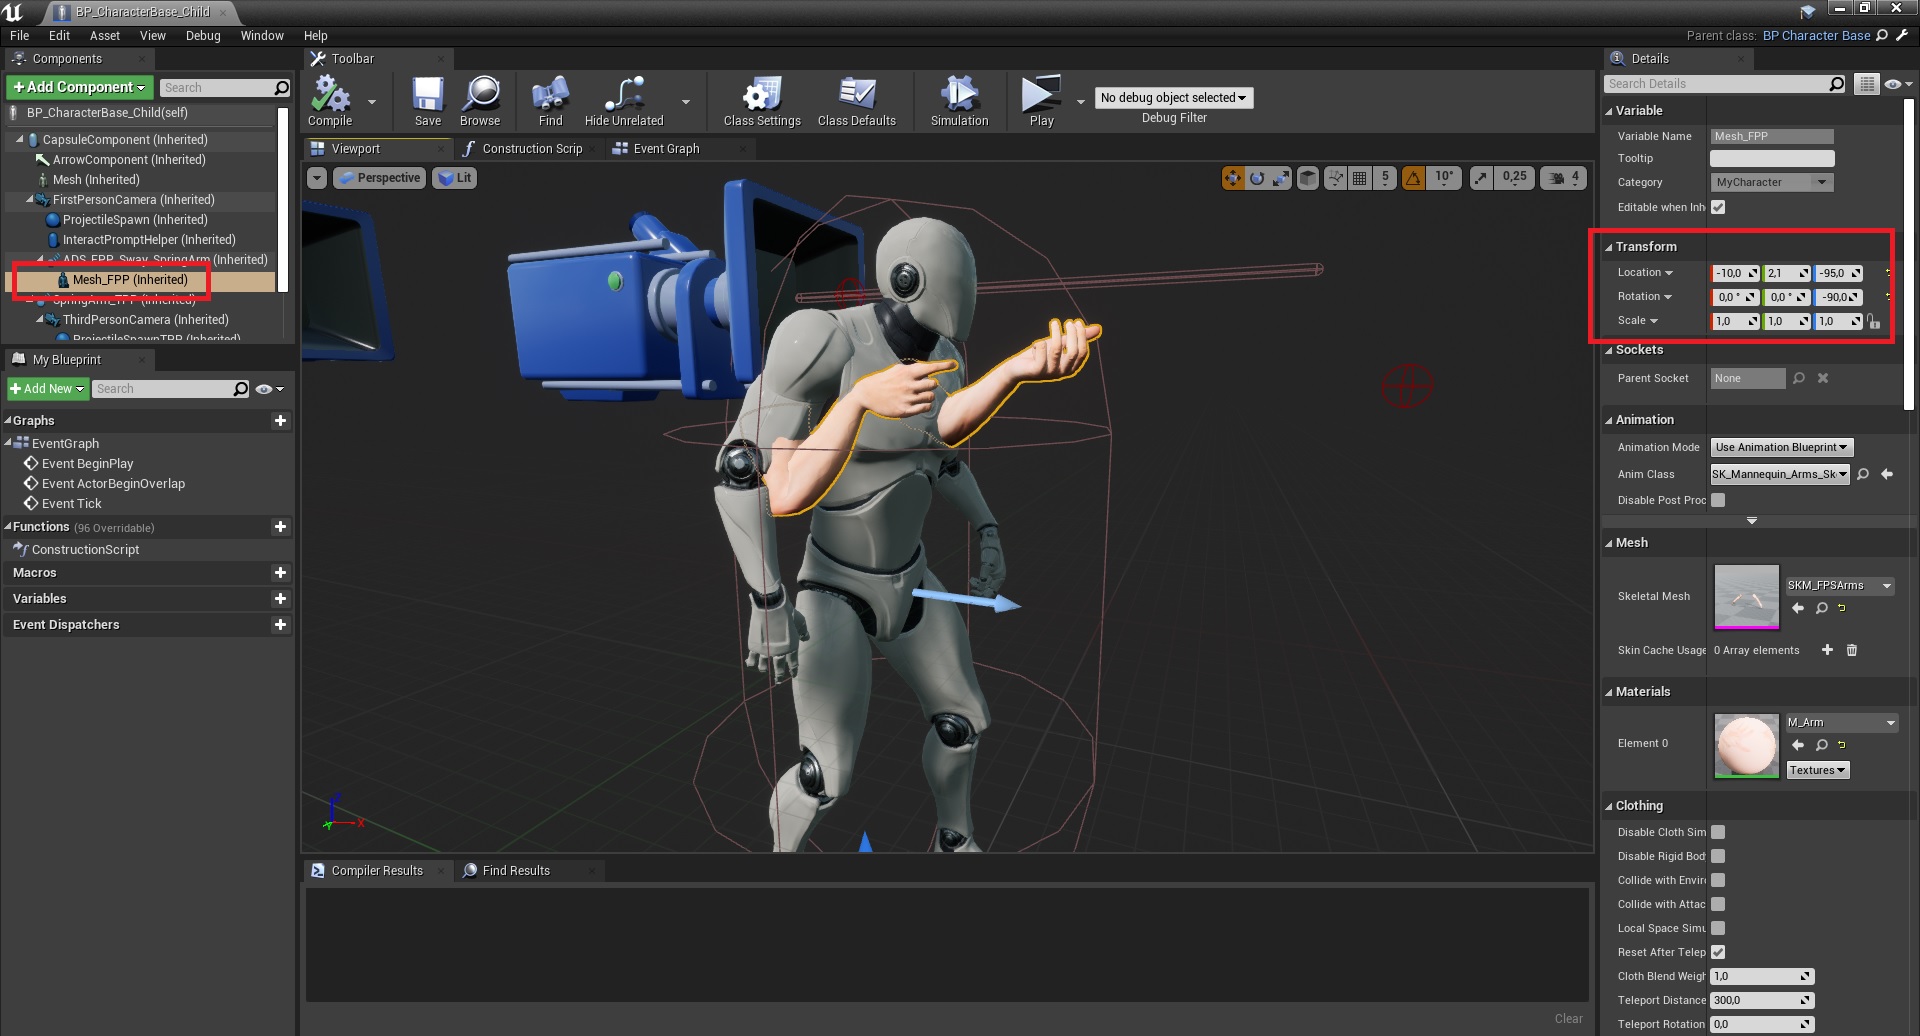
14. Inside the character move the arms into this position to account for the different axis rotation and location. NOTE: if you plan to mix the ironbelly ones with the default ones, keep an eye on the Y axis here, for the default ones I use 0.0 value, so if you change it here to be like in the picture, you can still align aiming properly via weapon child class and in its Other Tweaks section (X and Y translation, and of course ADS Correction)
15. On your weapon child classes, set what enum it should use and the animation montages for the arms

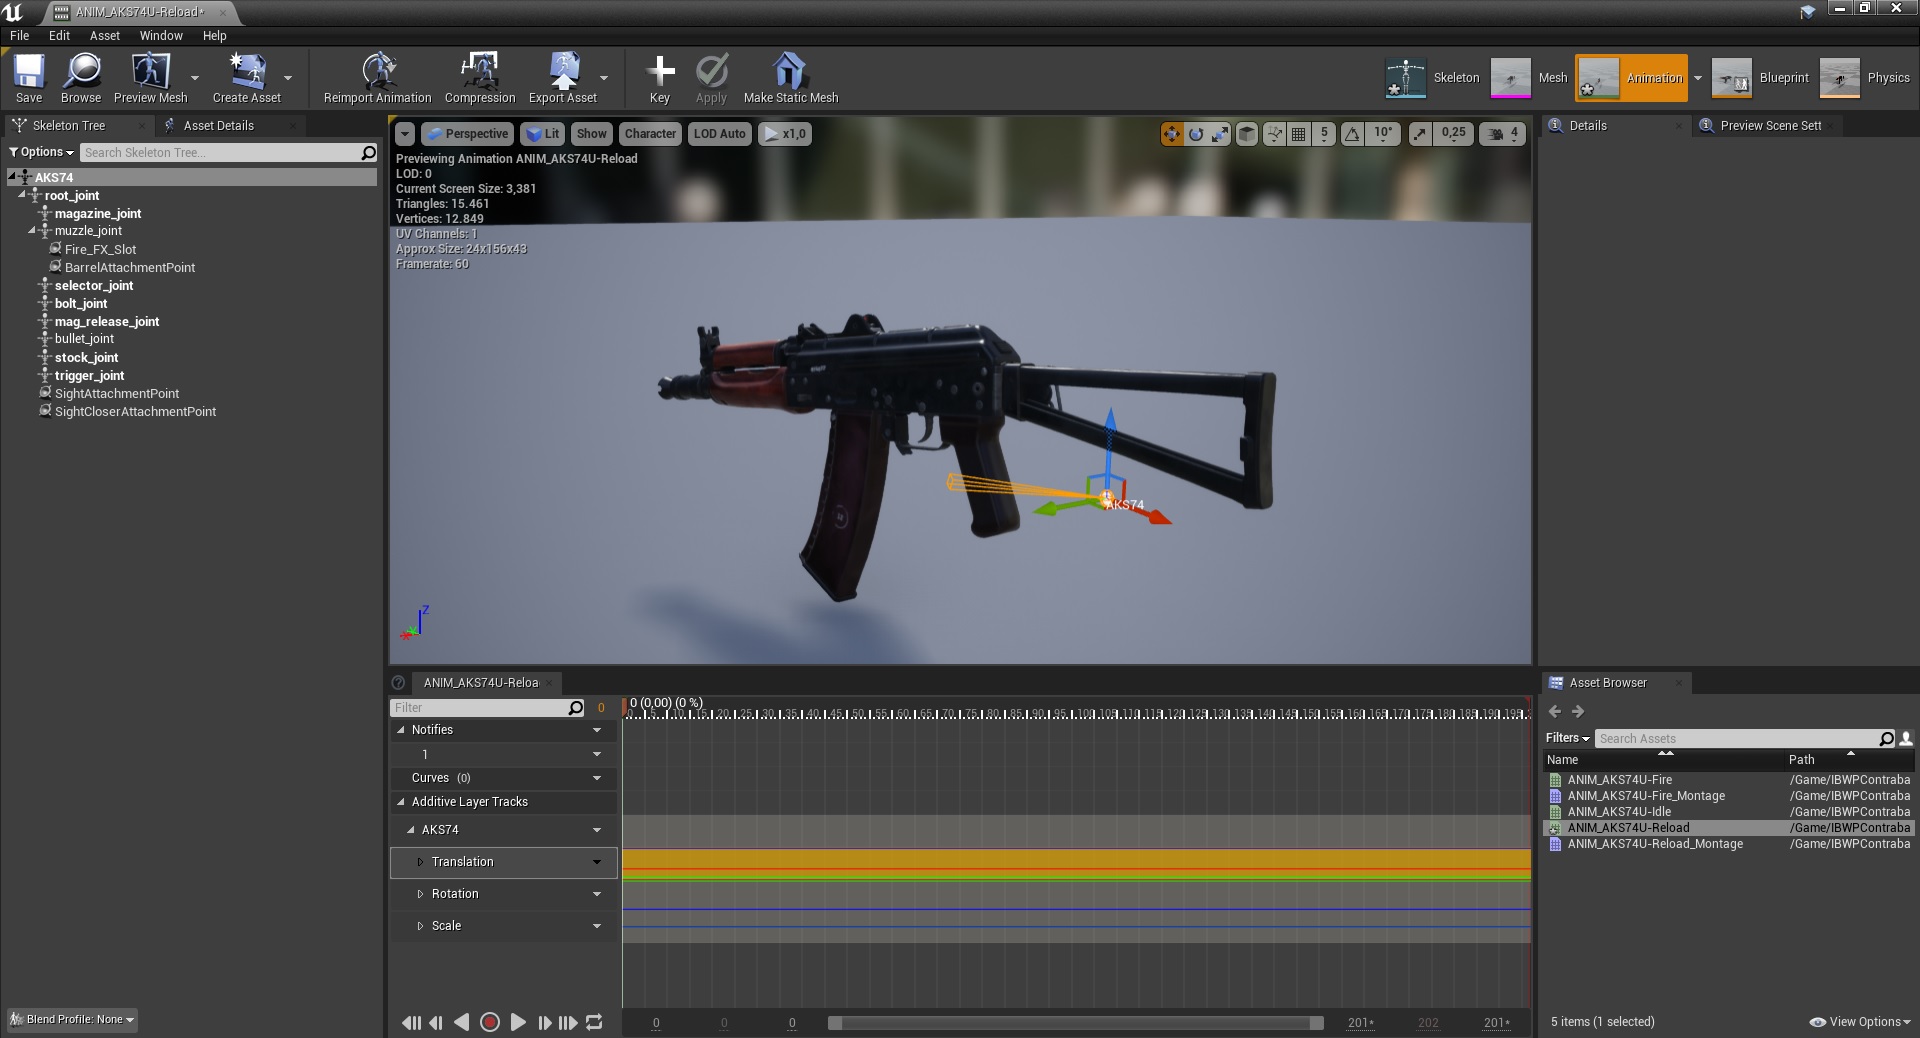
16. Weapon mesh animations are tricky because they’re rotated (should stay still and look the same direction as the default UE4 weapon, but they don’t), you can use persona to rotate them by -90 Z and move them slightly back, add key, apply, save.
17. Add 2 new sockets to your weapon skeleton (Muzzle and AmmoReject), to make it spawn particles. For more info about that see the how to make new weapons tutorial
That’s it!
Old tutorial, I’ll leave it here just for reference, it is NOT supported.
There is also a simple way if you only need the arms mesh, but don’t want different animations. This will work with any mesh that uses the UE4 skeleton.
