
IMPORTANT NOTE:
I did not create the AI behavior toolkit, if you have any questions regarding it’s use and how to modify it, please contact the creator of it. Thank you.
This tutorial was made with the approval from the maker of AI Behavior Toolkit.
We both agreed that it would be a good idea to have a tutorial like this, to make things more convenient for everyone. The two packs are still separate products on their own, this tutorial simply shows how to integrate one into the other, it does not mean that other assets cannot be used.
With that said, let’s begin…
1. create a new FPS Game Starter Kit project
2. create a new AI Behavior Toolkit project
3. open the FPS project, go to Editor Preferences, enable EQS and close the project (not required on newer engine versions, it’s enabled by default now)

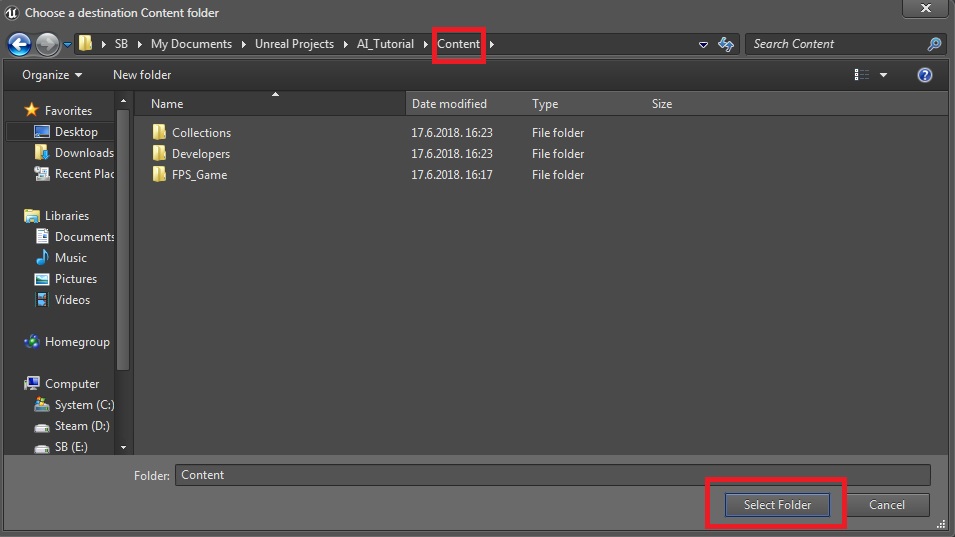
4. open the AI project and migrate the AIBehaviorToolkit folder into the Content folder of your FPS project

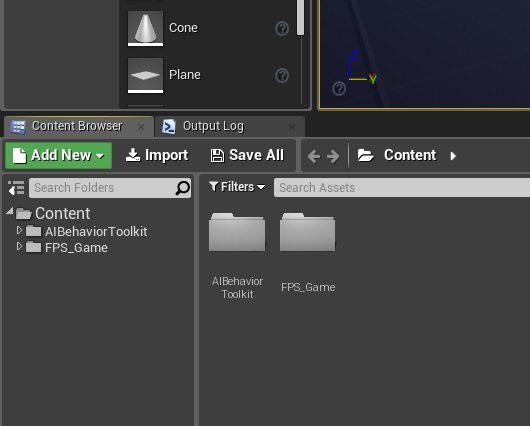
5. close the AI project and open the FPS project, it should look like this now
Now both need to be slightly modified in order to be able to work together.
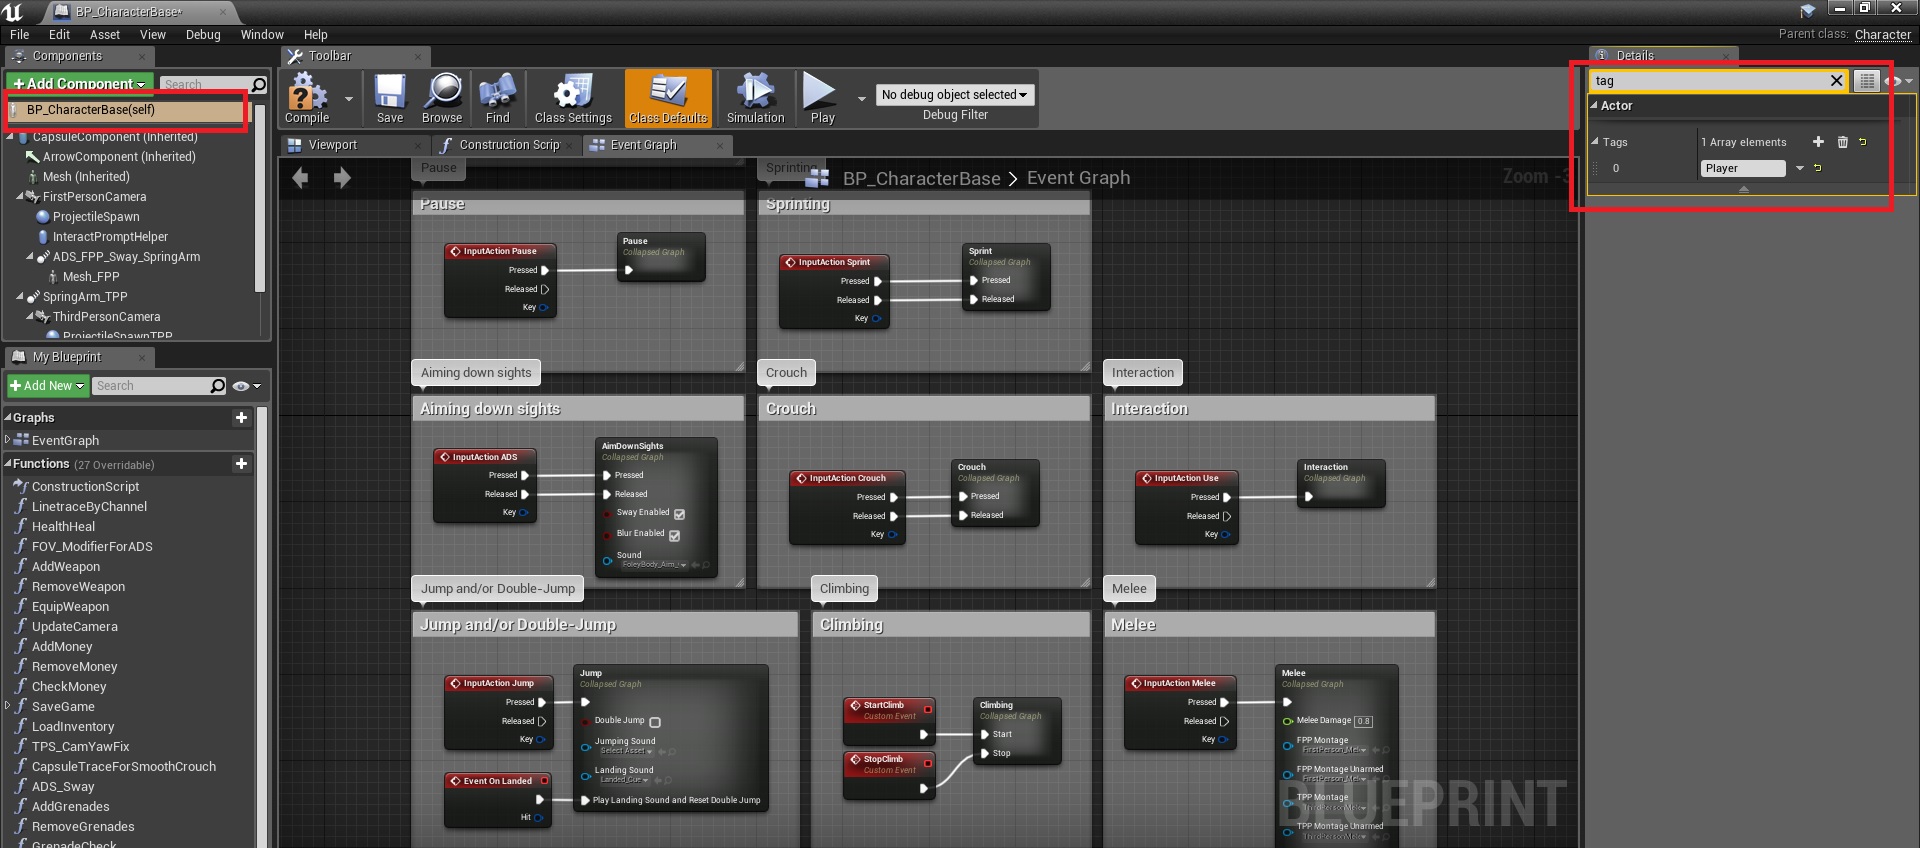
6. open BP_CharacterBase (FPS_Game/Blueprints/) and add the tag “Player”
7. still on BP_CharacterBase, add a component called “BP_BehaviorTriggerComponent” and add the following anywhere on Begin Play
 This step does not appear to be necessary anymore.
8. now open BP_ProjectileBase (FPS_Game/Blueprints/Weapons/Base/) and add this to the apply damage part
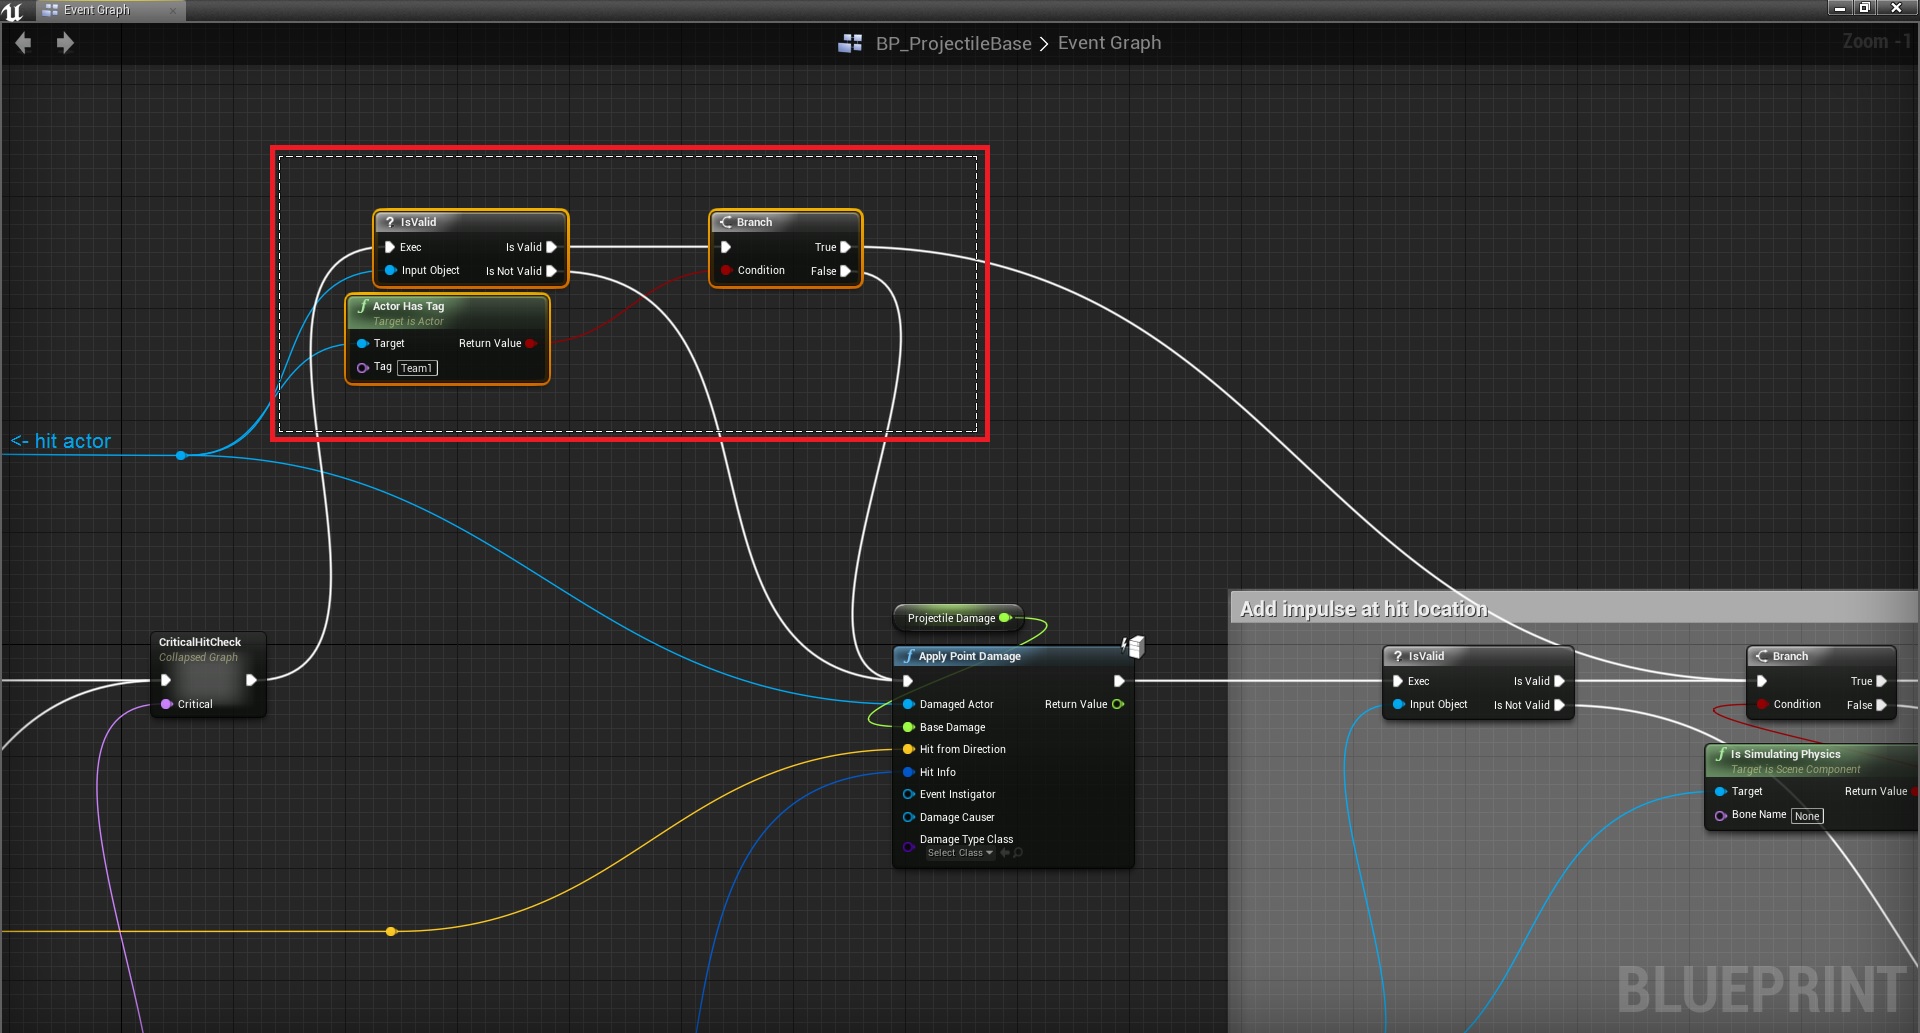
This is needed in order to prevent the projectile from killing allies.
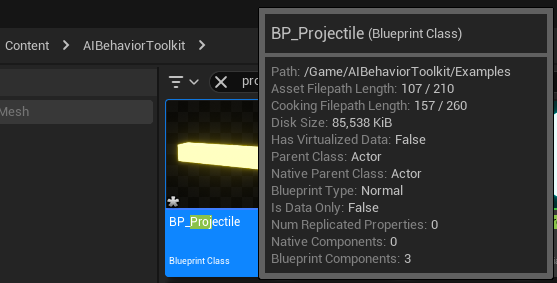
9. now open the BP_Projectile from the AI toolkit (AIBehaviorToolkit/Examples/) and reduce the damage it does from 5.0 to 0.1
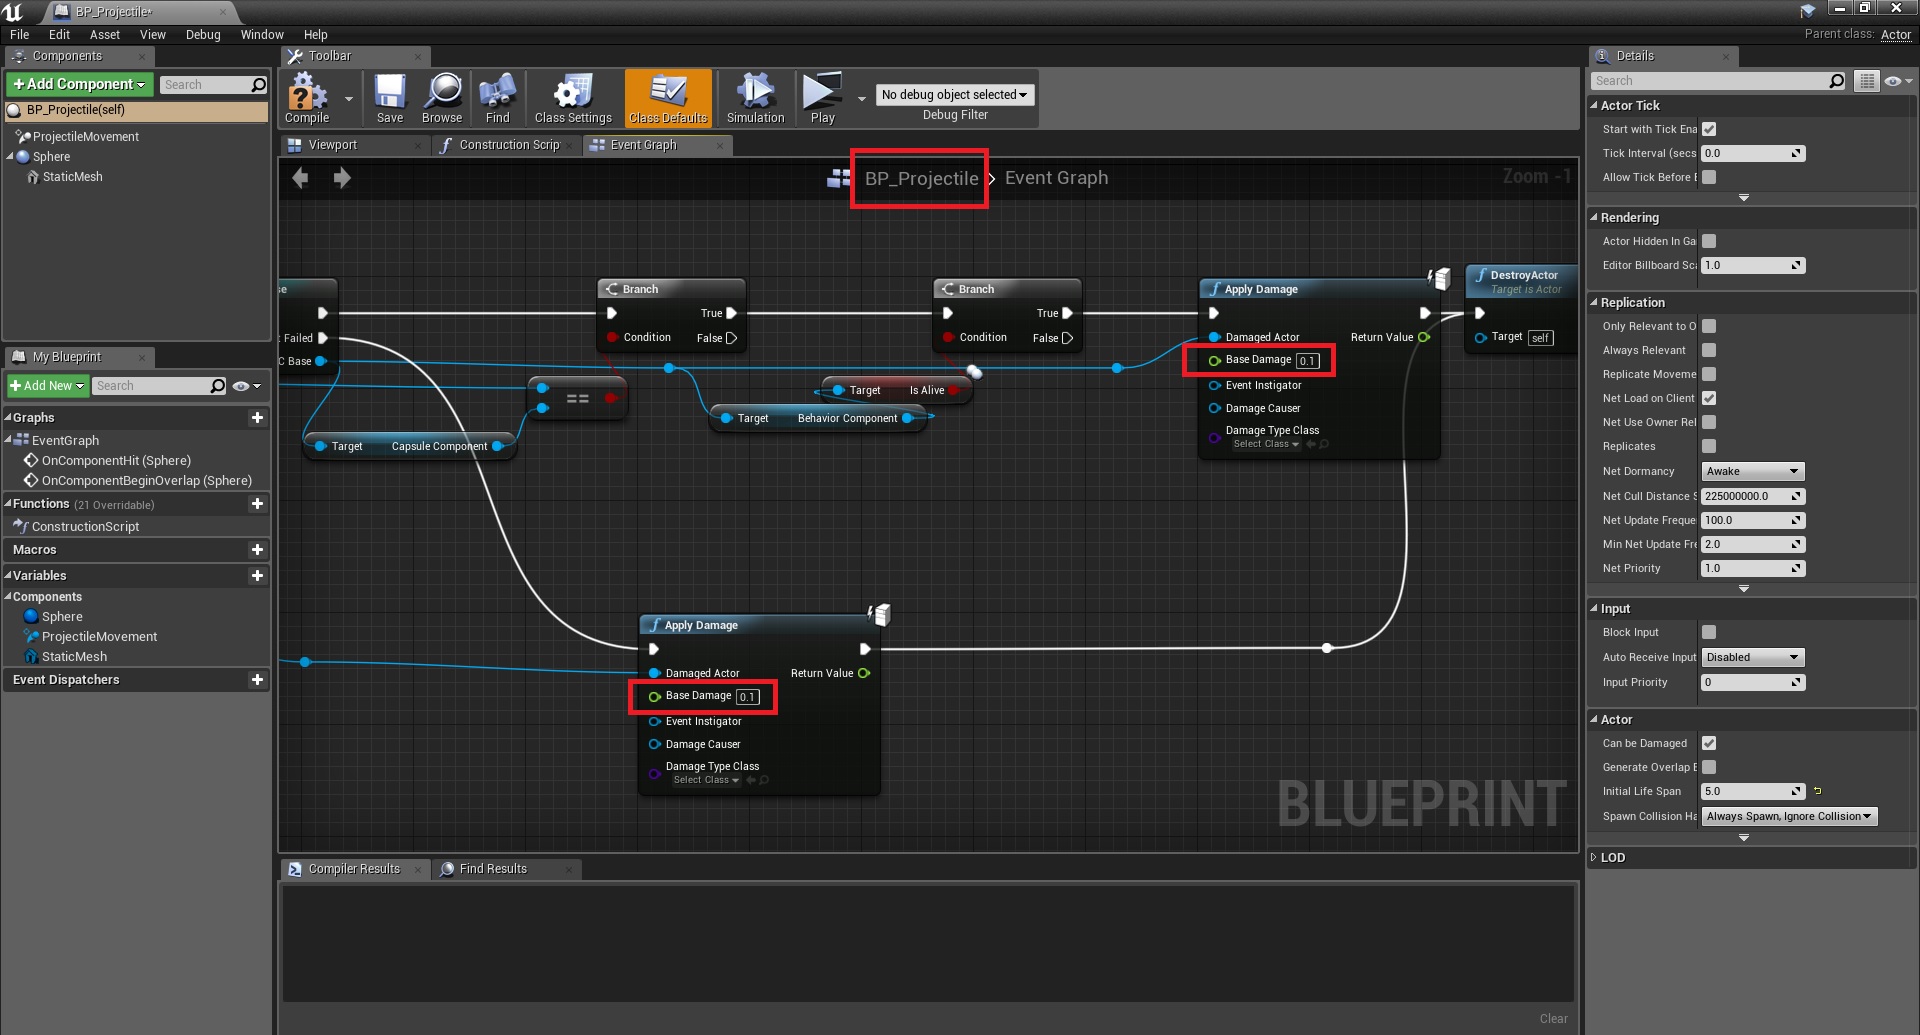
This is needed so that the AI doesn’t kill the player in 1 shot.
10. now open BP_NPC_Base (AIBehaviorToolkit/Blueprints/) and change its health and damage values, this is a required step because of the different health logic used.
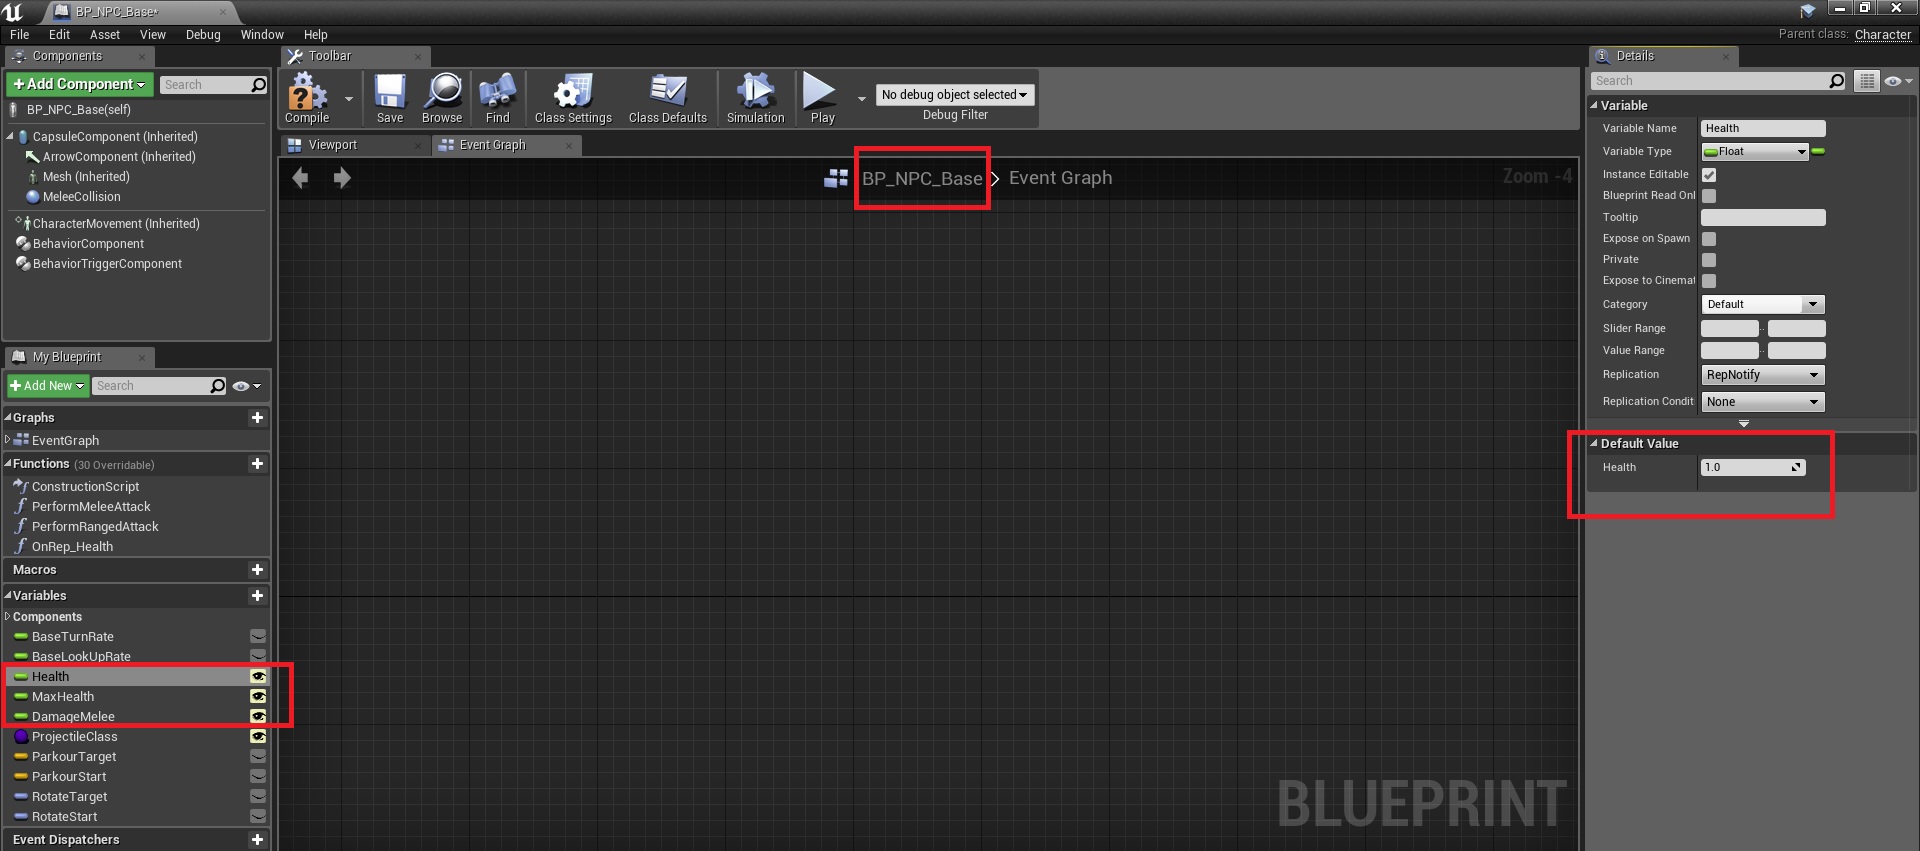
Health: 1.0
MaxHealth: 1.0
DamageMelee: 0.2
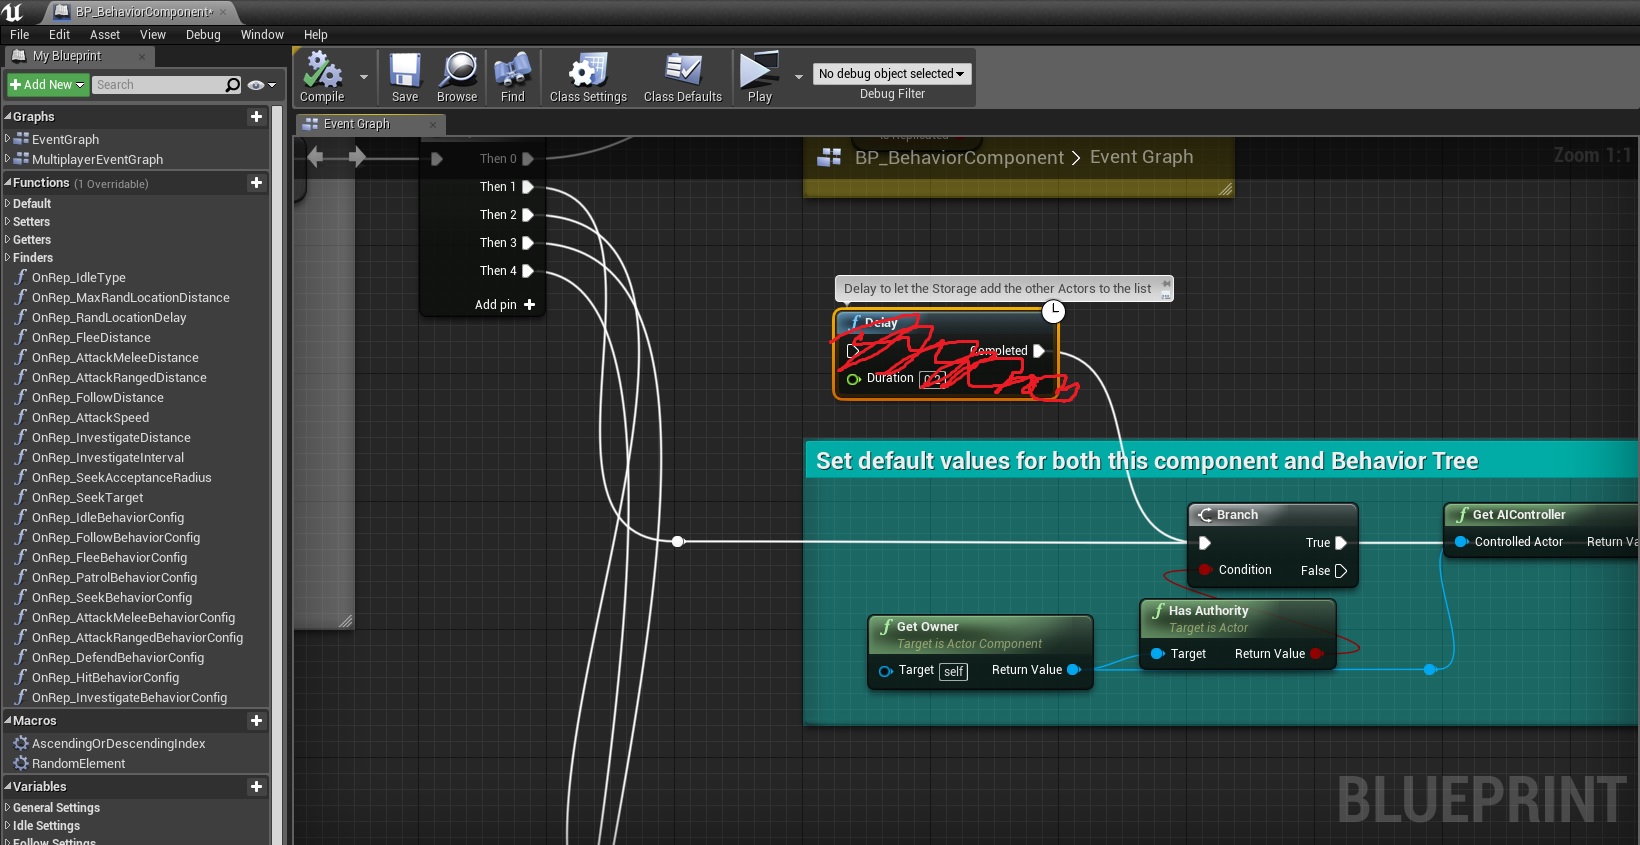
11. optional step, but I found out that if you get rid of the Delay inside BP_BehaviorComponent (AIBehaviorToolkit/Blueprints/) the AI can be placed right in front of the player and will start to react without any errors.
12. Additional tip, a user named WyvernSoft wrote this on my store page:
I don’t know where to post this info but here I go. If you’re having trouble doing melee damage to the AI from AIBehaviorToolkit, that’s due to the Collision on the CapsuleComponent. Here’s what you have to do to fix that.
First, navigate to the Capsule Component of the BP_NPC_Base and then scroll down to the collision section.
Second, you need to switch the Collision Preset from Pawn to Custom, and make the Object Type Enemy. (Double check Collision Enabled is set to Query and Physics)
Third, set allCollision Response to Block, except Water. Set Water to Overlap.
And that’s it! GL;HF
13. Another nice tip comes from Blue on Discord:
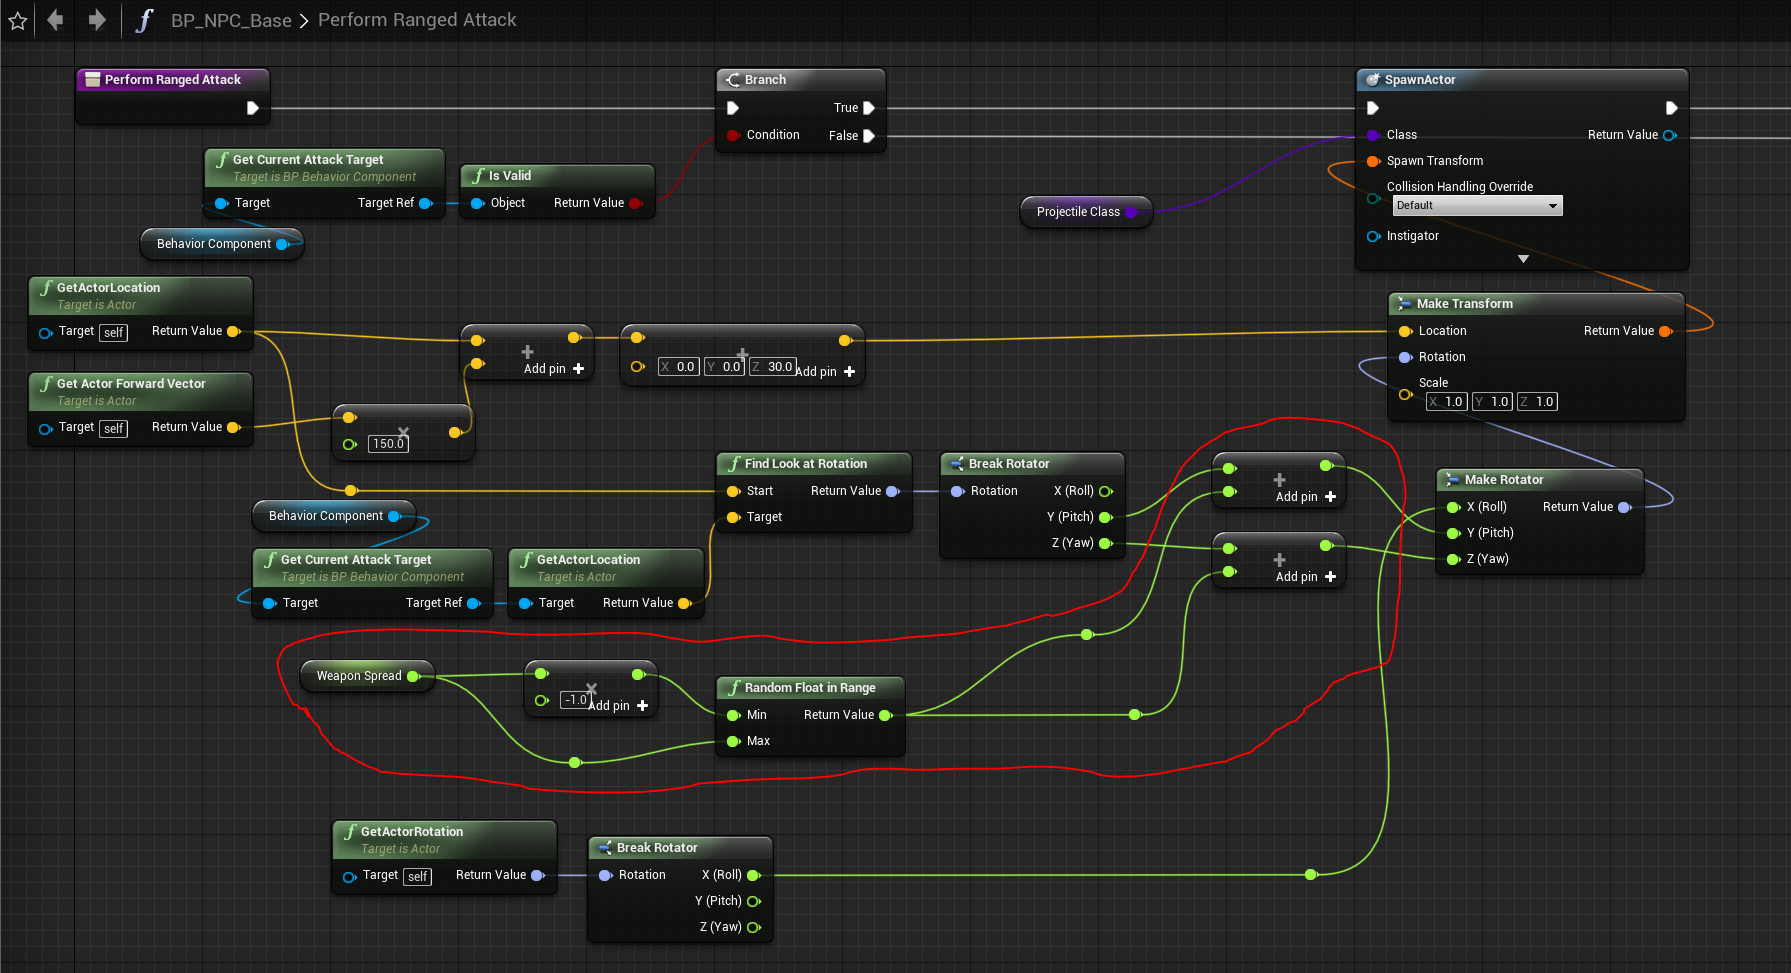
Weapon Spread on AI Behavior Toolkit
It only spreads it left to right and not up and down, but its better than pinpoint shots Messing with Y makes it unable to aim up or down, and Messing with Z makes all shots go backwards Add the circled red logic to the the BP_NPC_Base, on the Perform Ranged Attack function
14. Apparently in some cases its projectile doesn’t do any damage to the player. If this happens locate its projectile class, and on Event Hit, add a Cast to BP_CharacterBase from hit actor, if true apply damage, continue its original logic, if on cast fail also continue its original logic.

15. Another tip from Discord, special thanks to “(WTH) Patton” in case the enemy isn’t aware of you:
In case someone else needs the solution…. In order for Ai Behavior Toolkit enemies to react to you, there’s some extra steps to follow (add CurrentHealth variable, add I_IsAlive interface on class settings and a little set of nodes linked to this)

That’s it!
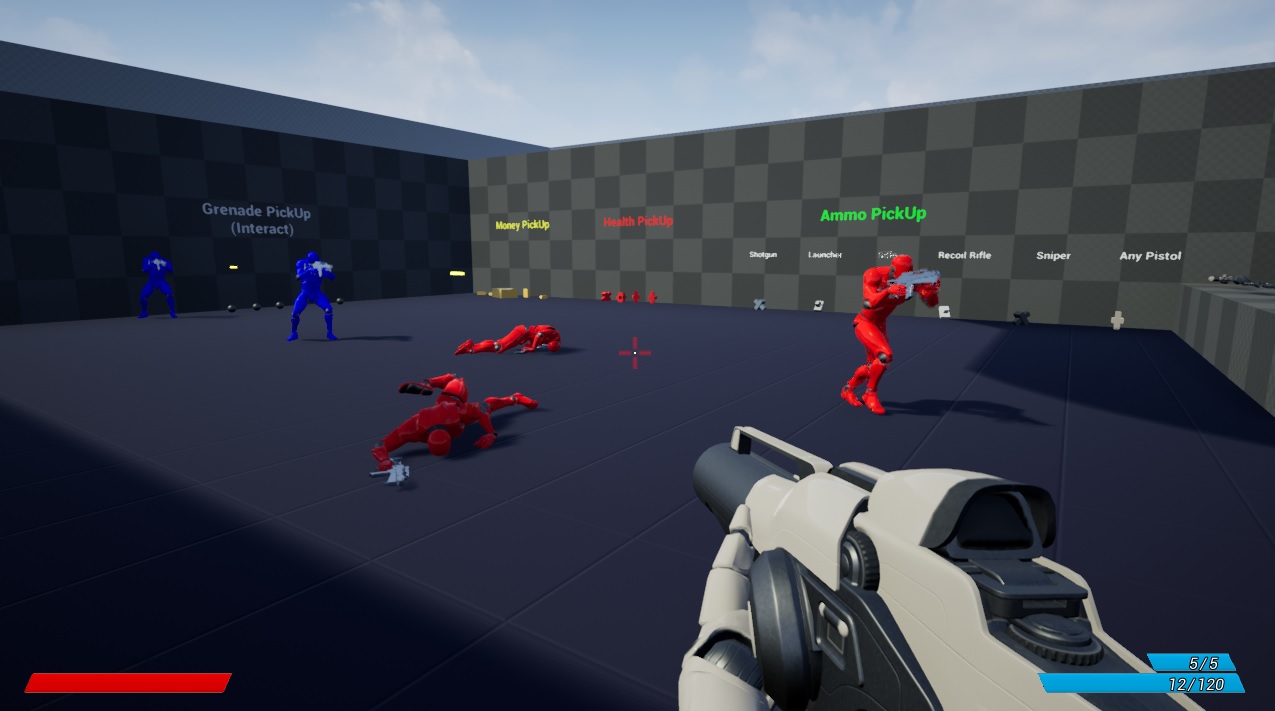
AI Behavior Toolkit is now integrated into FPS Game Starter Kit
If you have any questions regarding the use of AI Behavior Toolkit, be sure to check out the Documentation and Tutorials for it.
