
In this tutorial we will create a destructible mesh, while there are a million of those already available online, doesn’t hurt to have one more but with a plot twist at the end.
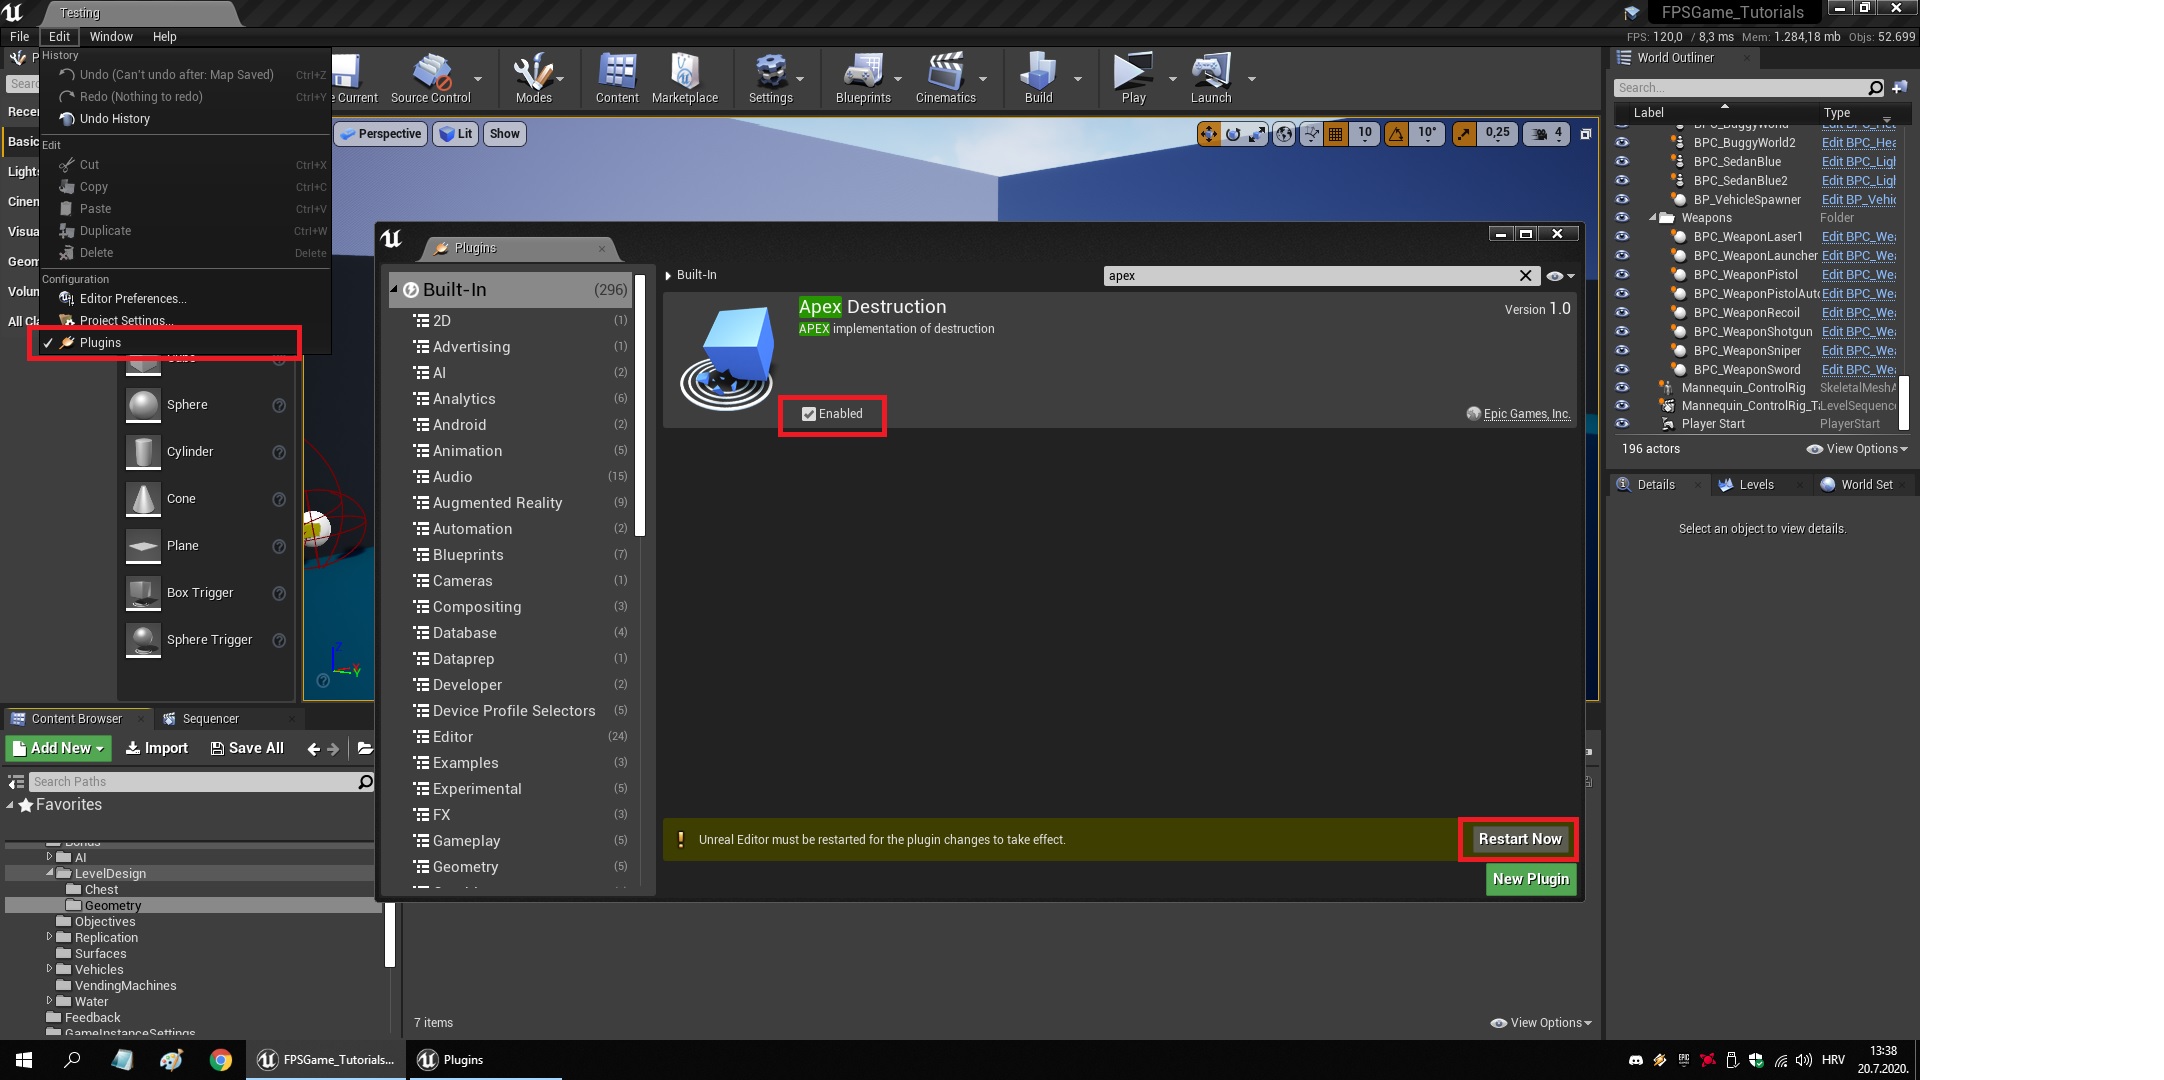
1. Go to Project Settings and enable the Apex Destruction plugin
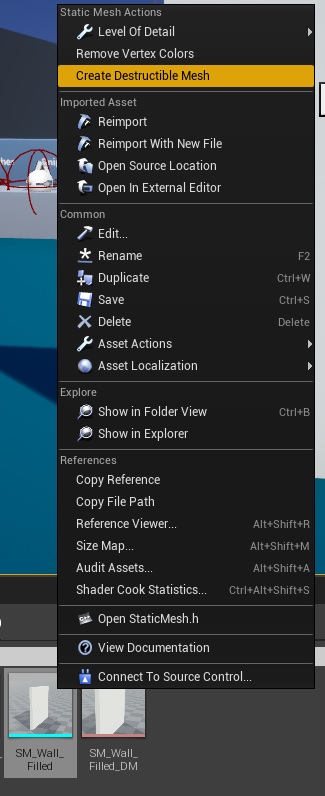
2. Right click on your mesh and create a destructible one
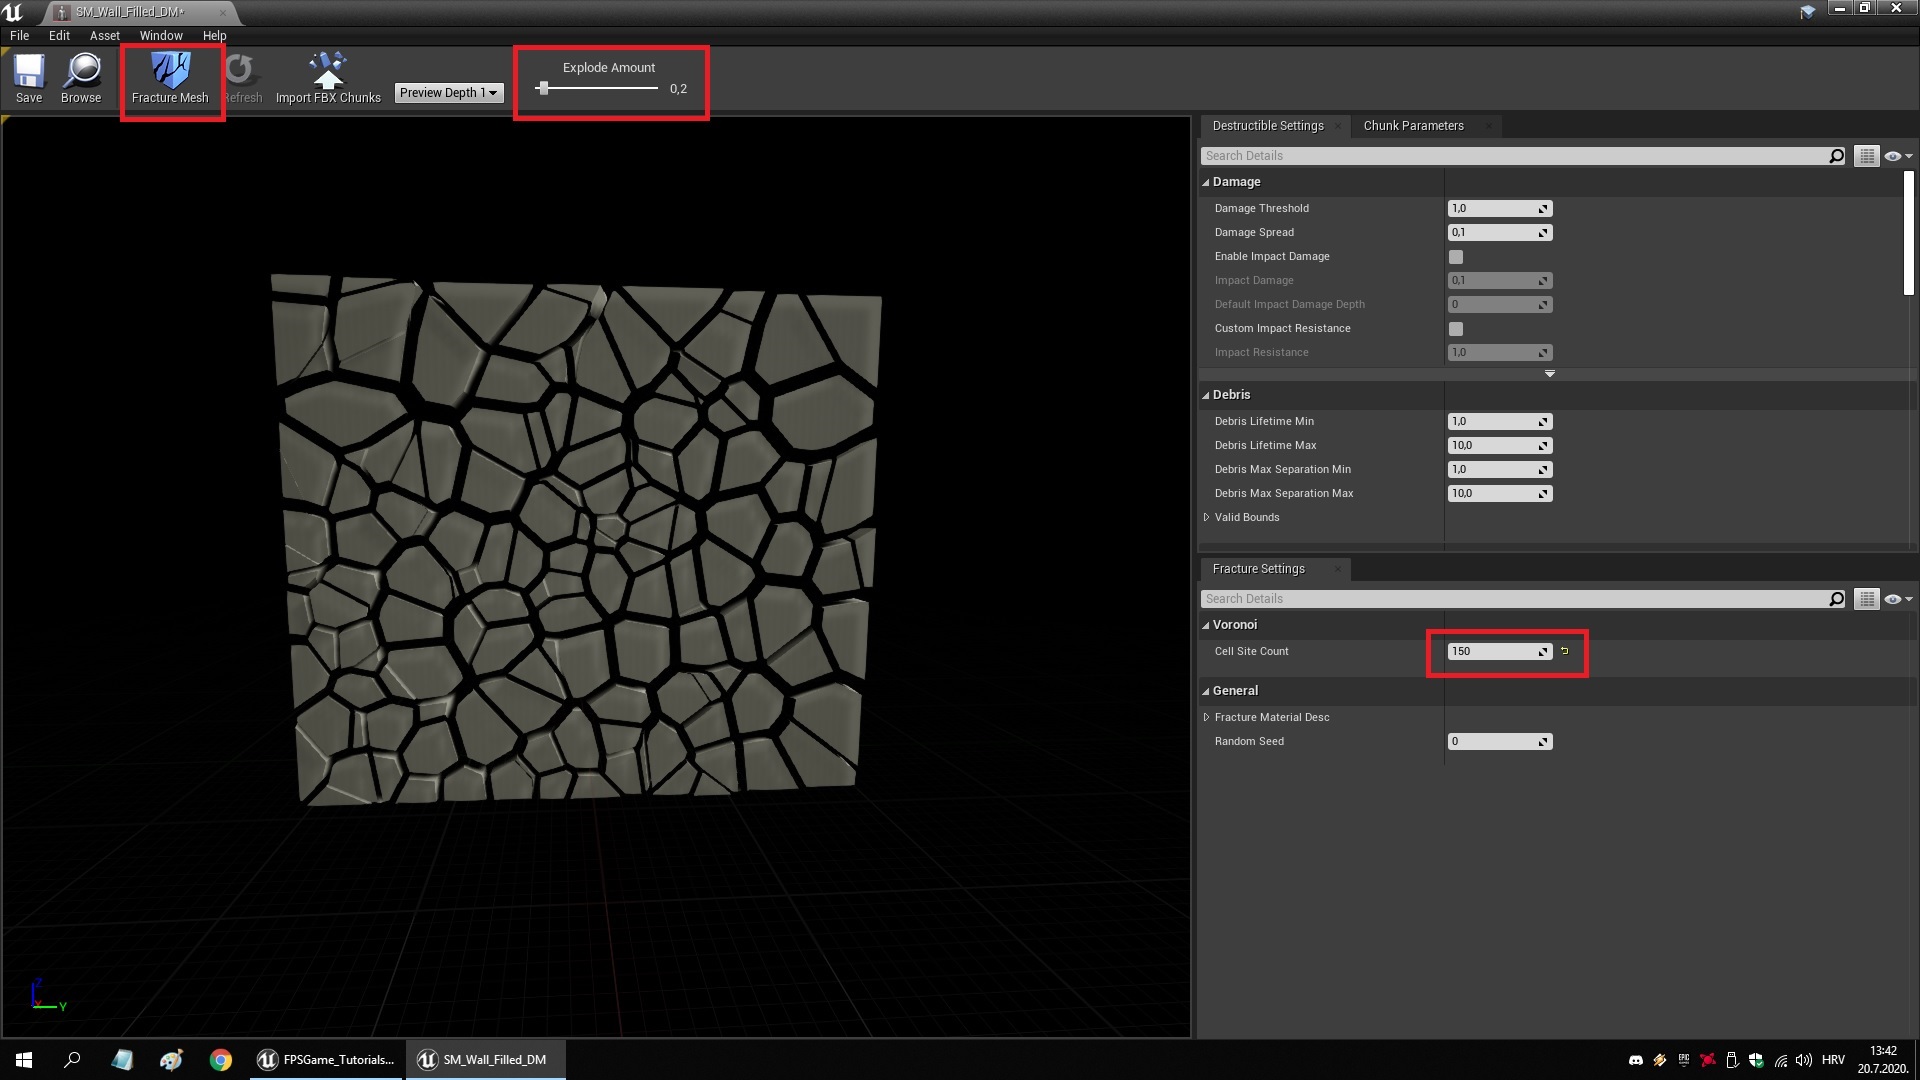
3. Tweak the amount of pieces as you like (but don’t go too crazy, the more there are, the slower it will be and more glitchy as well)
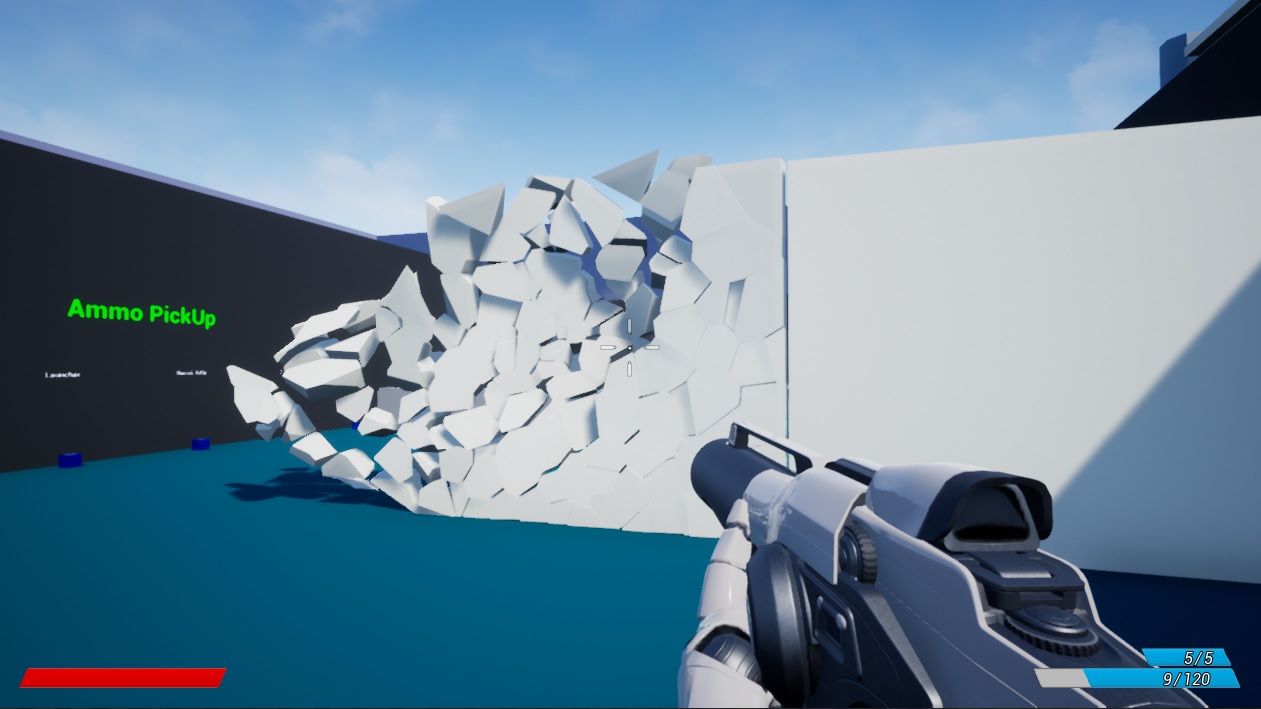
That’s it!
You can place it in the level and shoot at it.
Here is the plot twist I mentioned earlier, many people don’t know this, but when you place it in the level, you can turn it into a blueprint!
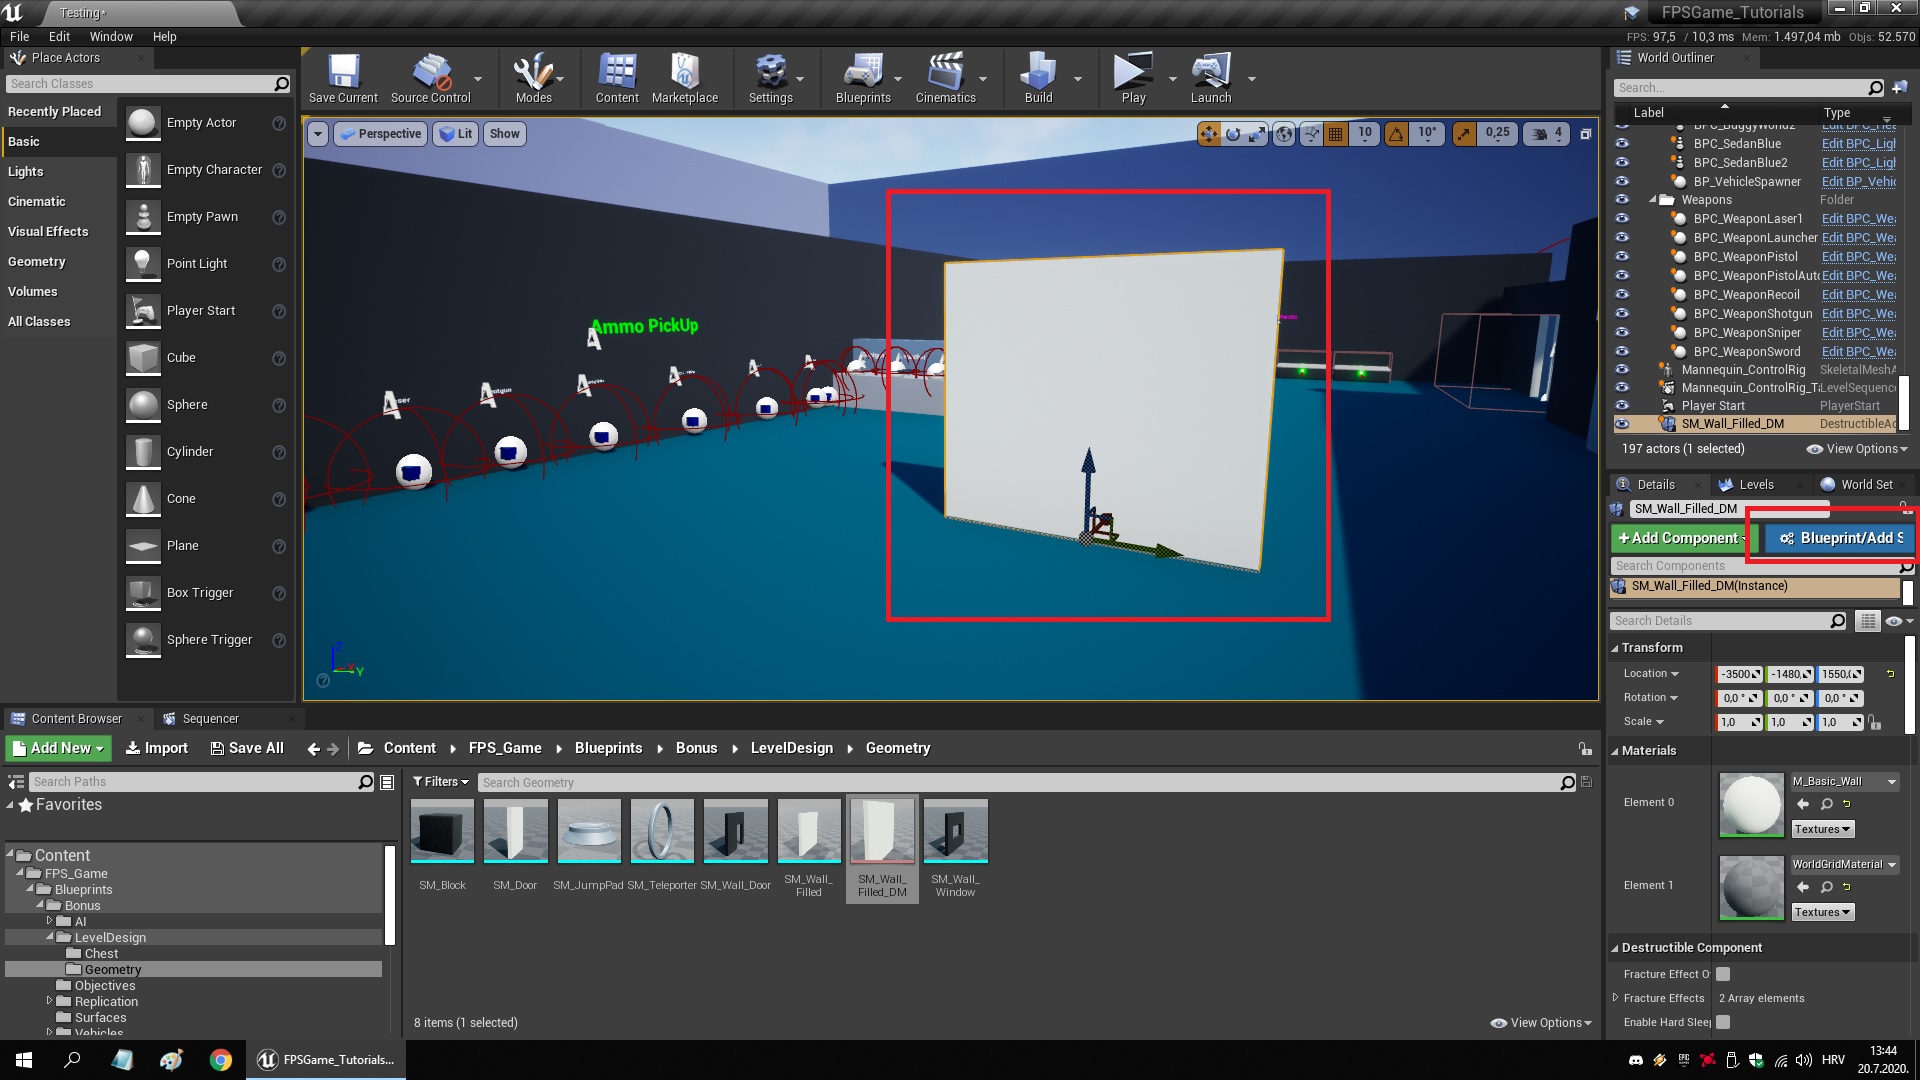

This makes it possible to use blueprint scripting to add additional logic to it, so for example what if I don’t want it to break that quickly, and have some sort of shield around it that prevents it (most of the time, thanks nvidia.. the way it’s meant to be played)
For that add a box collision to it, set it to block all and turn on CCD
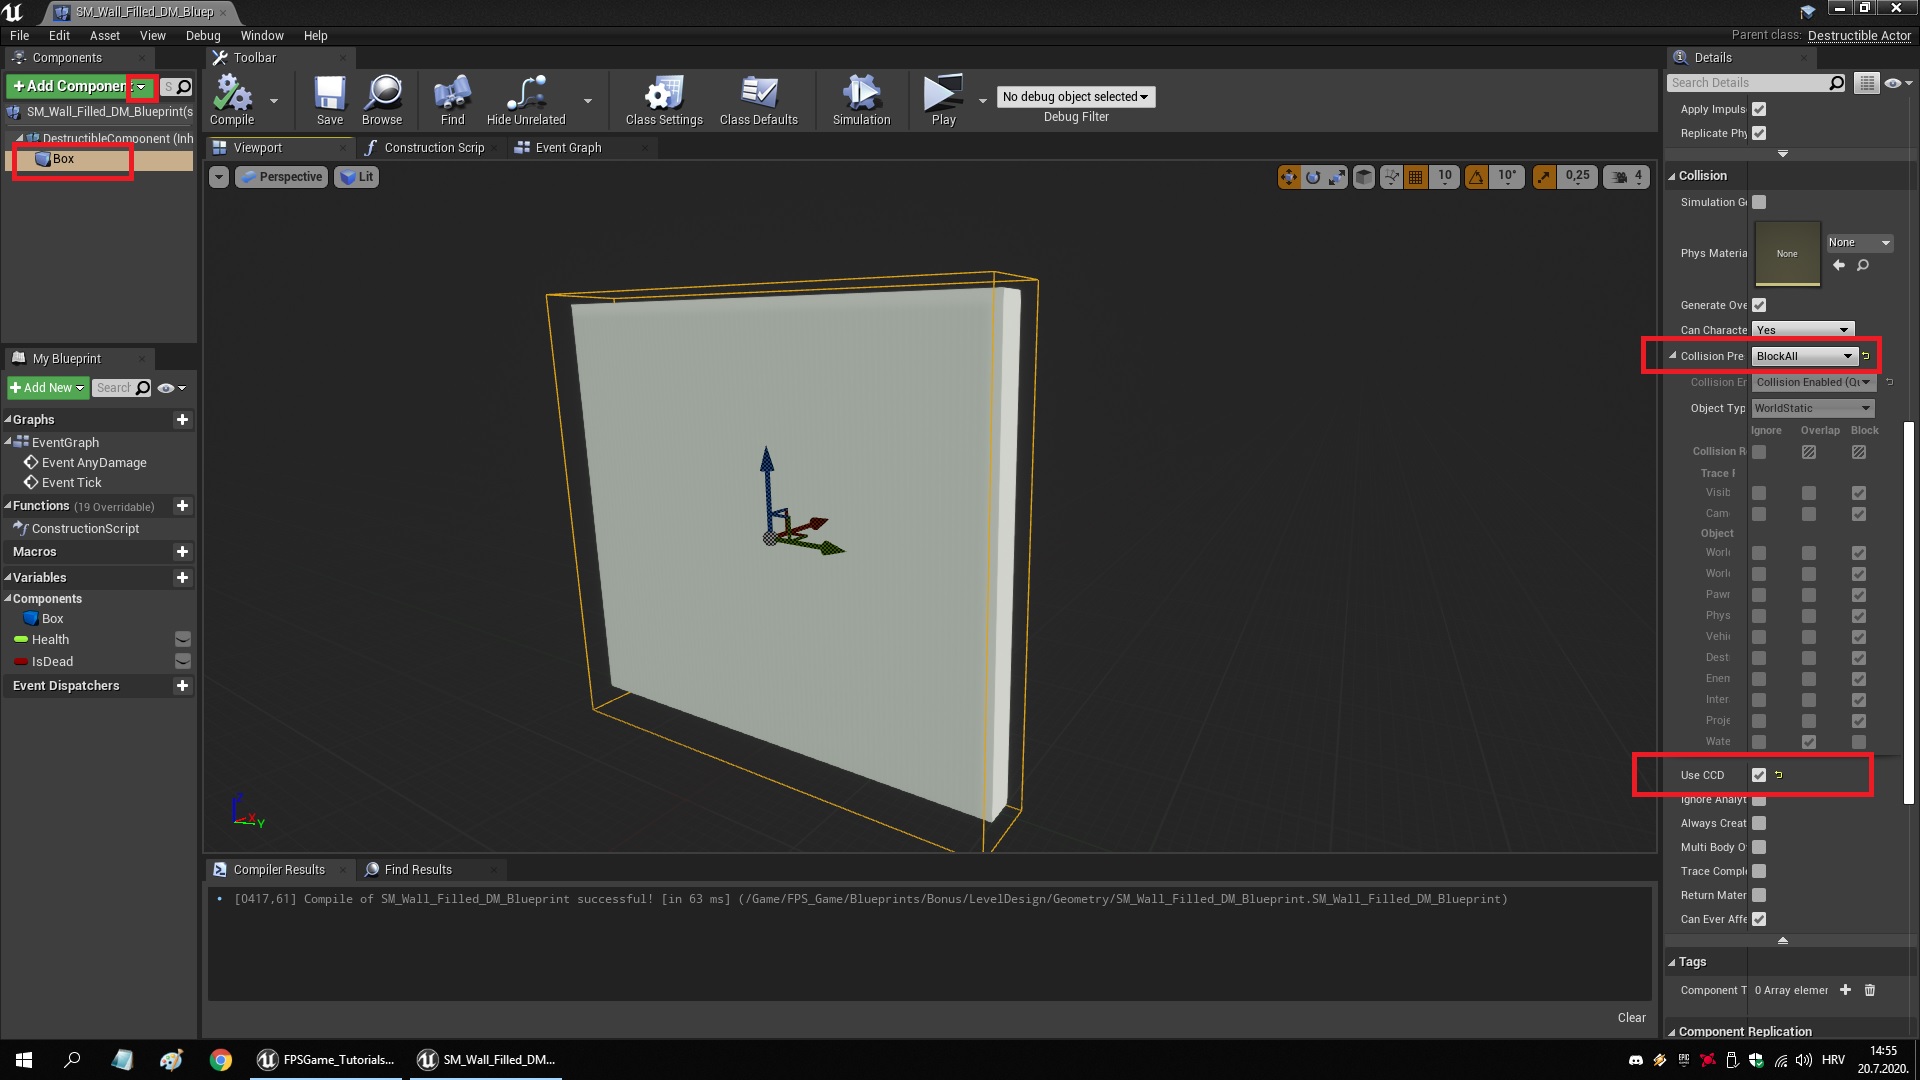
Now create 2 new variables
Health (float, default value: 1.0)
IsDead (bool, default value: false)
and recreate this in the blueprint graph

Now when you place it on the map, the wall will have an extra layer around it, and when it does break the pieces will not cause the player to get stuck, and it will destroy itself after few seconds.
This is just an example blueprint, feel free to experiment and create custom logic.
