
Before we begin, please watch these videos to get familiar with wheel data for vehicles.
In this tutorial we will take the Go Kart vehicle from the advanced example and import it into the template.
1. Open the UE4 editor and start a new project based on the Advanced Vehicle Example
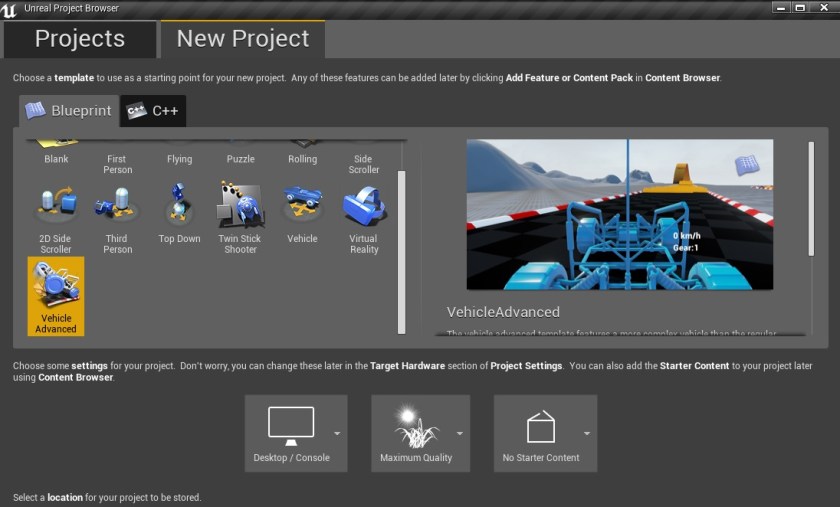
We are doing this because I have no other vehicle example available, so it will have to do.
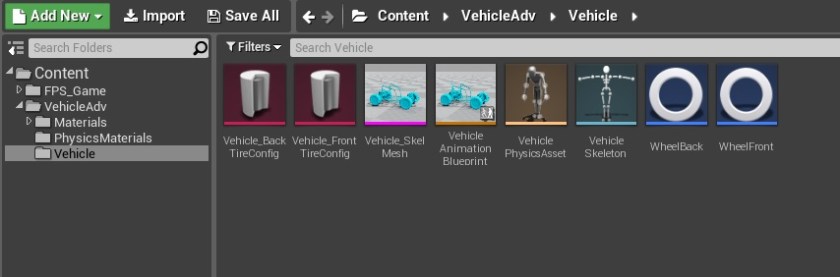
2. We don’t need the Blueprint or level, only take the vehicle mesh, AnimBP and wheel data and migrate it over.
3. Now duplicate the buggy that comes with the template (Bonus folder > Vehicles), copy it over where the GoKart stuff is (for easier access)
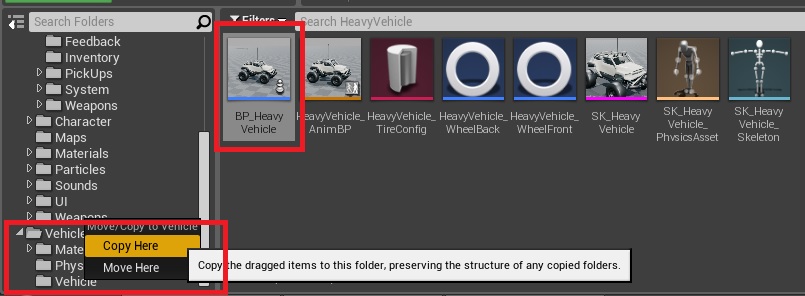
NOTE: we are using a copy of the buggy here because it’s already set up and we don’t need to change much to make it work.
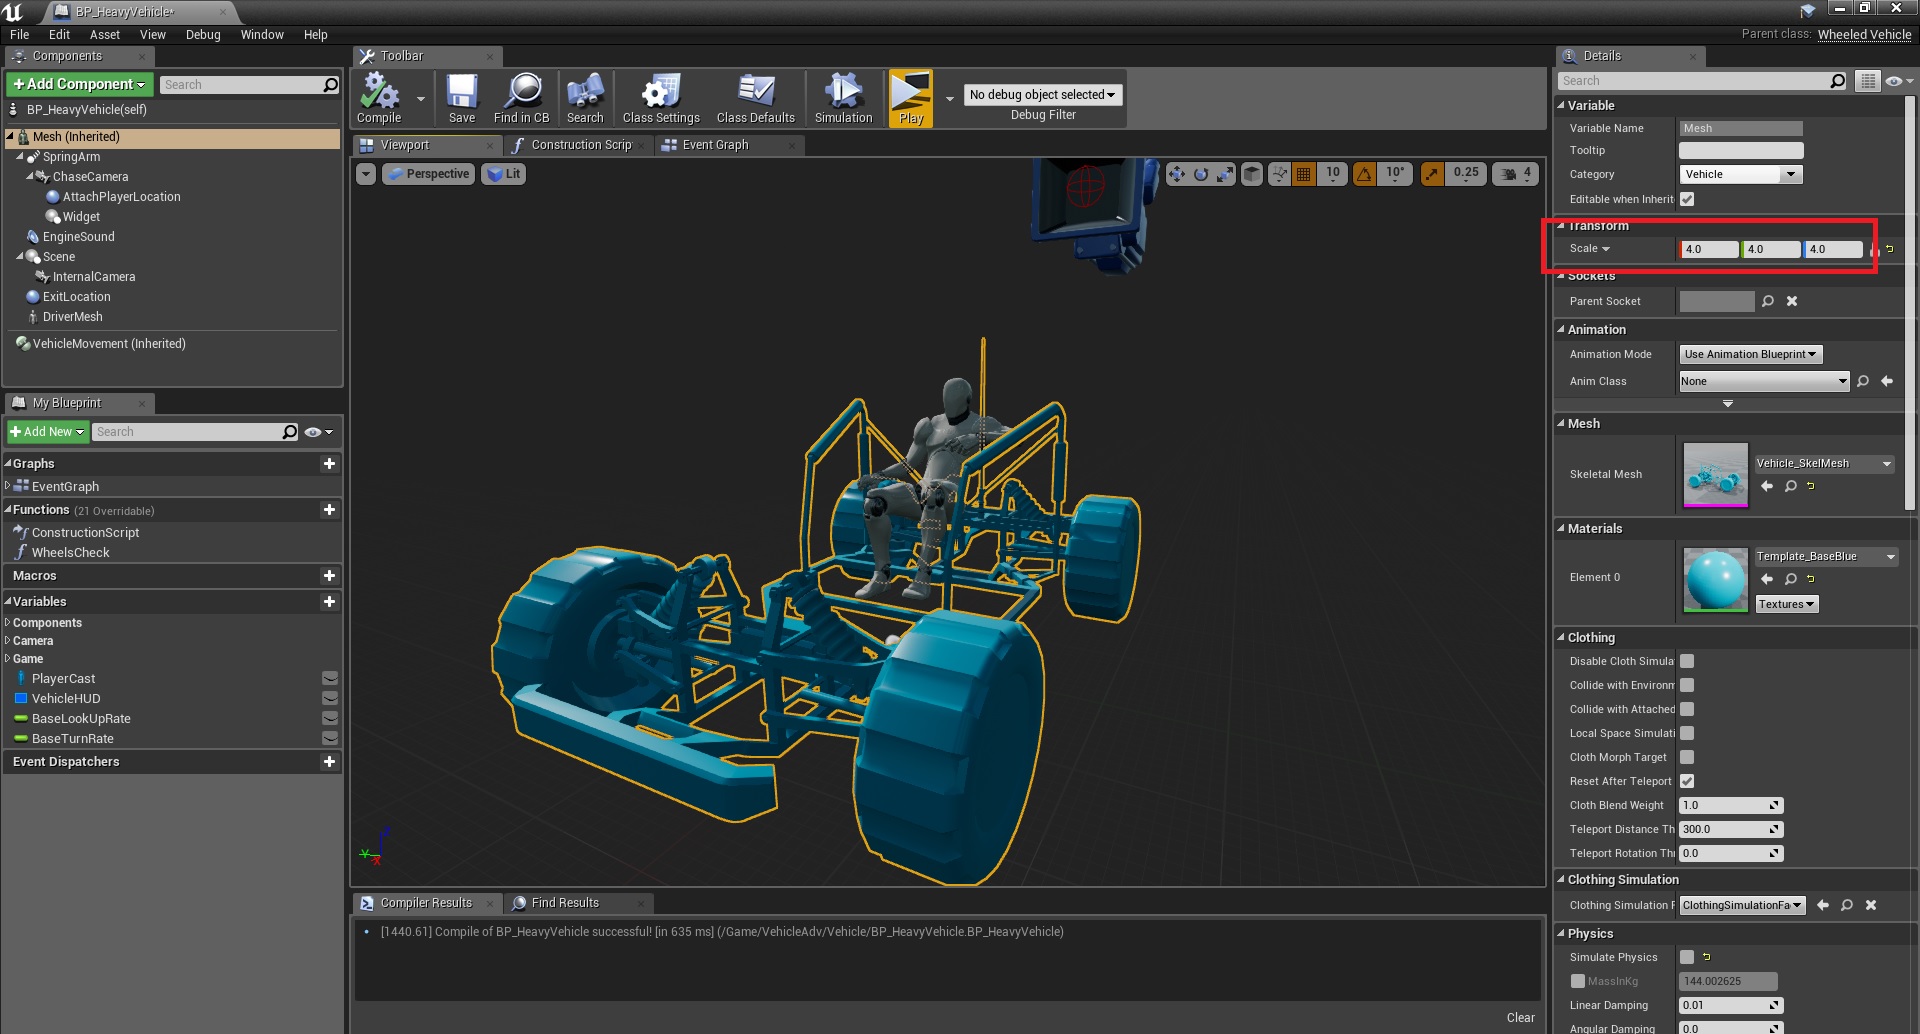
4. Open the copy you created and change the mesh and AnimBP from Buggy to GoKart

5. Problem is that the Go Kart is actually very small, so in this situation we need to scale the mesh up to 4.0 (number depends on the size of your mesh)
6. Next step is to set up the wheel data, click on the VehicleMovement component and change the data to reflect that of the Go Kart (bone names are important)
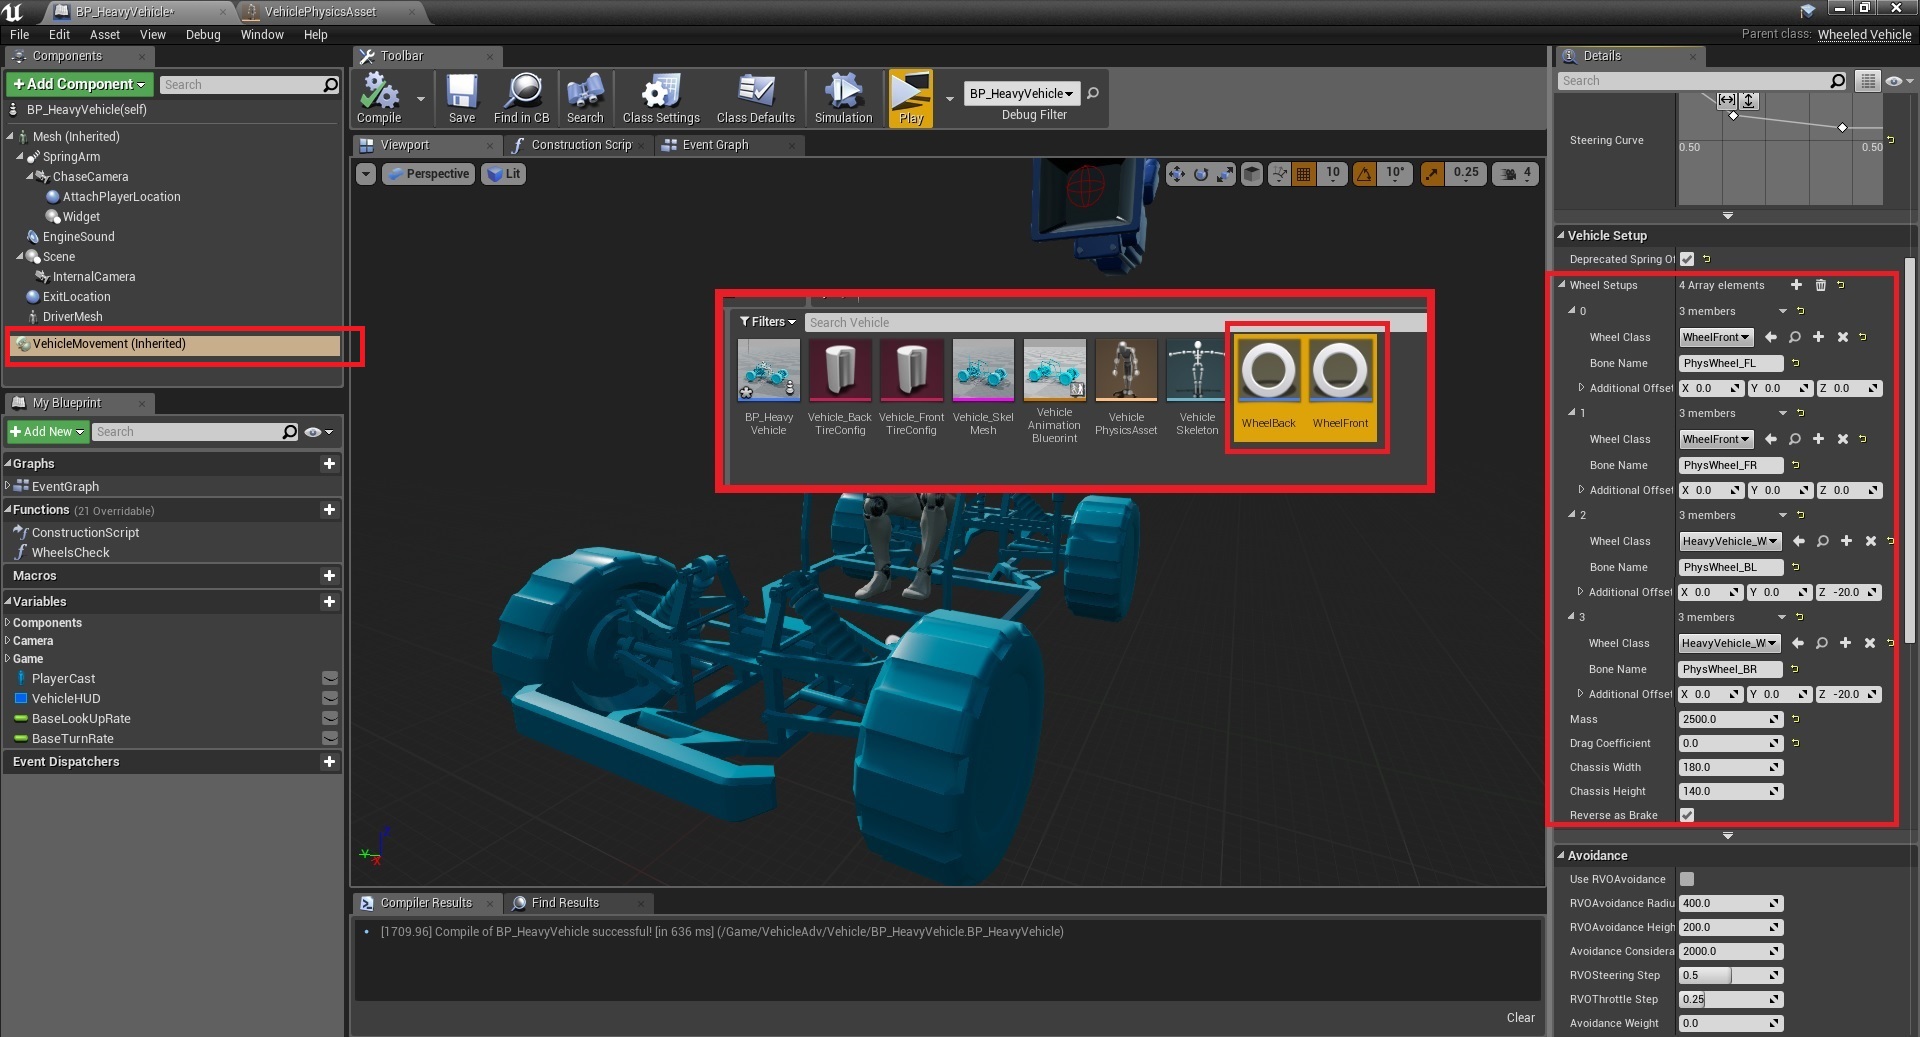
Take your time to tweak the wheel data, watch the videos I linked in the beginning, they explain a lot of these numbers..
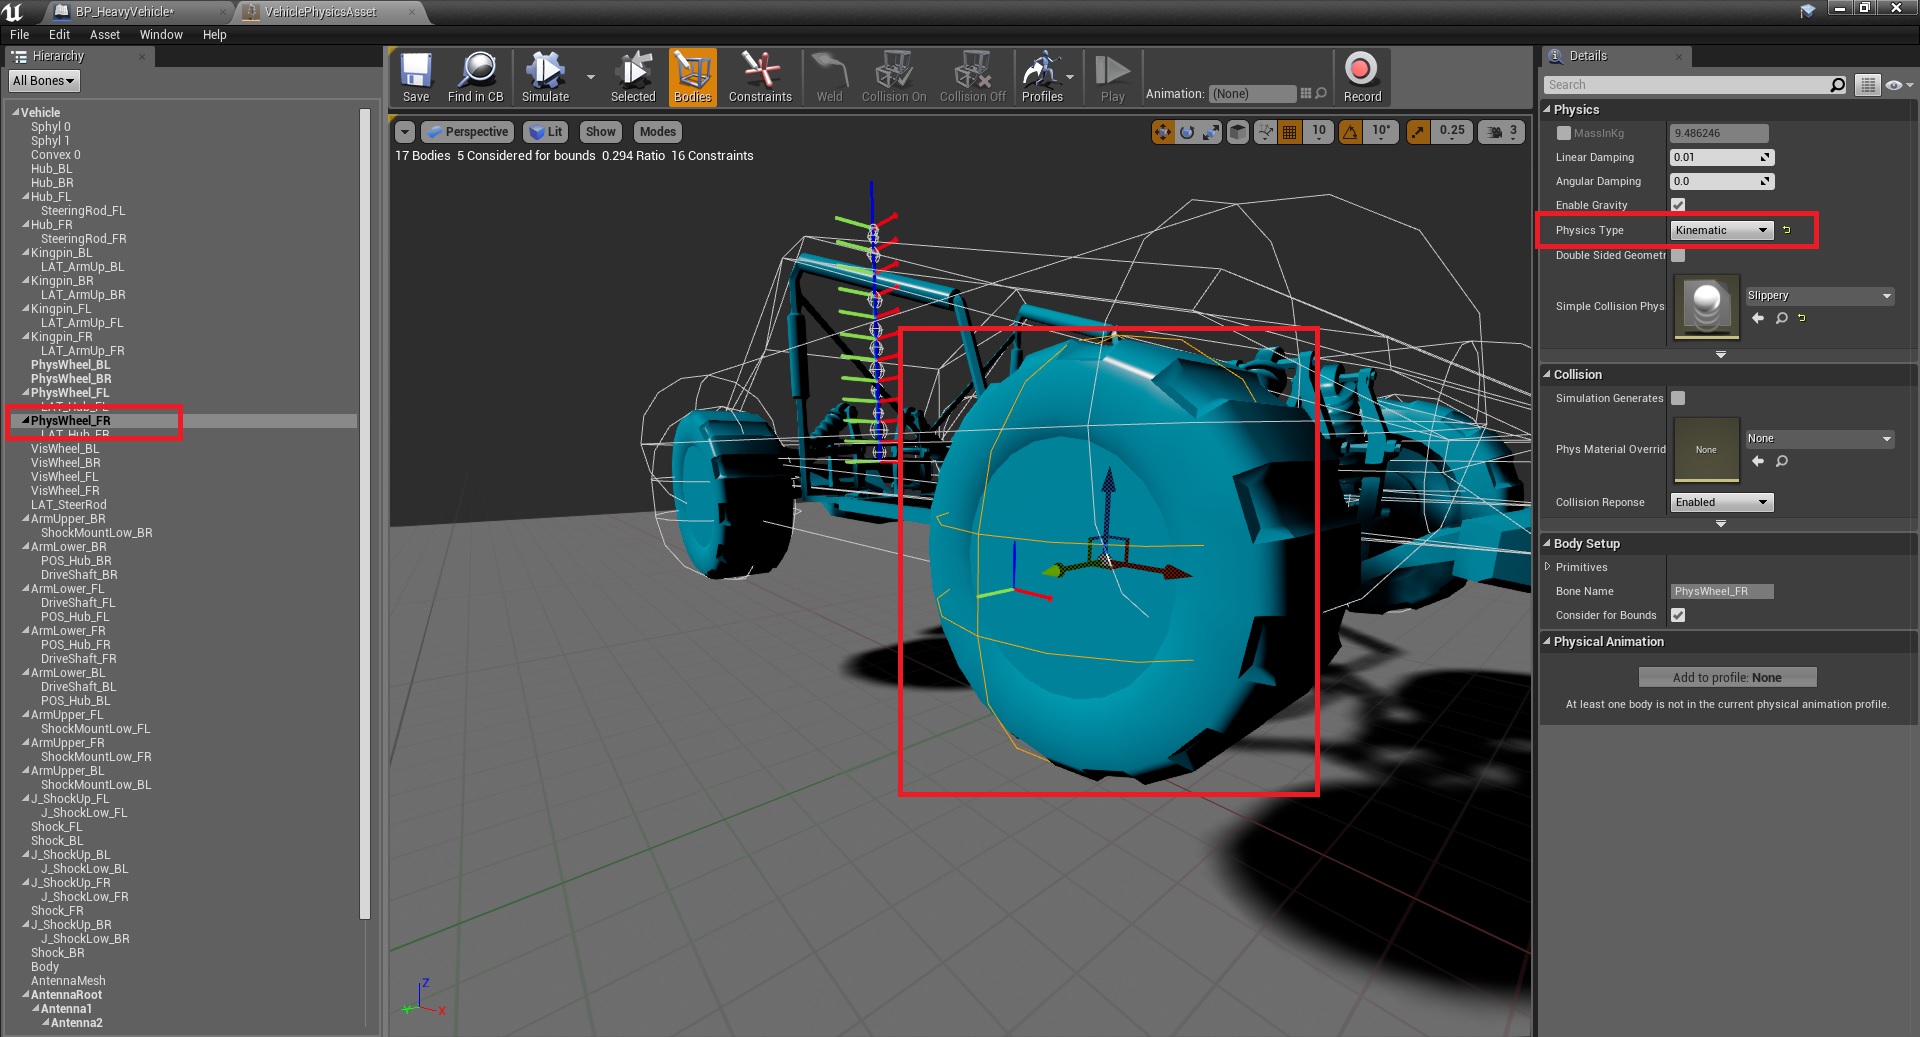
7. The bone names can be seen in the physics asset. We are looking it from there to make sure that all 4 wheels are set to Kinematic, without that the wheels will stay in place and the vehicle drive around without them or behave in some other glitchy behavior.
8. Technically you can already drive around, but because we scaled the mesh up by 4x we need to clean it up a bit, place the cameras in the right position, move the the exit location into position, scale the driver mesh down to 0.4 and put it in the center, etc.

That’s it!
The new vehicle can now be placed in the level and used to drive around.

If you got stuck at any point, you can download the Blueprint that I used in this tutorial and use it as reference.
Download_BP_GoKart
