
On this page I’ll go over the process of making some modifications to the kit.
Changing the character sprite
1. Import your sprite sheet, right click on it, Apply Paper2D Texture Settings
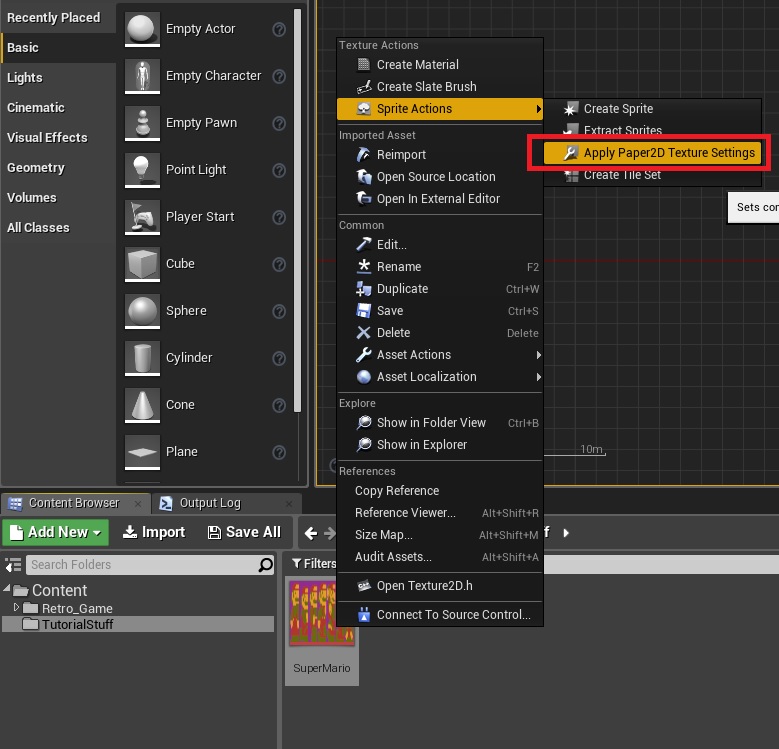
2. Now you need to extract your sprites from the texture
![]()
![]()
3. Depending on your sprite and how the texture is made, you may need to make some manual tweaks to it to get the pixel perfect position for each frame
![]()
While there, make sure to set it to no collision and the pivot to be bottom center.
![]()
4. Now right click on the idle sprite and create a flipbook (do the same for jump too)
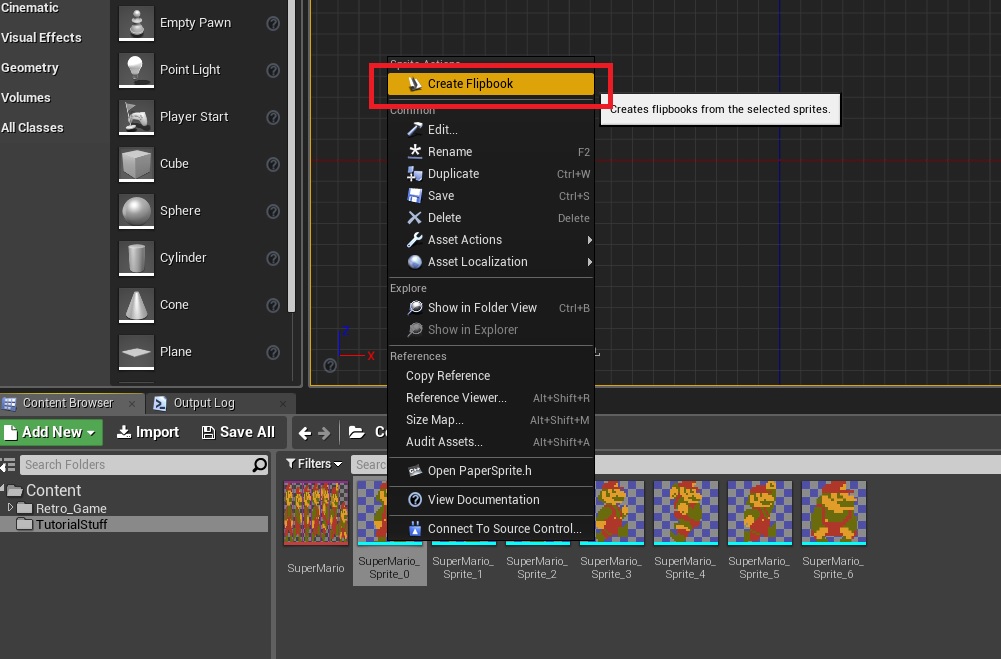
For walk you can select multiple sprites and then create the flipbook

Now that all flipbooks are created, rename them so that you can tell what does what

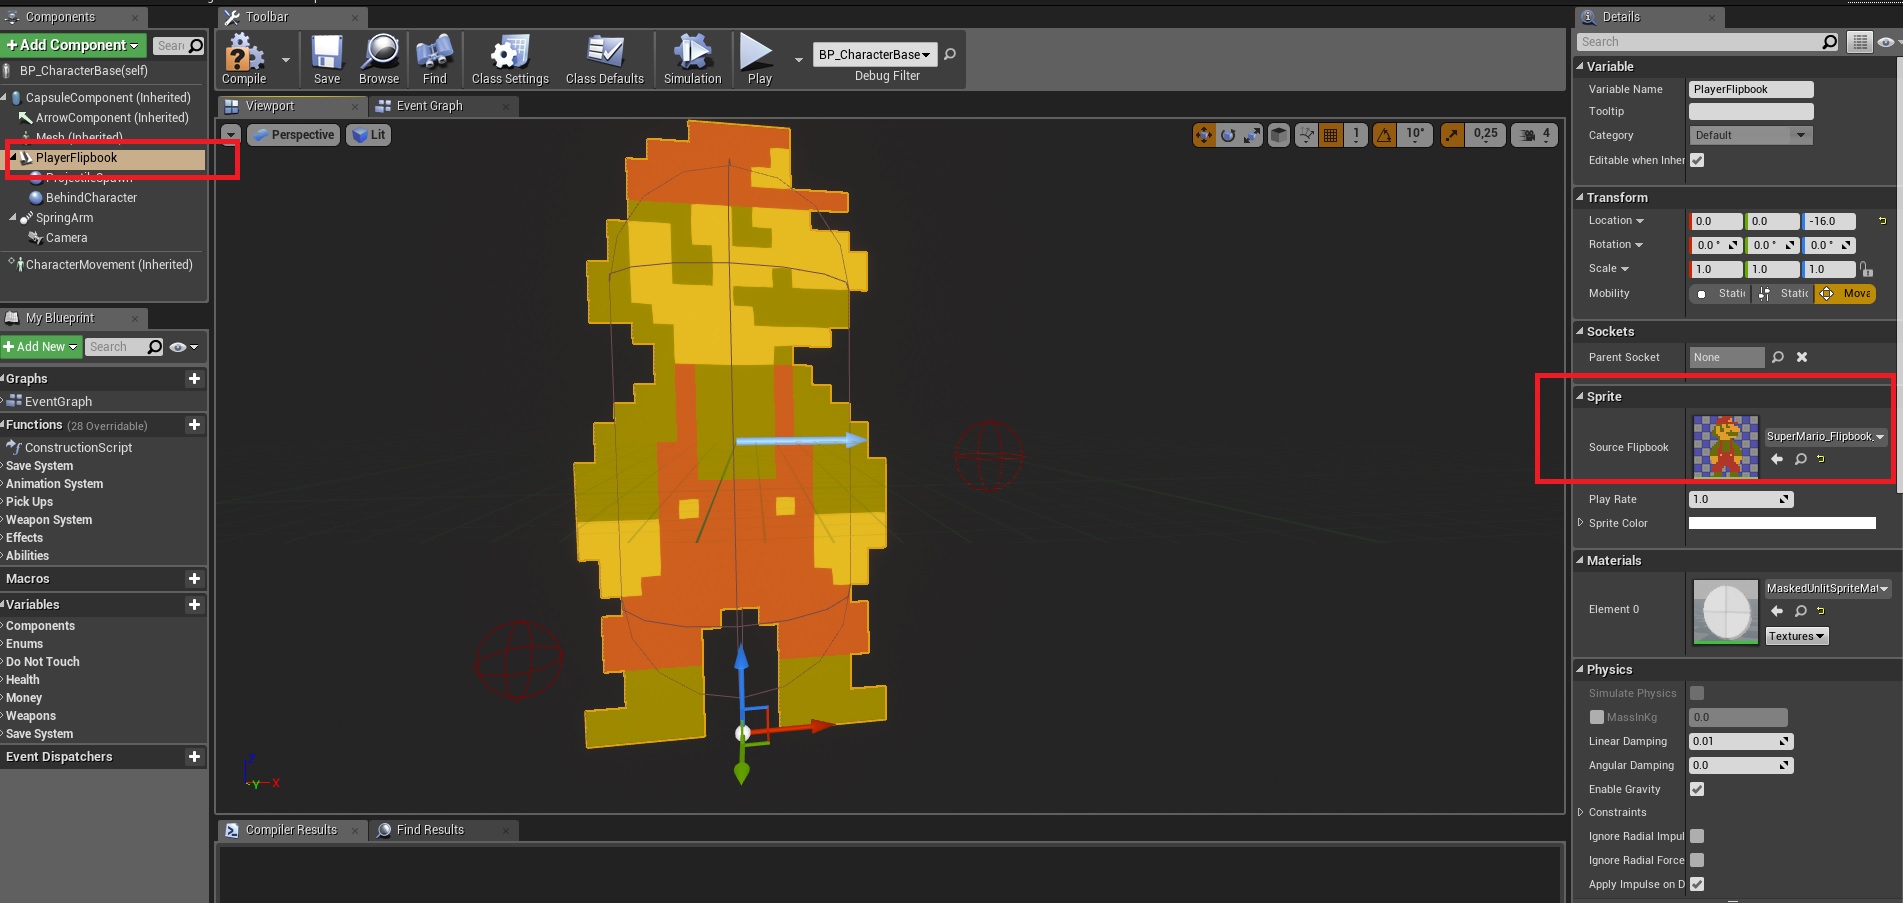
5. Now on to the actual template, open BP_CharacterBase and change the sprite to be the new idle one
Still on the character, open the Update Animation function and change the flipbooks there too
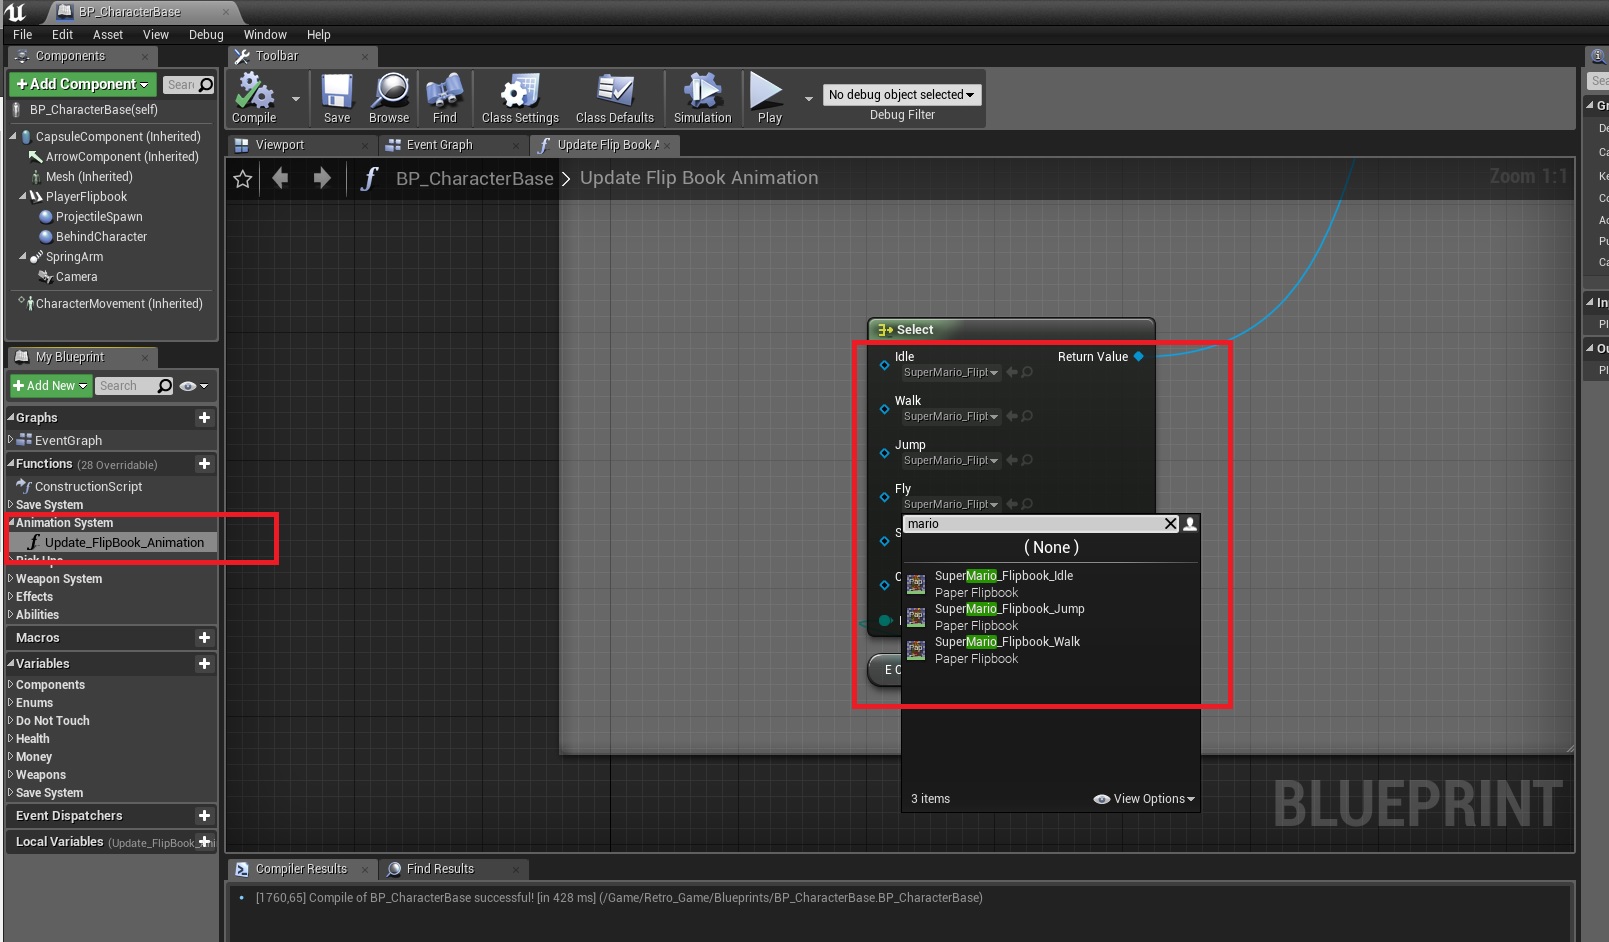
That’s it!
Summary:
-Import Texture
-Extract Sprites
-Create Flipbooks
-Change them on the character
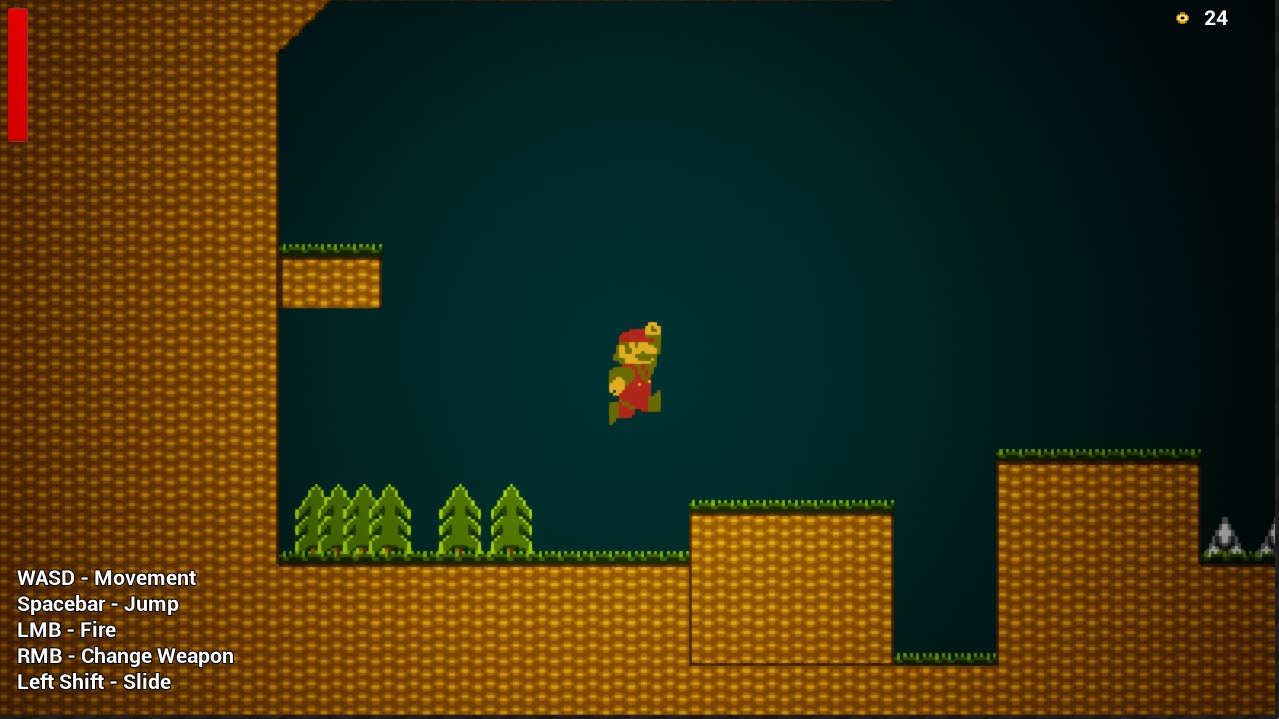
NOTE: Please don’t use Super Mario in your game, this was just an example XD
Additionally, you should watch this stream to get familiar with Paper2D
Creating new tilesets is explained in detail on the official UE4 documentation, click here.
