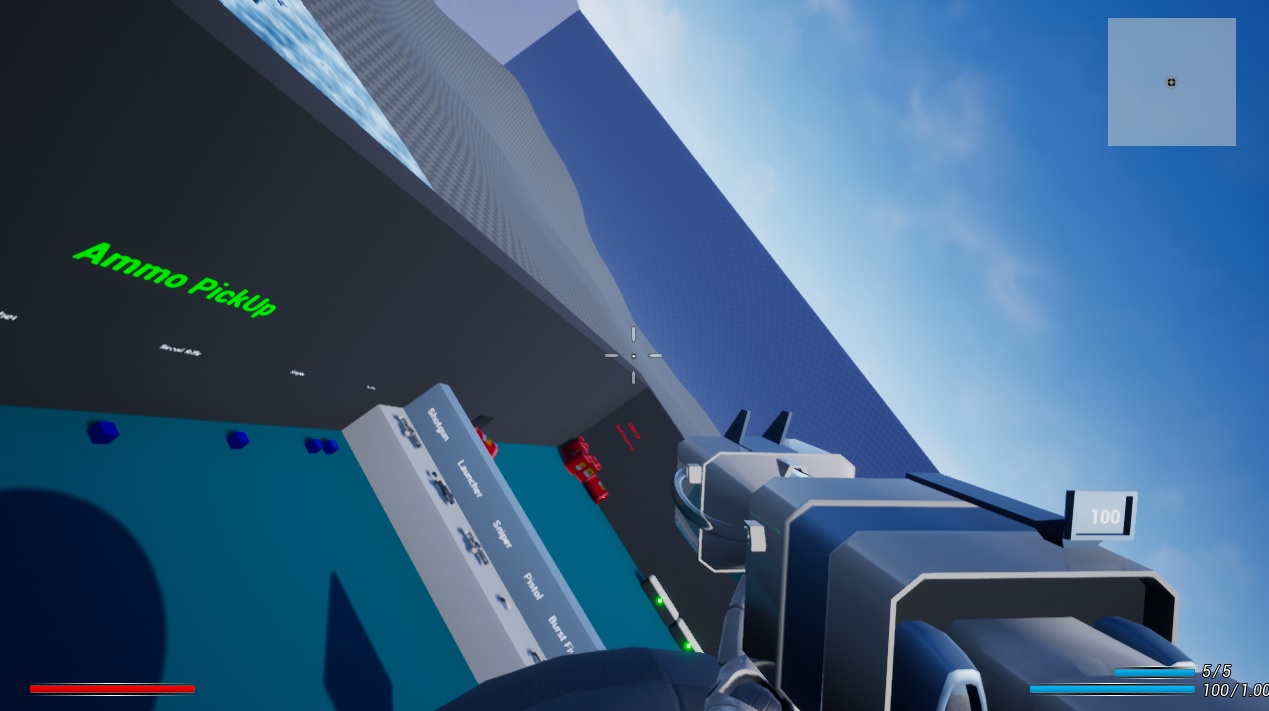
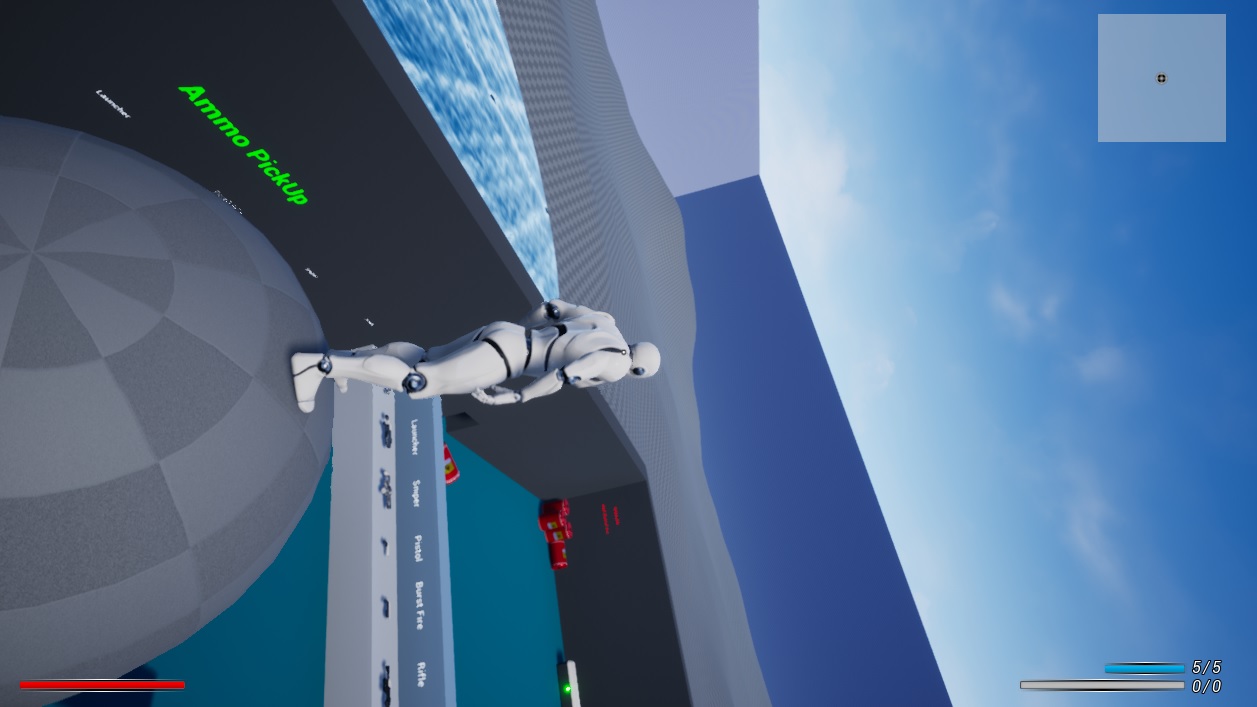
In this tutorial we will integrate a free plugin called Ninja Character Plugin, by Xaklse.
It’s designed to expand UE4 with gravity from all directions and it does a decent job at it too! Plus it’s not that hard to integrate into FPS Game Starter Kit, so I decided to write a tutorial about it.
1. Create a new FPS Game Starter Kit project
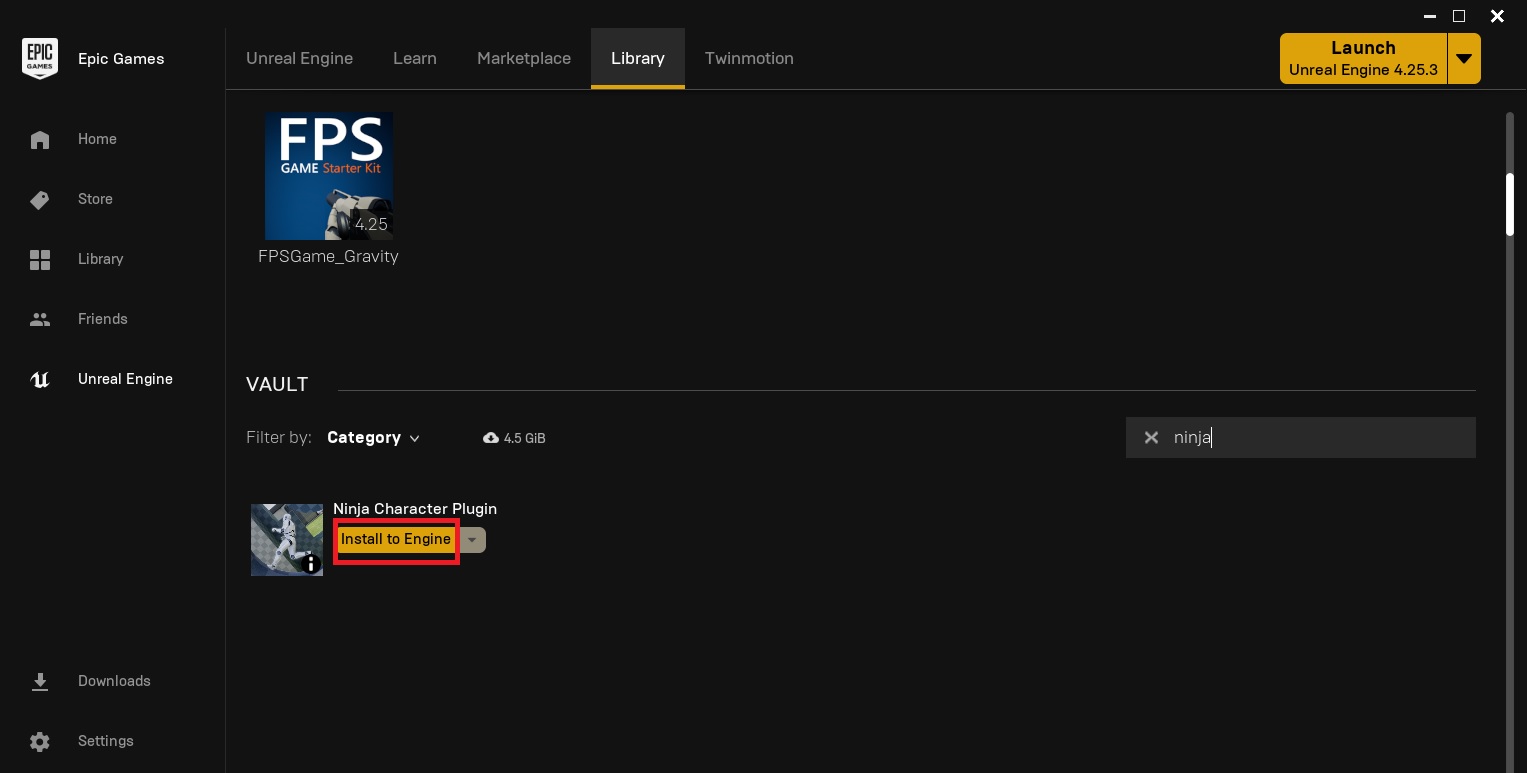
2. Install Ninja Character Plugin to your engine
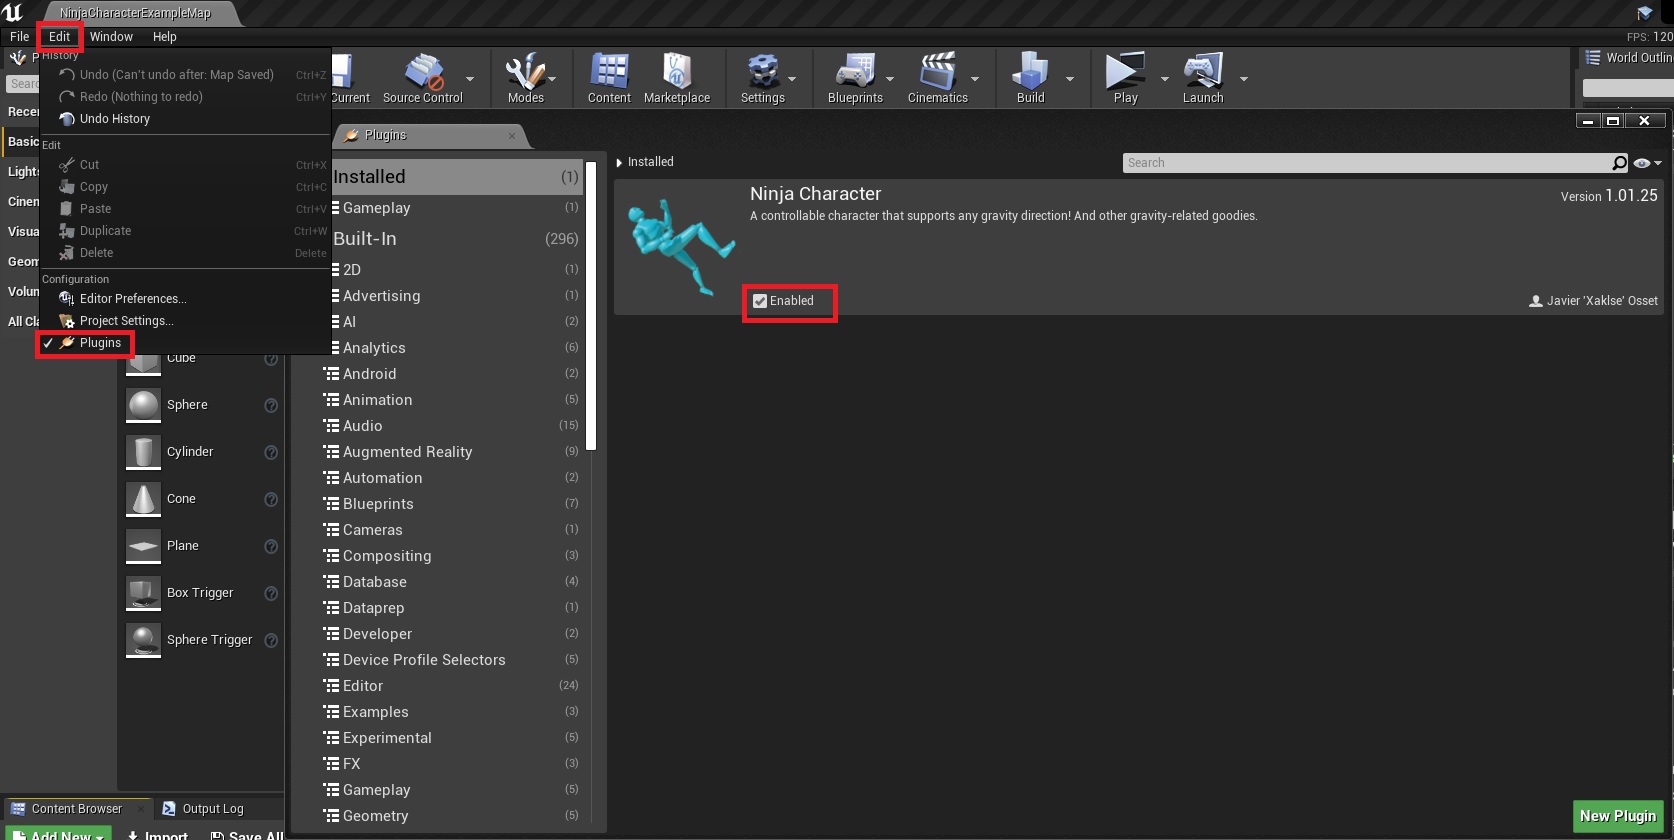
3. Make sure the plugin is activated, restart the editor if it’s the first time
4. Open BP_CharacterBase, click on File, Reparent Blueprint
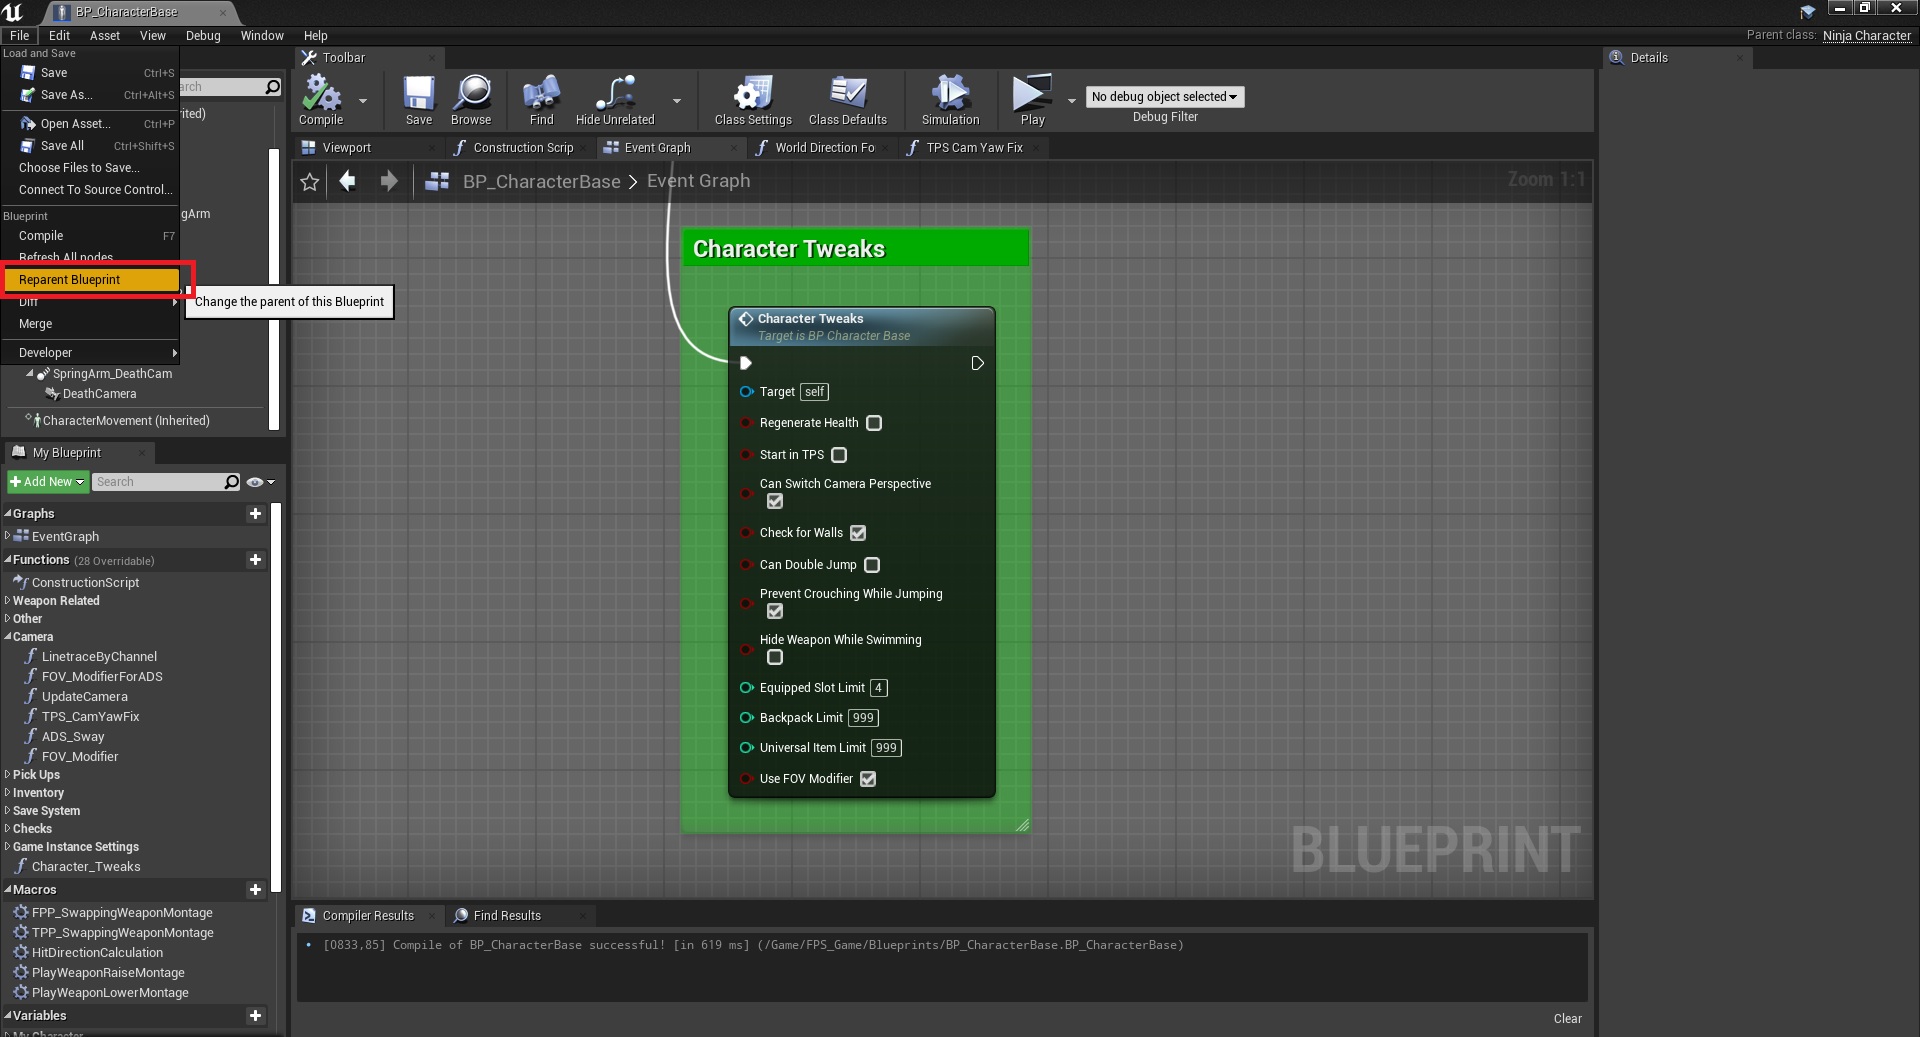
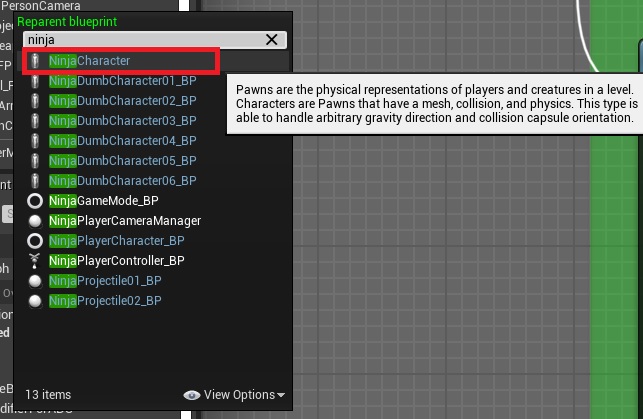
5. From the tiny window that appears, search for NinjaCharacter and select it
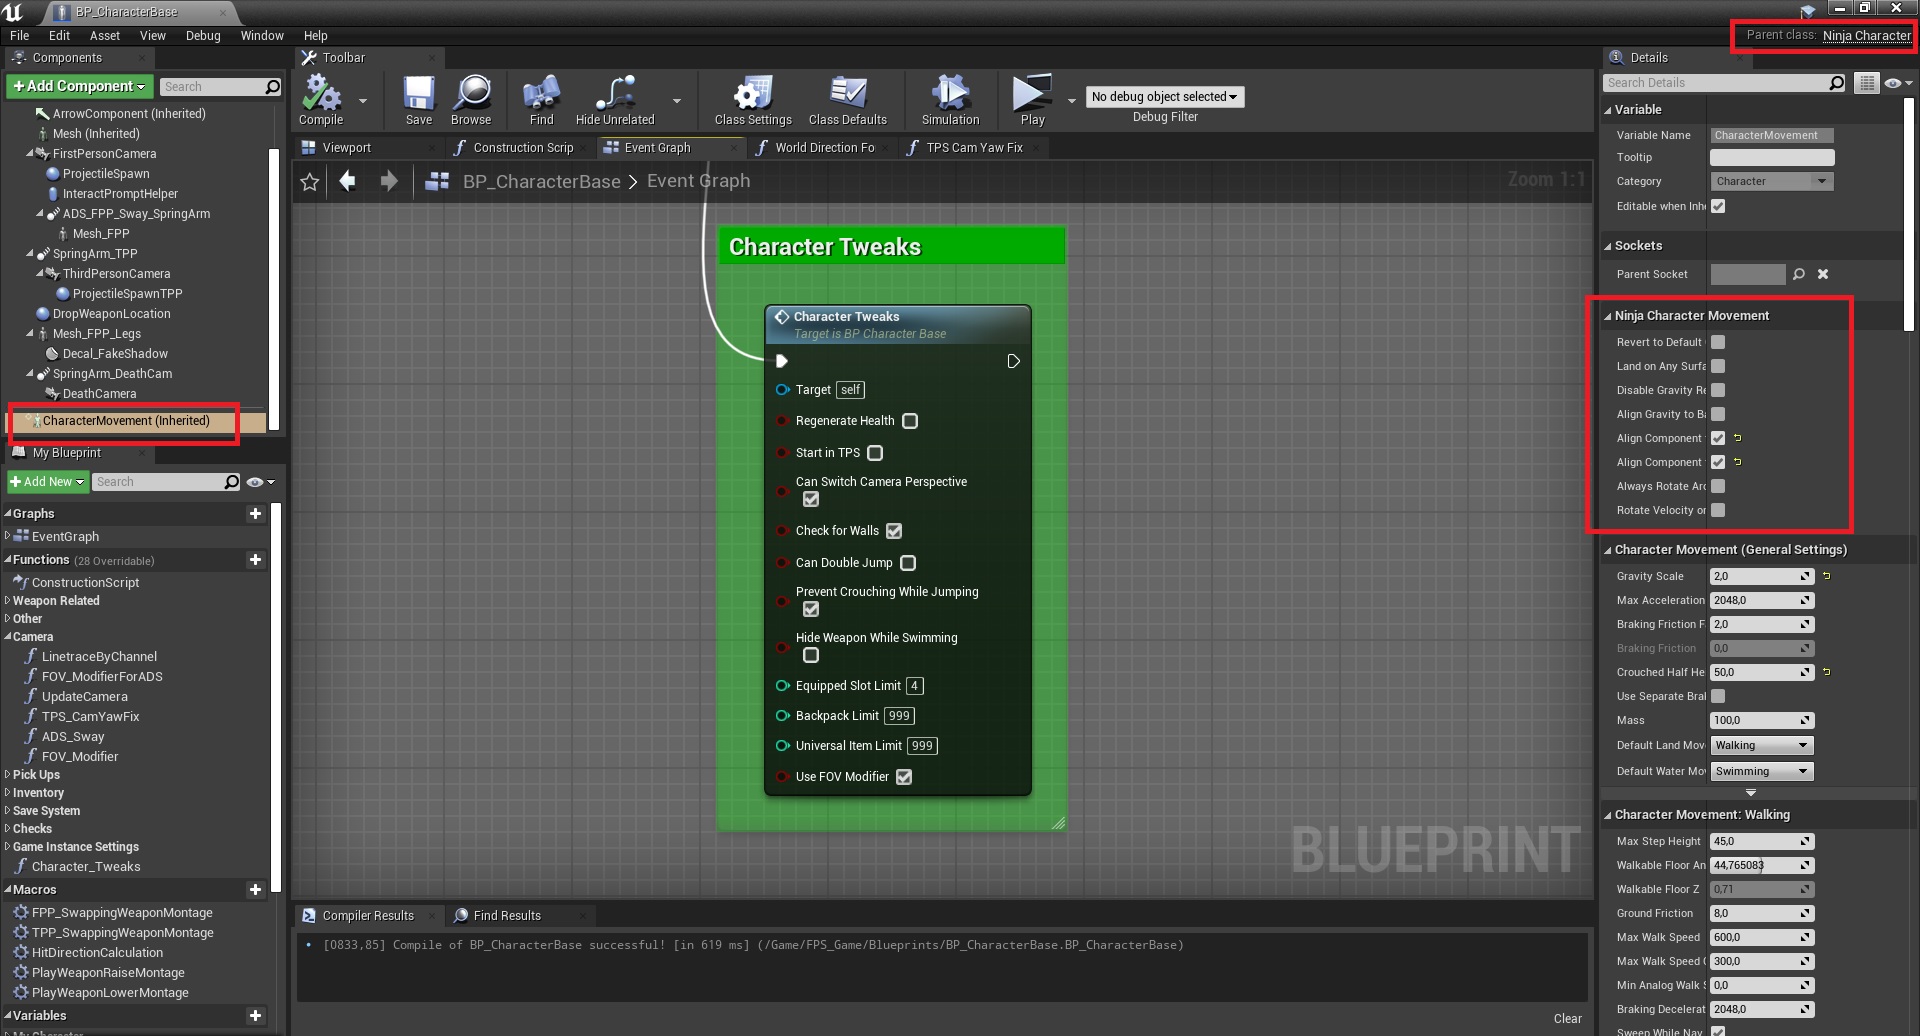
6. Compile and Save, it should have the Ninja section in the movement component now, you can tell if it’s good to go if in the upper right corner it says Parent Class: NinjaCharacter
If it does, select these 2 checkboxes in it
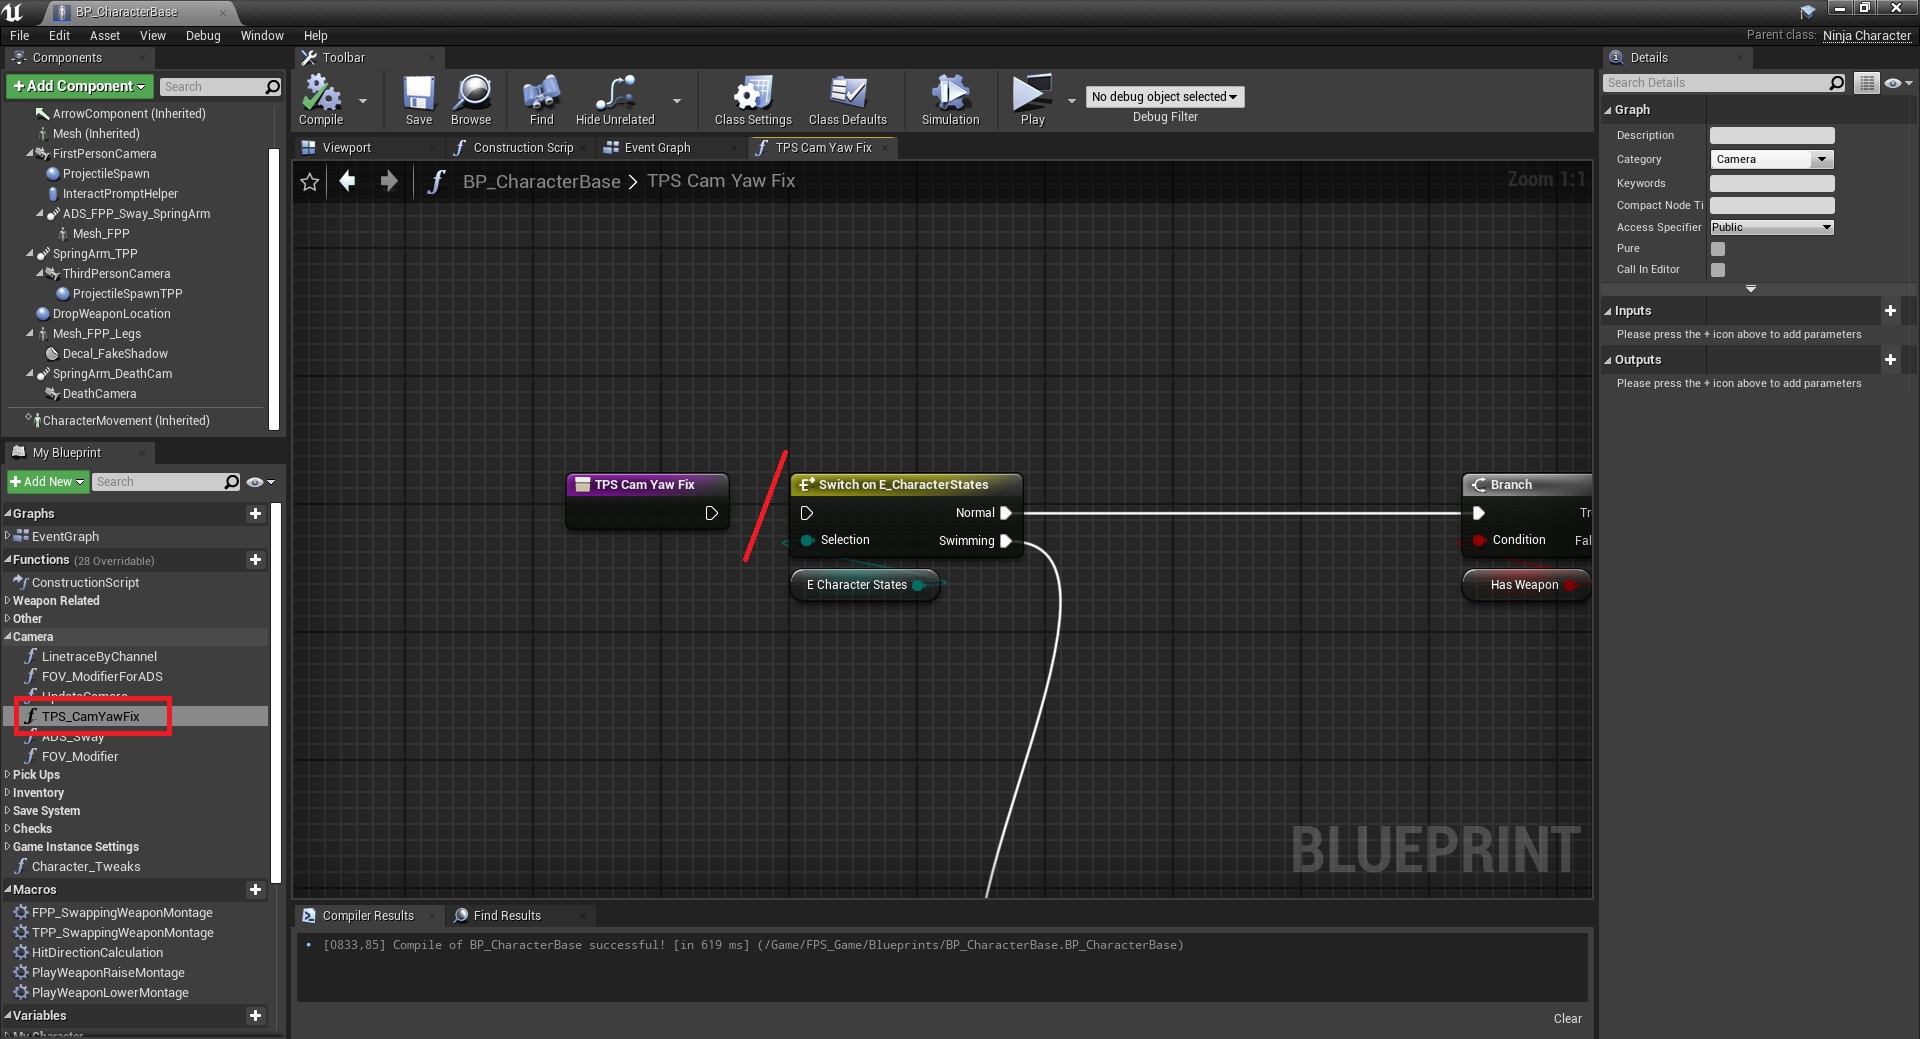
7. Still on the character, open the TPS_CamYawFix function and disconnect it so that it doesn’t do anything, this is the easiest way to turn it off, it’s there to make the camera movement free or locked based on if you have a weapon or not, but it interferes with the plugin if you’re in third person and don’t have a weapon, so disable it.
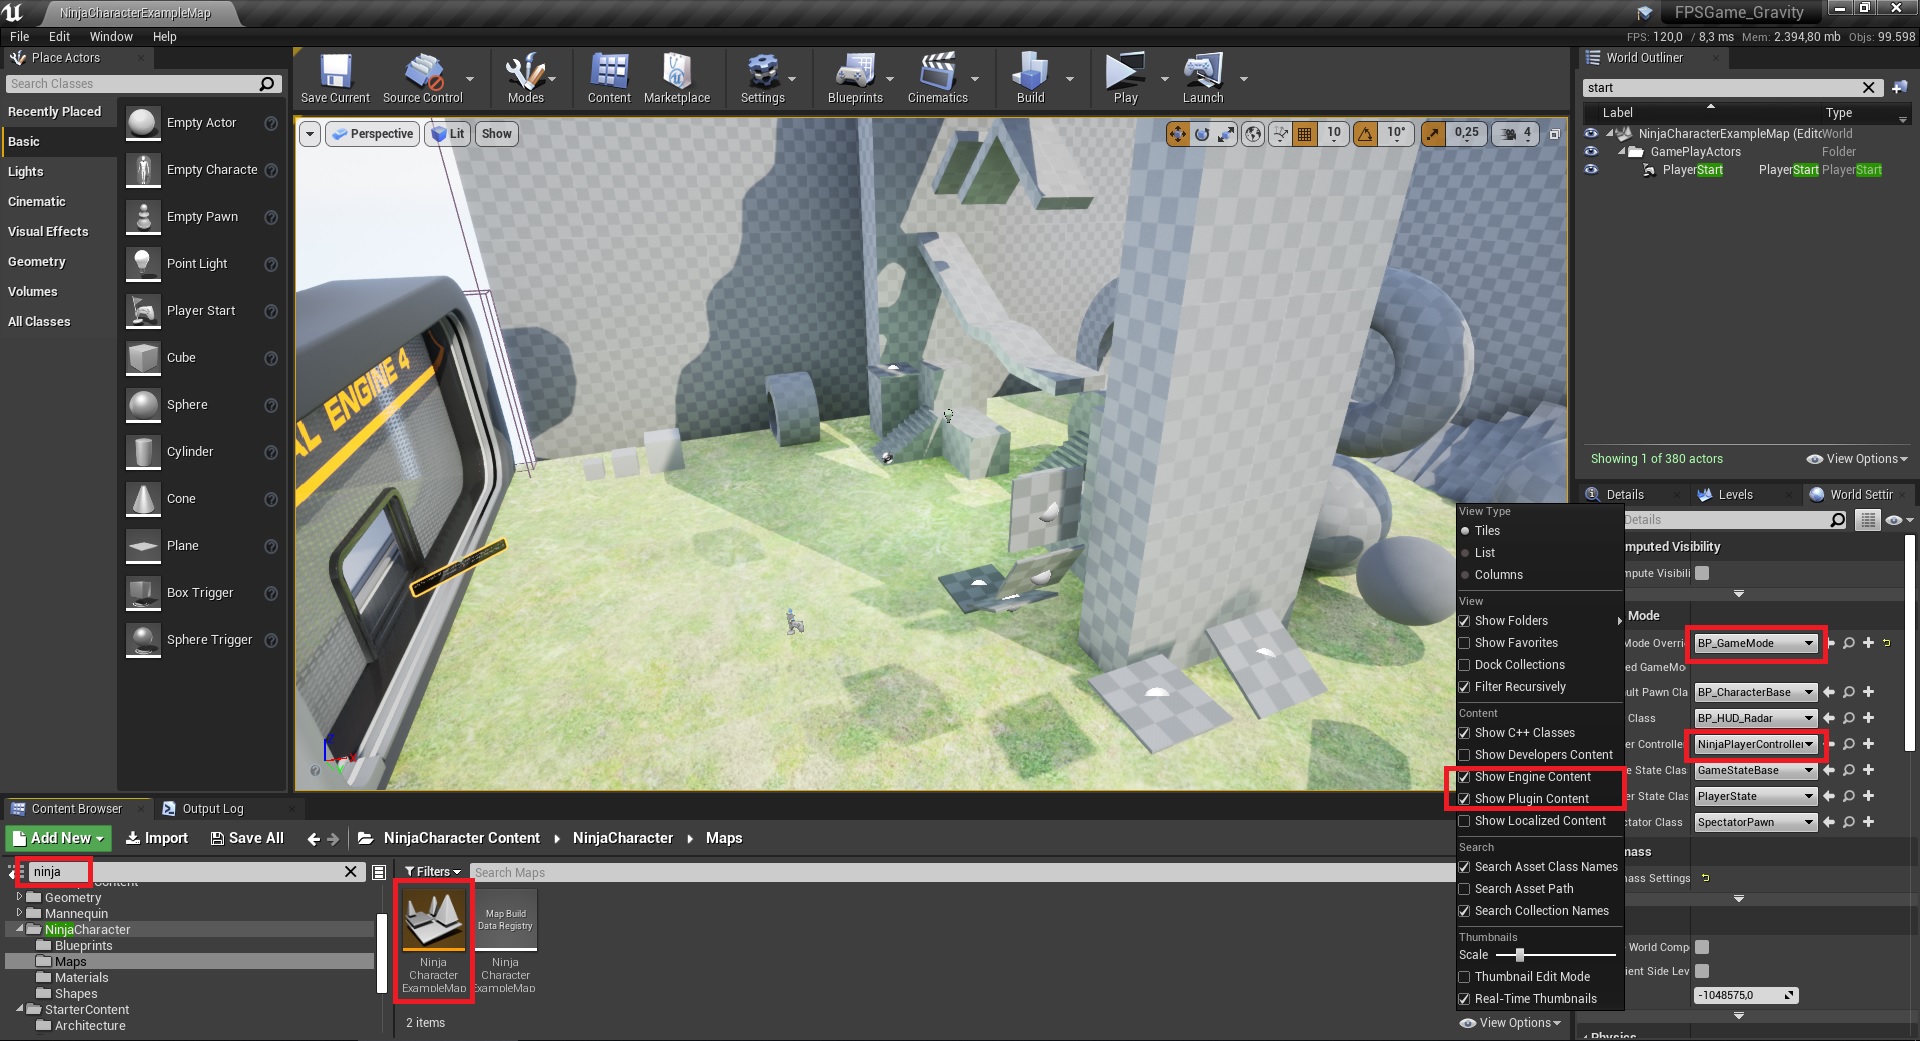
8. Make the Engine Content folder visible and search for the Ninja example map, while there, in its world settings set the game mode to be BP_GameMode and switch the player controller class to use the ninja one instead of the default one. The reason for the controller change is because it uses its own camera manager inside that controller.
That’s it!
One thing to note is that it actually offsets the character, so I recommend using hitscan weapons for this one, as the projectile spawn transform may be affected by it.
For any questions about how to tweak the movement, please contact Xaklse.